
My latest furniture re-do started out like this:

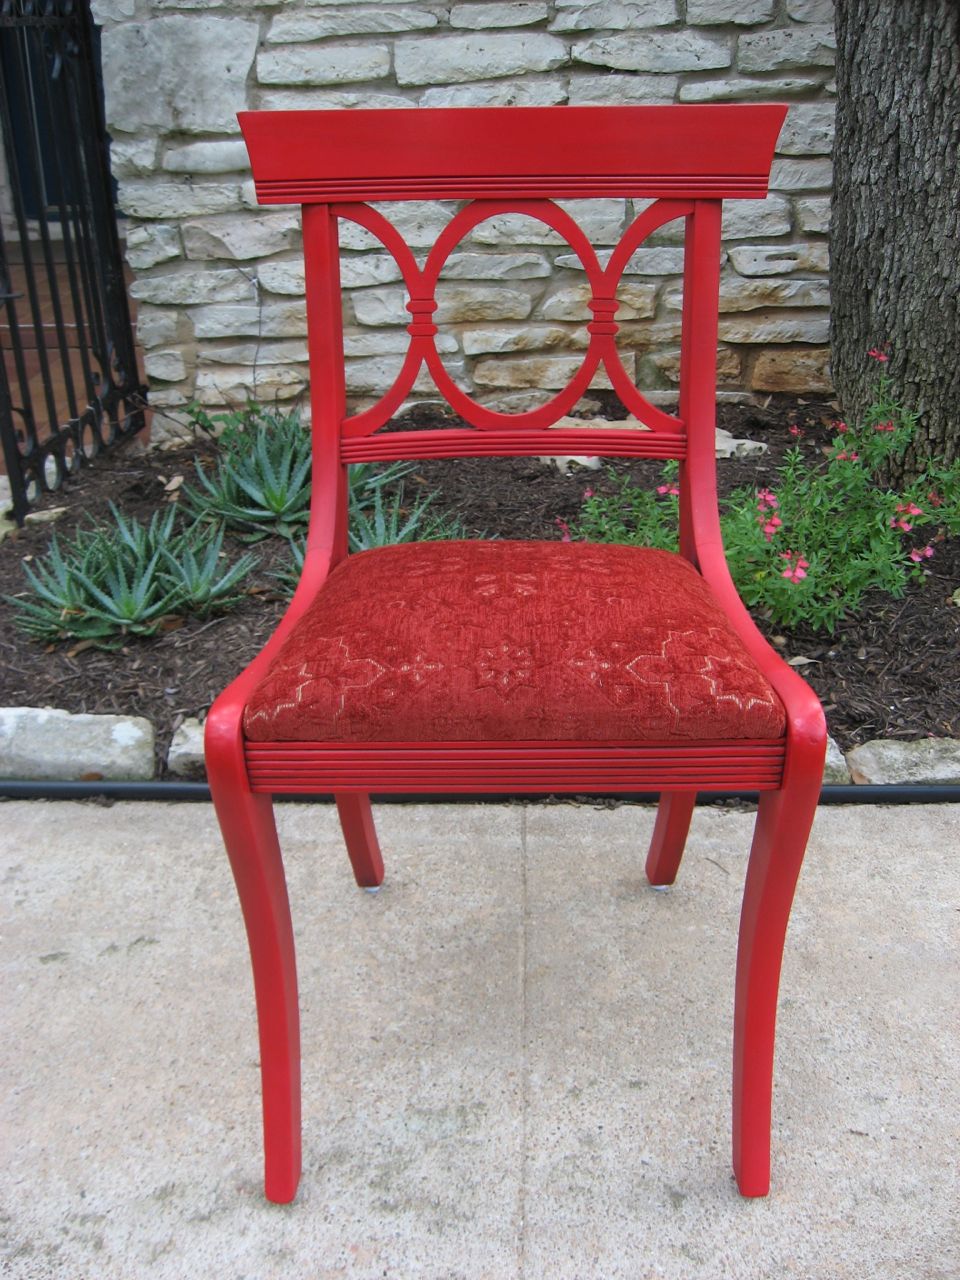
And now looks like this:

This darling chair was an estate sale find and cost me $10. I loved the sweet little frame, the wood structure was sturdy, and I couldn’t pass up the price. I have a thing for chairs.
I had originally planned on simply adding some foam and recovering the seat, but when my 3 year old got involved in the project, those plans quickly changed.
You see, his favorite color is red.
Enter Exhibit A: Mommy’s Favorite Chair in the living room that was next on the roster for re-upholstering, and happened to be….red.

When my son learned of my plans to recover the chair, he had a brainstorm. He asked me if I could find a chair for him, paint it red, and use the fabric from my red chair to re-cover it. Yes, this was an actual conversation that I had with my 3 year old about interior design.
Enter Exhibit B: Little antique chair in need of some TLC.

Since I opted for spray paint instead of chalk paint, I sanded the chair with 150 grit sandpaper after disassembling the seat.
I also taped off the bottom of the feet and used my Q-tip technique to protect the screw holes from filling with paint.
On to my favorite part: primer!
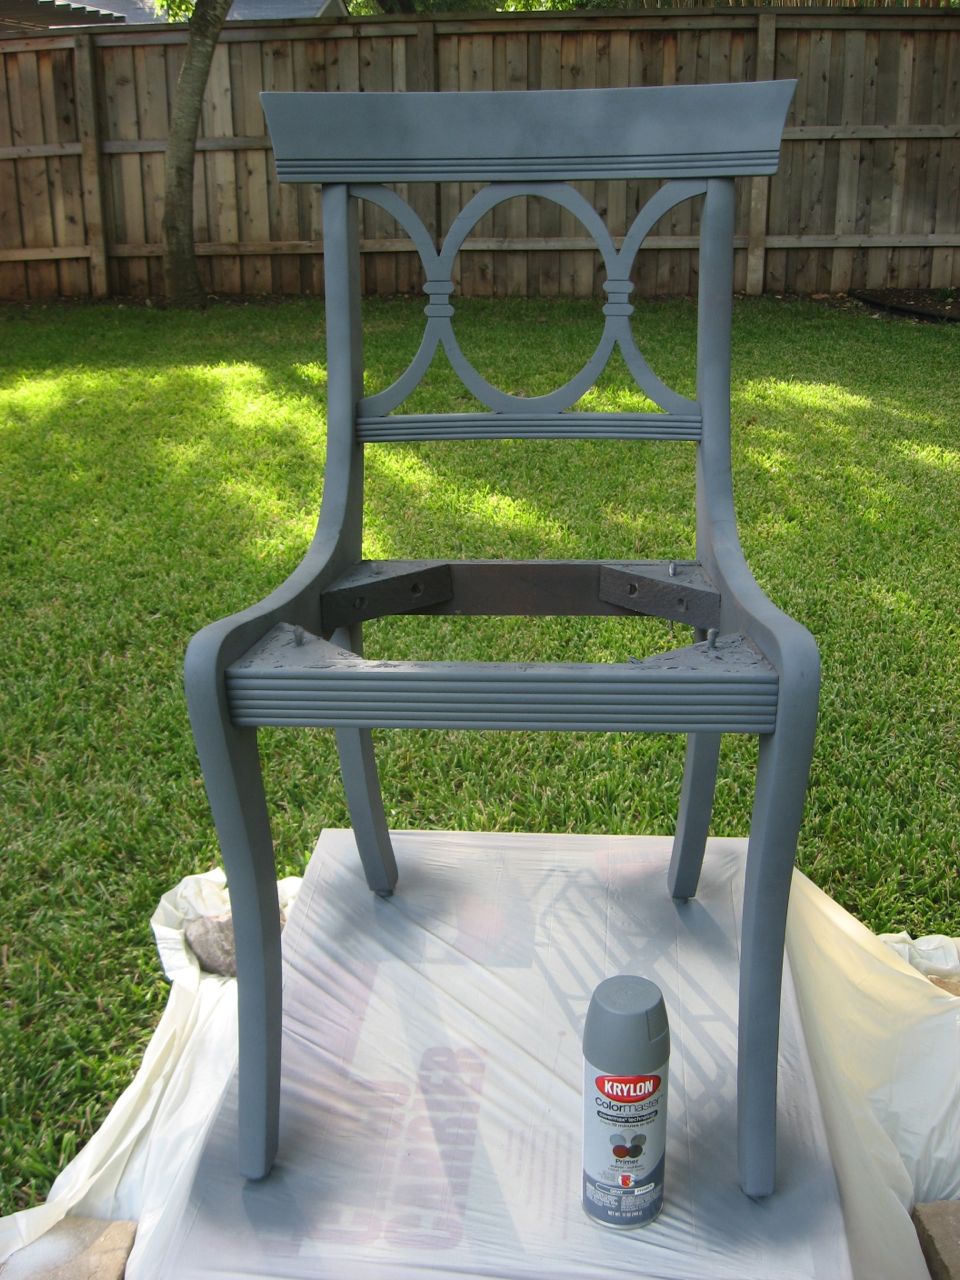
When painting colors such as red, navy, and black, grey primer is easier to work with than white.
At this point, I was really tempted to go with navy blue spray paint and broad-striped navy and white fabric. But my son had his heart set on red paint with red fabric. Sweet little guy.
Krylon Banner Red, it is!

Definitely red!
I decided to glaze the chair in order to tone down the bright red and add richness to its existing detail. I thought this approach would better preserve the chair’s vintage look.
Before glazing it, I lightly sanded the chair with 600 grit sandpaper for a super-smooth surface and wiped it down again.
I used Valspar’s antiquing glaze for this project because I had some on hand. It’s easy to work with and dries quickly.

I followed the same “clean glazing” technique I used when I refinished this antique vanity bench, these Pottery Barn lamps, and this vintage hexagonal table.
I simply slapped on my glaze with an inexpensive chip brush, wiped off most of the glaze with a wet rag (I use cut up old t-shirts), and then used a dry brush to repeat the process until I achieved the look I wanted.
Here’s how the glaze appears when first applied: Kinda looks like mud, doesn’t it?

After the final wipe-down, I waited several hours to make sure the glaze was fully dry.
Then I waxed the chair with my trusty SC Johnson Paste Wax. It’s so easy to use and I love the soft finish it gives to painted furniture:
Isn’t that yummy looking?

Last step: time for some foam, batting and red fabric from Mommy’s old chair!
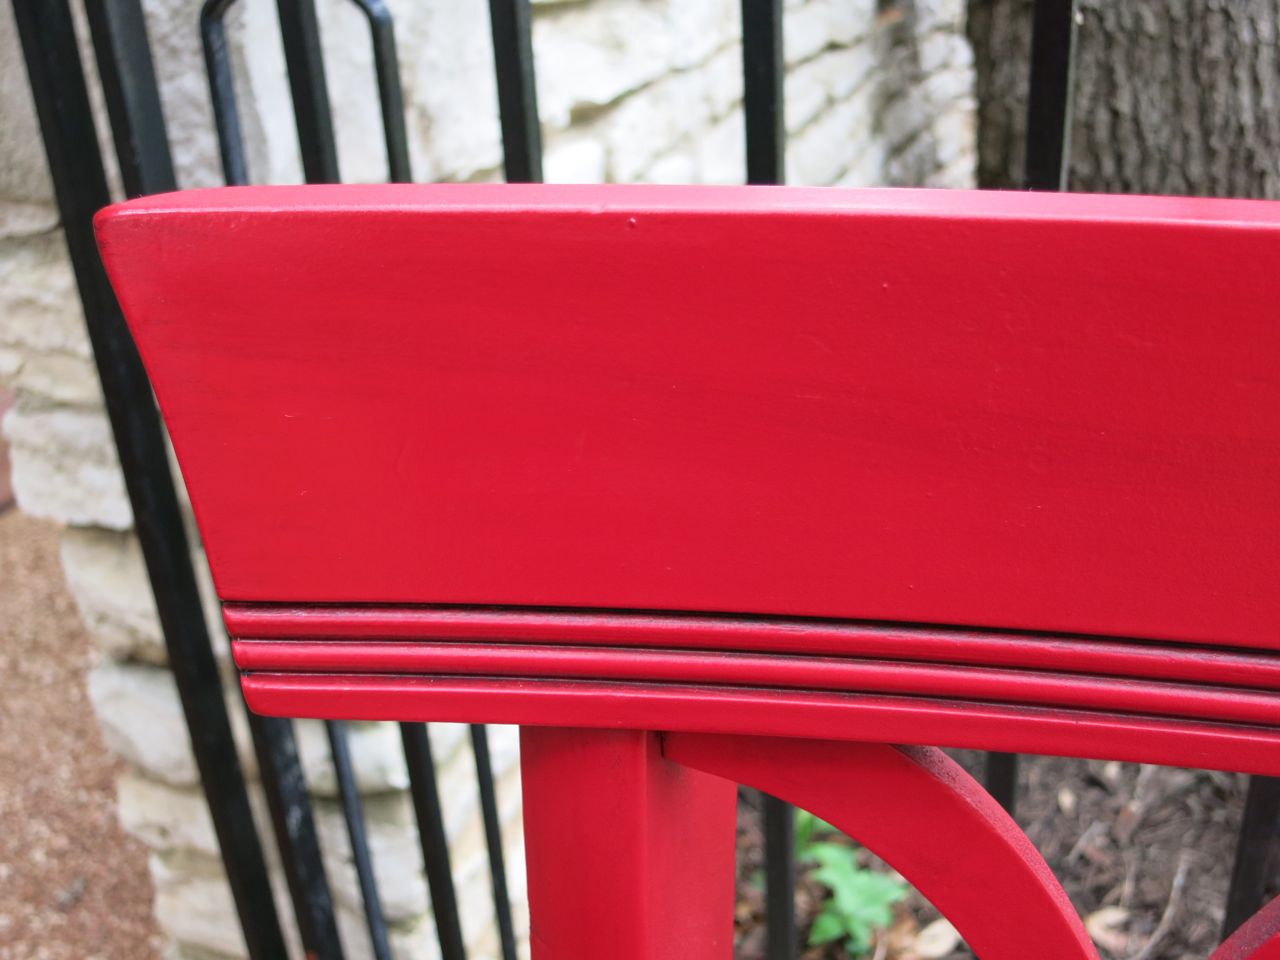
Some close-up’s of the final finish:

I used the fabric remnants to create a sweet little pillow to coordinate with the “new” chair:


Oh, and if you’re wondering, here’s what Mommy’s favorite chair now looks like!
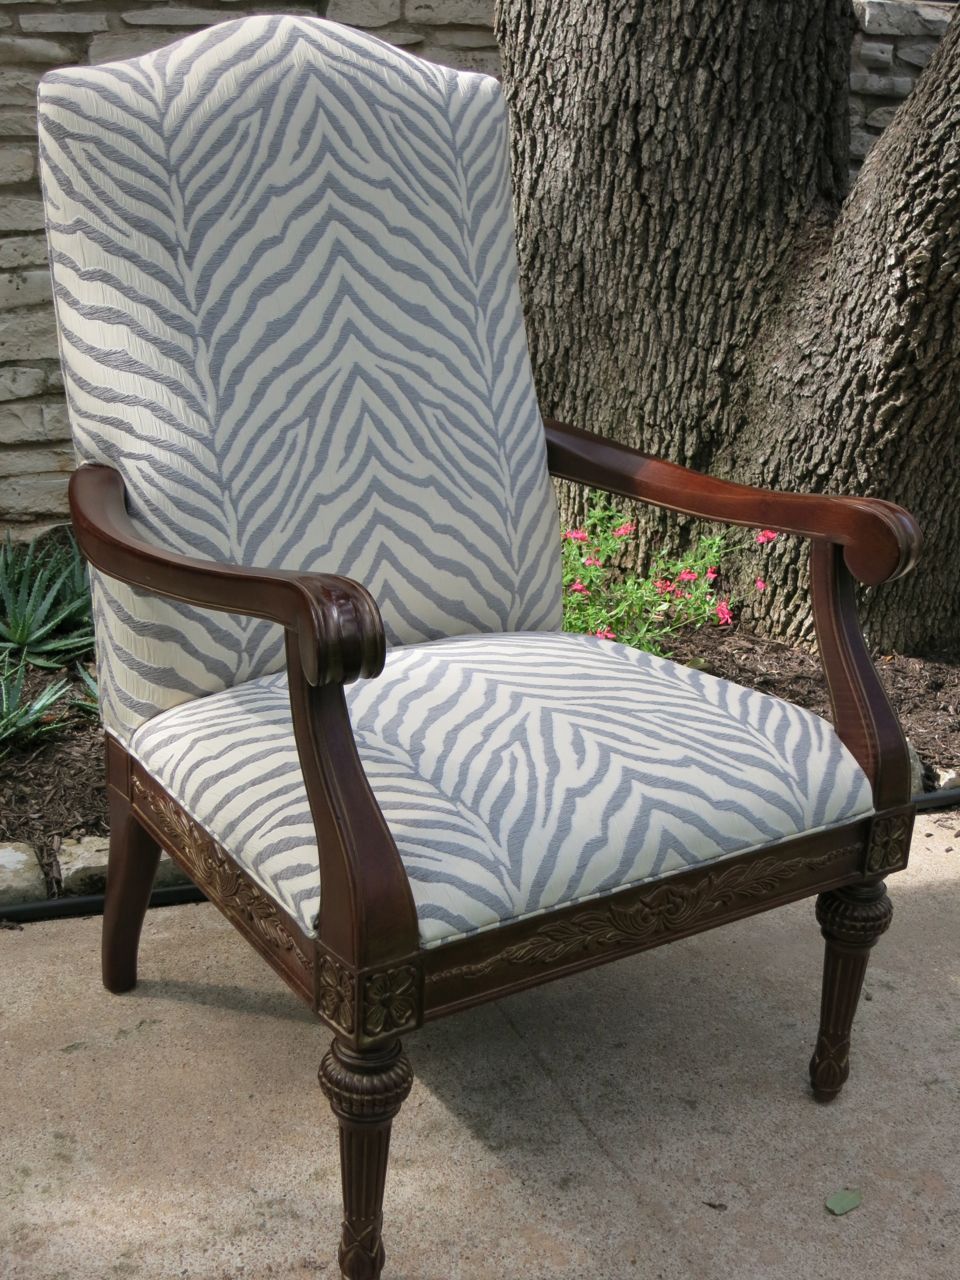

How fun is that fabric?
So glad you stopped by today,


2 Responses to “Little Vintage Chair Gets a Big (Red) Makeover”