
Welcome to my new home office! I’ve made lots of changes to this space recently and I’m so excited to share all of it with you!

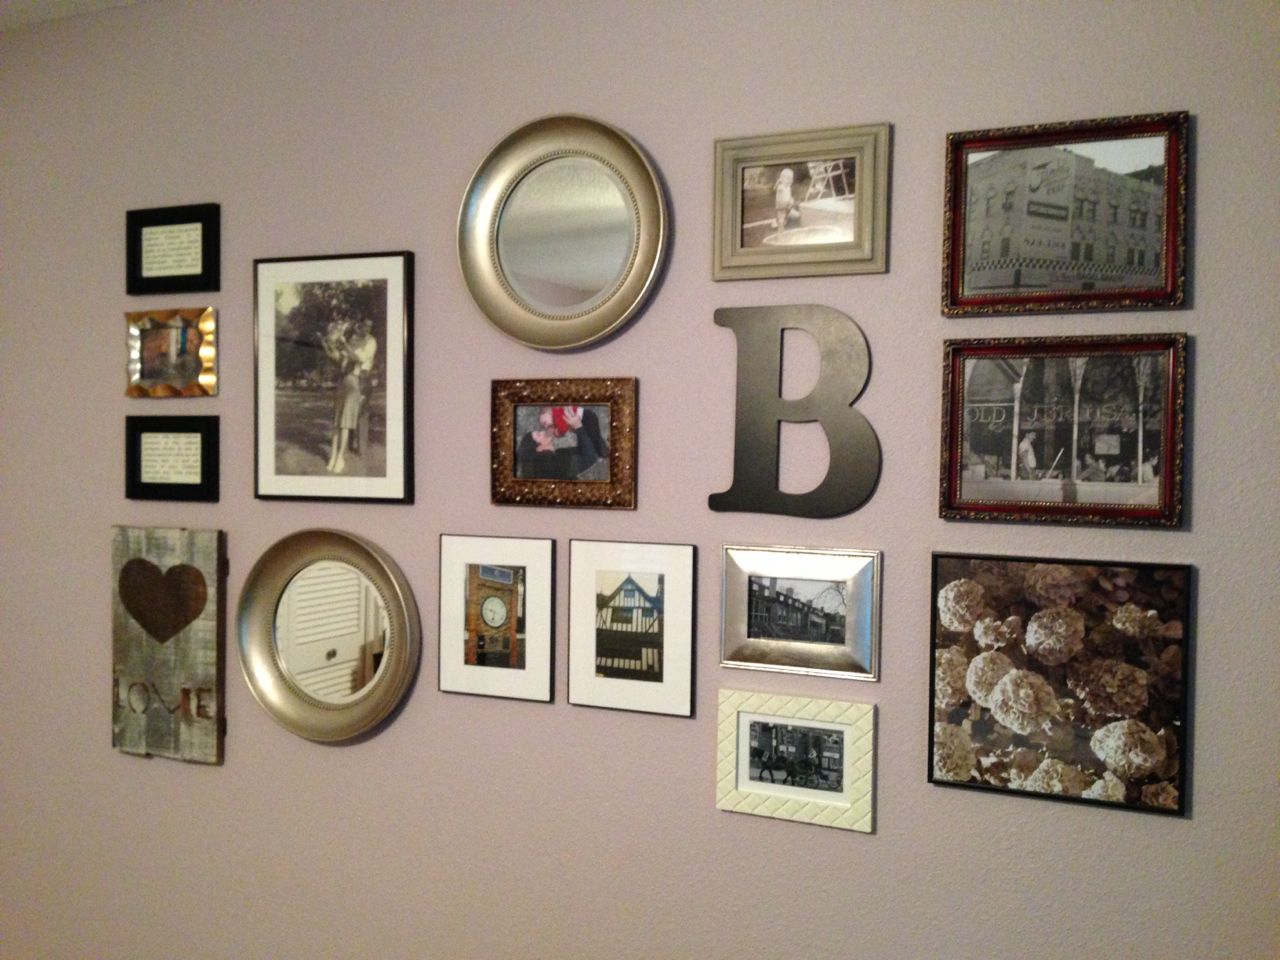
Today’s focus is my just-completed gallery wall:

I’m really happy with how it turned out, and I’ve included a full tutorial just for you!
THE PROCESS
First, I eyeballed how much space I wanted for the gallery, and quickly slapped some painter’s tape on the wall to mark it.

I measured the space after the painter’s tape was up on the wall.
There were a few hiccups I had to sort out along the way. Like the fact that my wall does not exactly meet the ceiling at a straight line in my 1960’s bungalow.
Then, I began to play with some frames I already had in my stash. I painted a few, like the plain wooden ones here:

Ahhh…so much better with some black satin spray paint:

I also went shopping to buy a handful of new frames, some mat board, and a few random objects, such as this mirror:

Next, I used the floor and my desk to swizzle the frames around until I settled on a format that I liked. I quickly traced all my frames and objects onto paper, using painter’s tape to attach them to the wall.
This process really did not take very long at all – maybe 20 minutes total. Seriously, this part was super easy and fast.
BIG TIP – when creating a gallery wall like this one, create an imaginary line either horizontally or vertically that separates your gallery. Everything should be on either side of that line.
Like this:

Do you see the imaginary horizontal line?
Notice that I did not split the gallery into two even sections. Think of it as the top section being ~2/3 of the gallery, and the bottom section as ~1/3.
Using spatial thirds is more pleasing to the eye than equal halves. For more on this topic, you can see how I decorated my bookshelf using thirds in this post.
My next step was to select my photos. For me and my brain, creating the wall template was the easiest part of this project. If putting together a wall template isn’t your area of expertise, Shutterfly has a design-a-wall template in home decor.
The hardest part for me was selecting my photos. I wanted a timeless look, and I wanted to use photos that I had personally photographed.
My initial thought was to use black and white photos that I had taken during a trip to Chicago – I was completely enamored with this idea, and built my entire theme around it. I ordered my Chicago prints from Shutterfly and was thrilled when they arrived, even quicker than I expected.
After “completing” my gallery and staring at it for a few days, I decided that it really wasn’t the look I was going for. It was too flat, and not cohesive. I wanted to bring more life to the wall. Play around with your concept in various ways. If you don’t end up liking it, it’s easy to redo! It’s your home, so you should love your design.
Here’s what the first version of my gallery looked like:
So I started over from the beginning. Well, not the actual beginning, because I kept the format. I still really, really like the format.
I did keep three photos that have significant meaning to me:
–My grandparents as a young couple on a swing, sometime during their courtship in the late 1930’s.
–My husband as a little boy jumping in a swimming pool – this pic reminds me to “go for it!”
–The center photo of me holding my sweet little boy when he was just 7 months old.
Otherwise, I chose all new photos from my online library of places around the world I’d been and loved.
I ordered new prints from Shutterfly, and this time, opted for in-store pick-up at Walgreen’s – they were ready in 30 minutes. Snap! Instant gratification.
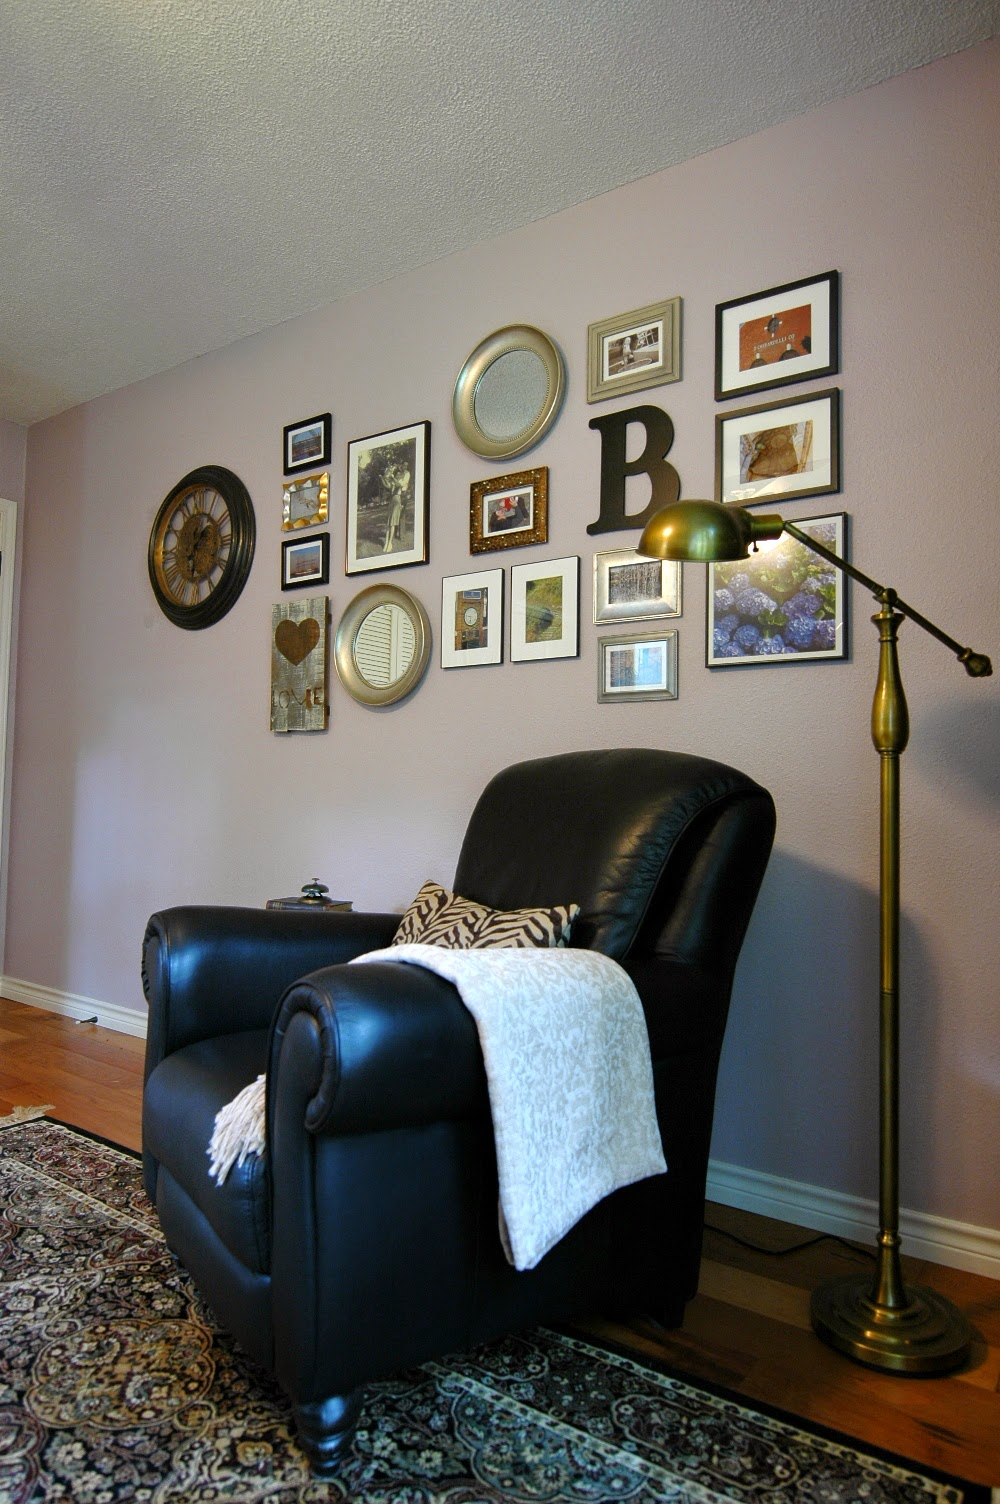
I also found this super-cool wall clock and thought it would make a great addition to the wall. Different colors and textures make for a more interesting décor statement in the home.
I love the end result:

This darling little ducky is one of my favorites:

How cute is that?
OTHER GALLERY FORMATS YOU CAN USE
Here are some simpler gallery formats than the one I tackled in my office.
Like this one in my dining room:

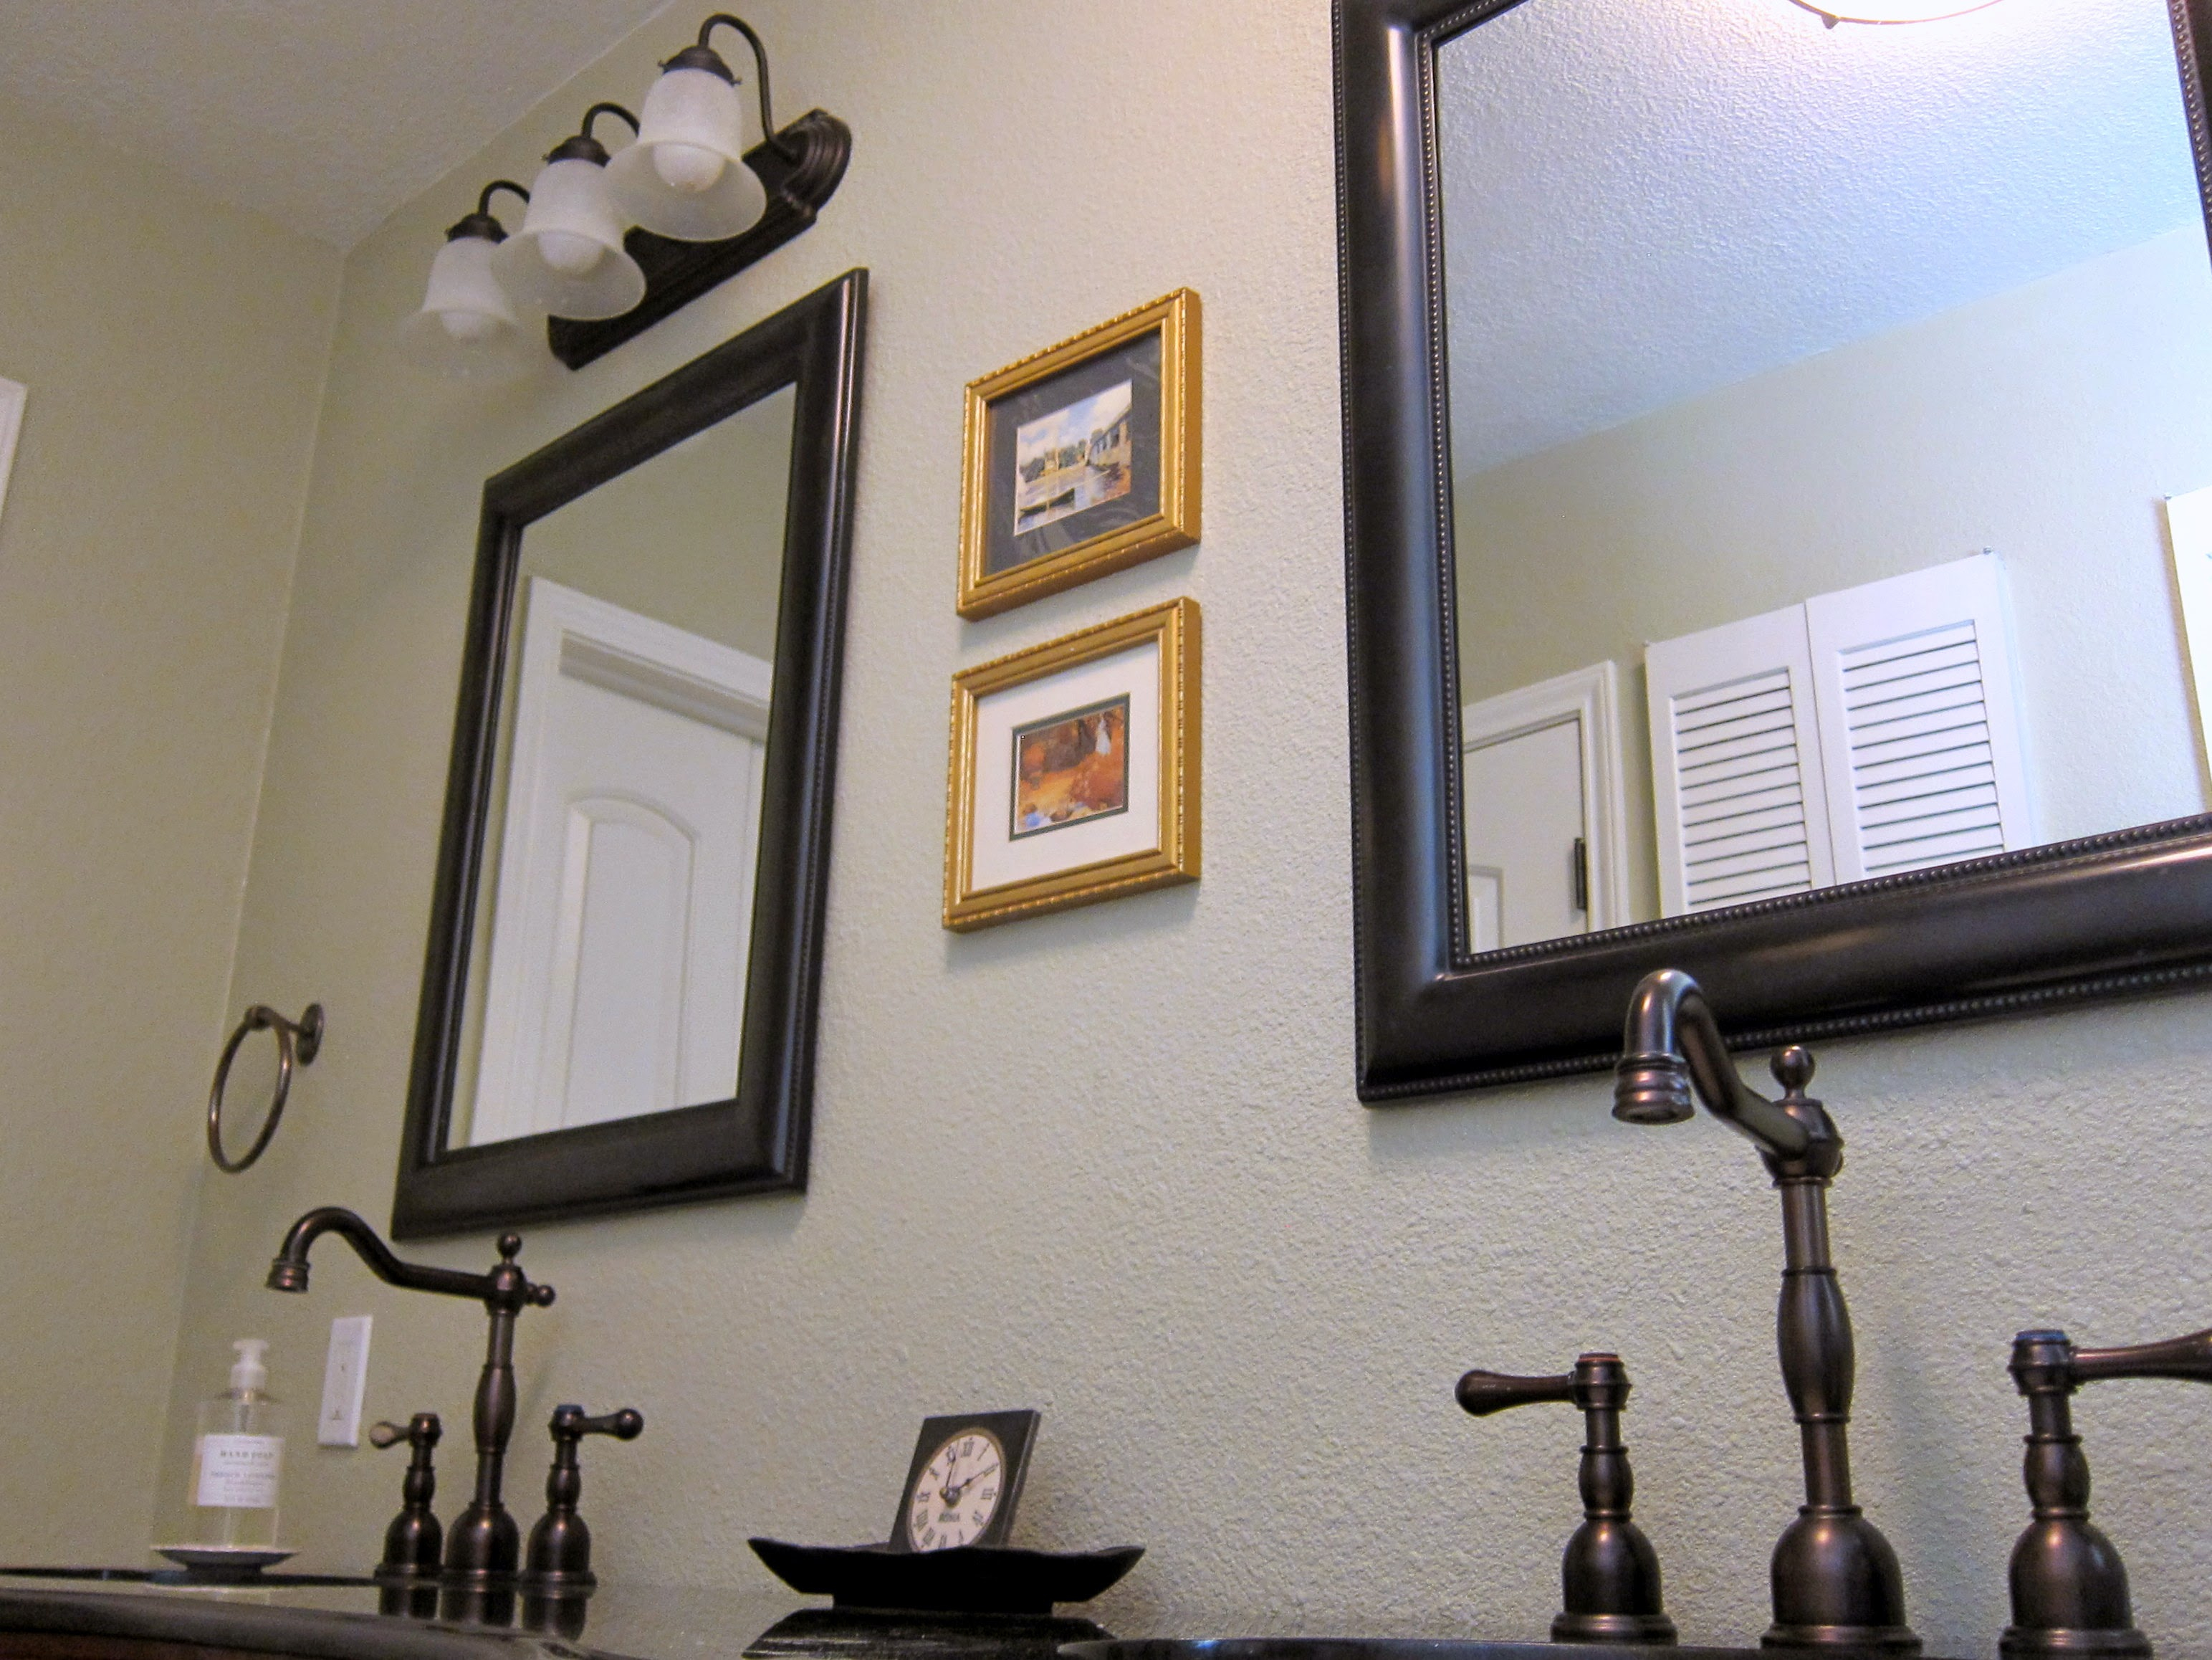
This one in my master bath:
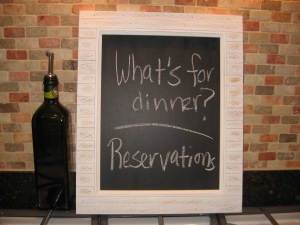
And this one in my breakfast nook:

Do you have some favorite pics you could use in a gallery wall around your home? Let me know in the comments section below!
And stay tuned as I finish up my home office makeover. I’m really excited to show you the rest of it, especially my giant DIY whiteboard!


Well, all I can say is that your office makeover is “stunning.”
Thank you so much! It’s been fun!