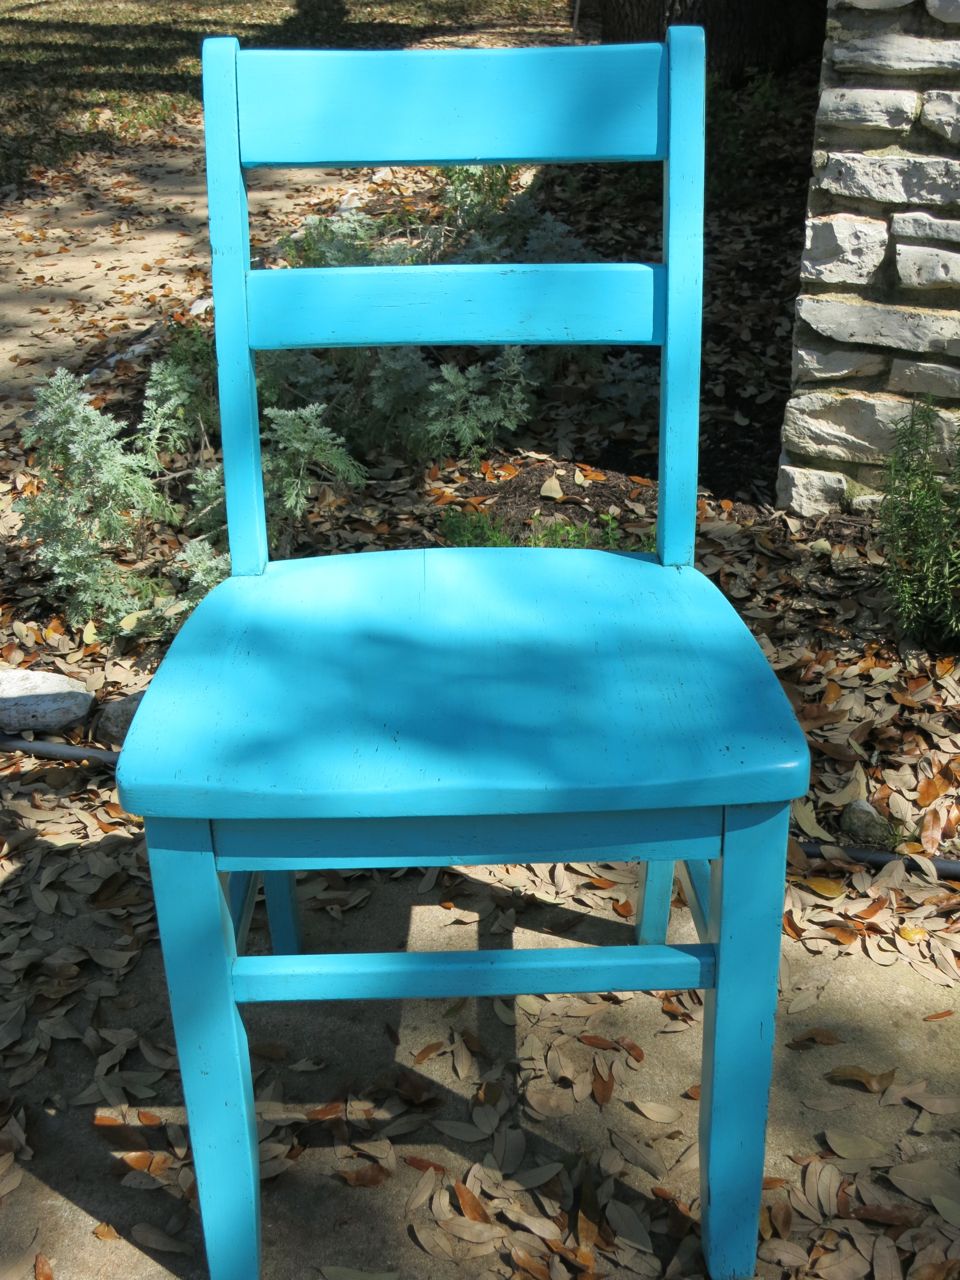
I just finished updating this sweet little schoolhouse chair as a gift for my mom. She acquired it from the university where she retired, and has been using it as a desk chair. I was thrilled when she asked me to give her chair a new “do”, and told me to surprise her with the color!
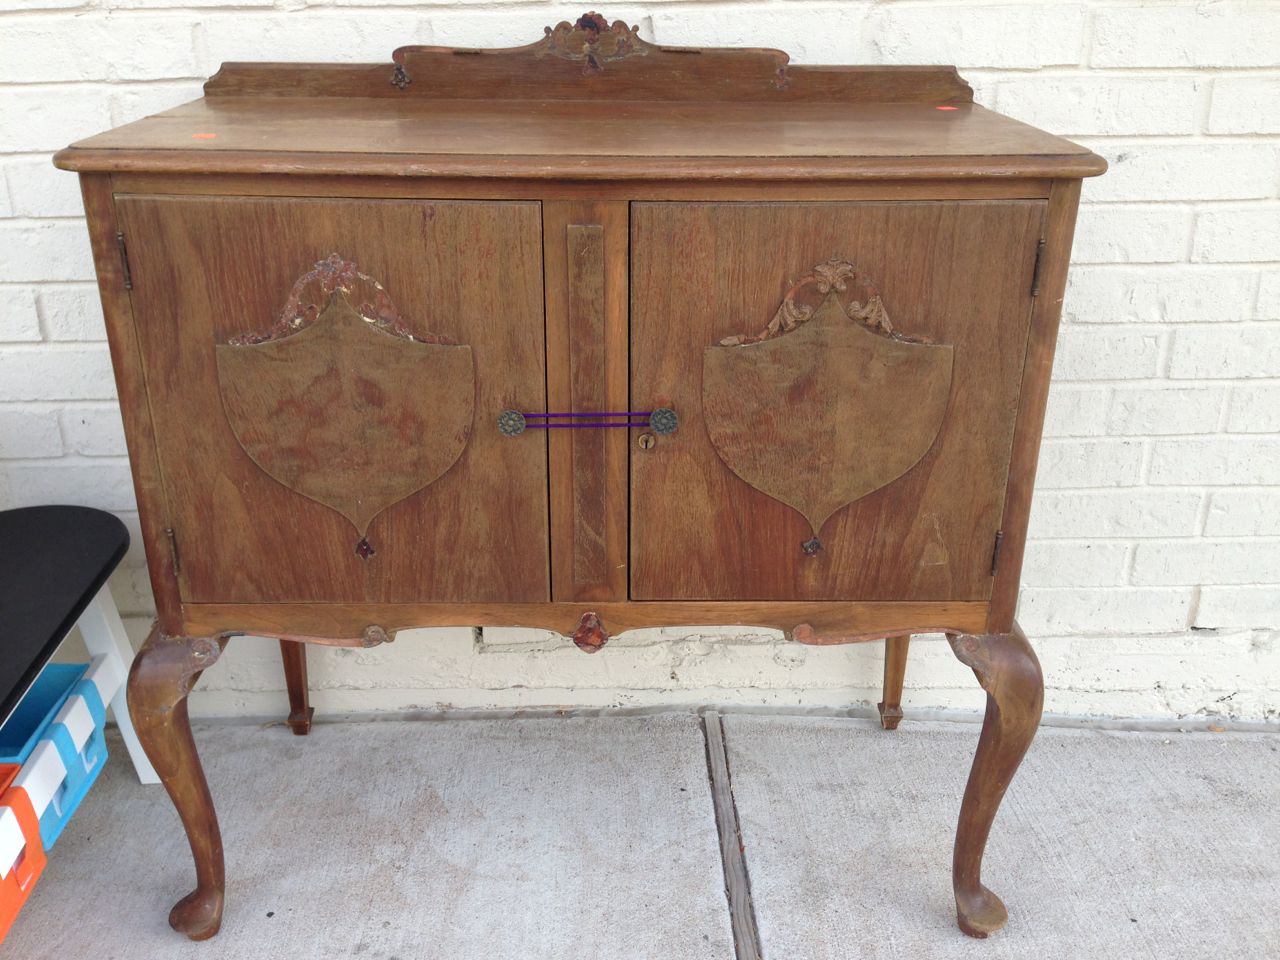
BEFORE:

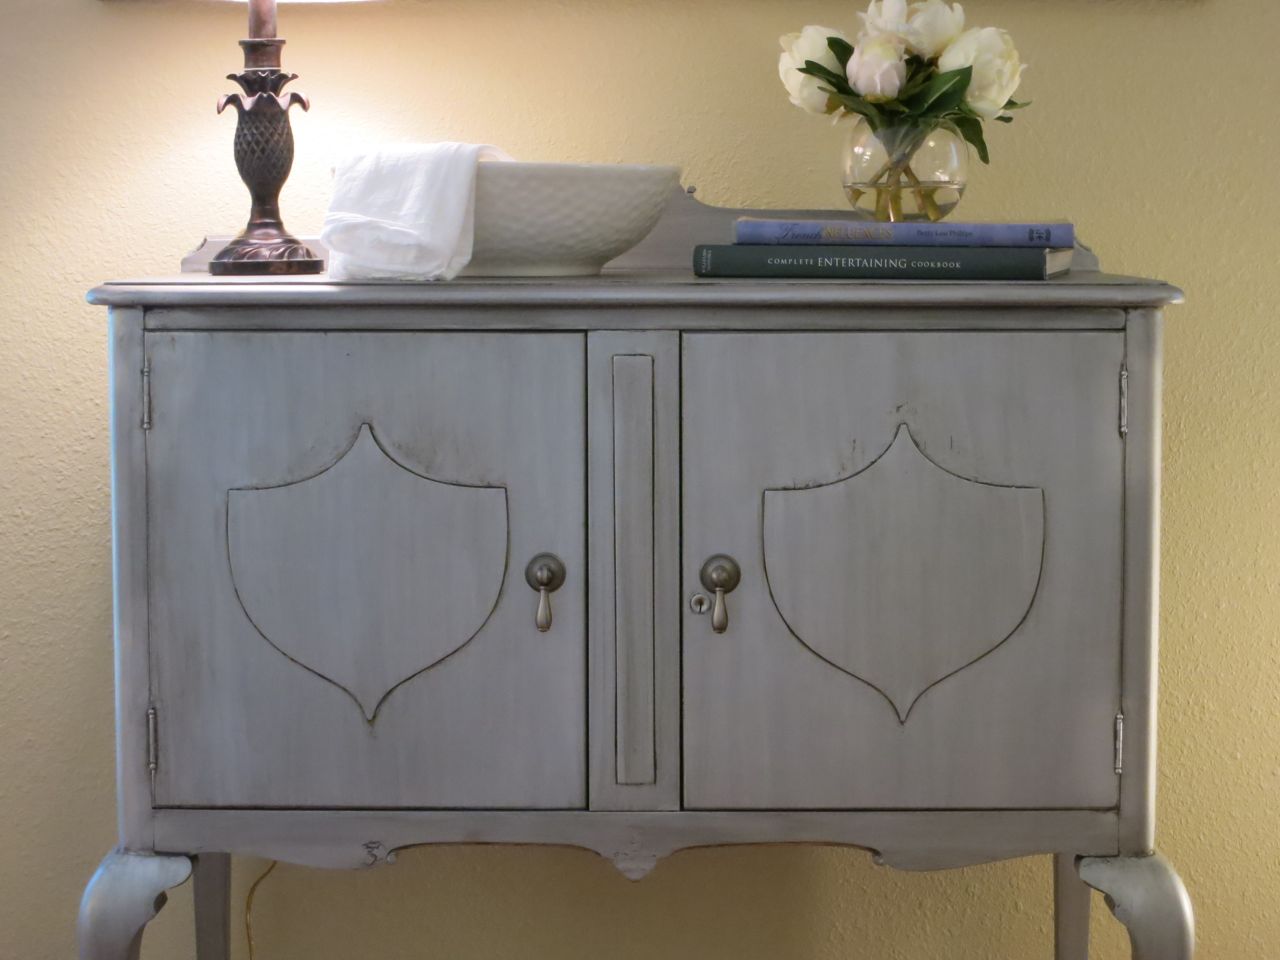
AFTER:

This chair is probably close to (or more than) 100 years old. The finish was not in great condition, and the structure was a little rickety. Hubsters reinforced the chair (thanks, Honey!), so it’s now much sturdier than it was.
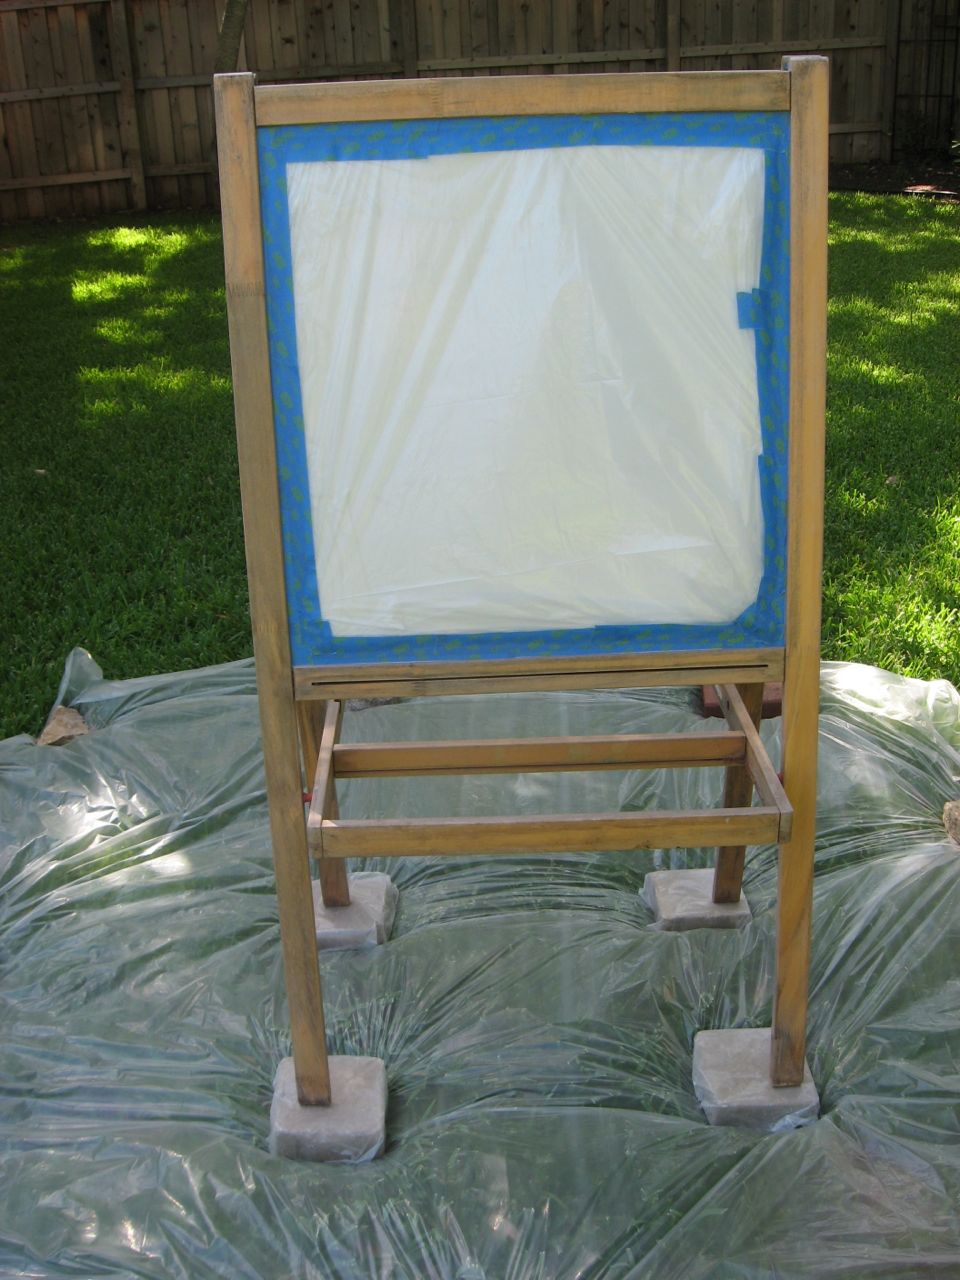
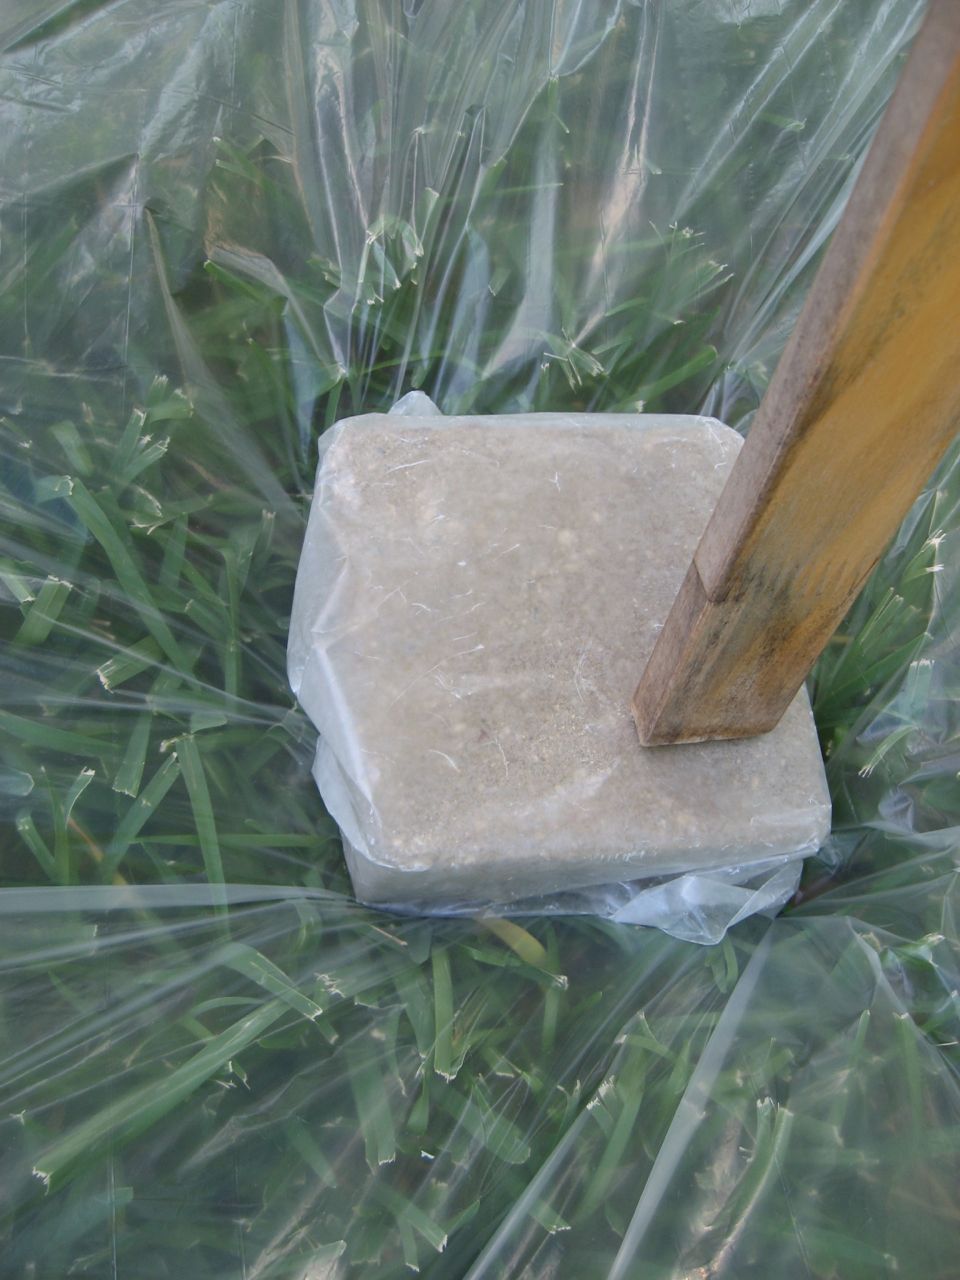
As with some of my previous furniture projects, such as this antique vanity bench, vintage hexagonal table, and little red chair, I sanded with 180 grit sandpaper to even out the surface. After sanding and cleaning, I applied Kilz oil-based spray primer.
A note about using Kilz – it can be a bit gritty, especially in warmer weather. I just use a 220 grit sanding sponge to lightly smooth the surface after priming and before my first coat of paint.
Ahhhh….I just love the fresh, clean slate that primer provides:

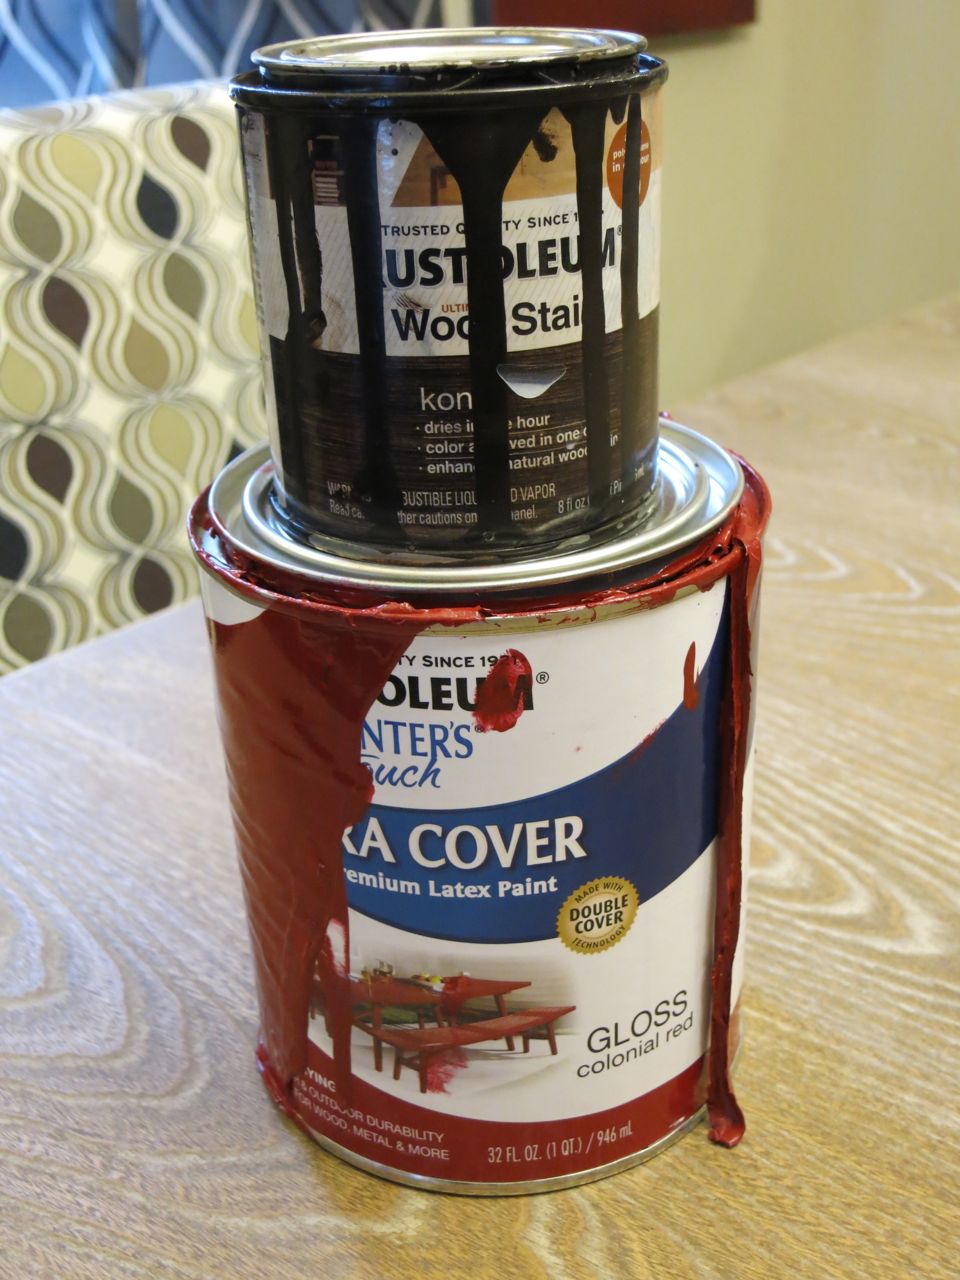
I think I’ve found a new favorite spray paint: Rustoleum Painter’s Touch. It is soooooo easy to work with, and I found that the paint did not run as much as Krylon has for me in the past. It also costs much less per can than Krylon, and provides amazing coverage. I applied three solid coats, and I only used one can of spray paint!
For my mom’s chair, I chose the color “Seaside”. Here it is after three coats of paint:

Then I performed a clean-glazing technique with Tobacco glaze by Ralph Lauren. I began by applying some heavy glaze with inexpensive chip brushes, and then wiped it off with wet rags. I carefully worked the glaze into all of the cracks and crevices. Glazing tones down the vividness of a piece, and accentuates wood grain and blemishes, providing a distressed look with lots of character.

Here are some of my favorite shots of the final result!


Well, Mom, I’m delighted with this fun little makeover, and I hope you are too!
Thanks for stopping by today,

Tags: Around Mi Casa, Around My Home, Melanie Bolke, Rustoleum Painters Touch, spray painting furniture


