

This project offers near-instant gratification. It’s super quick and easy and involves very little hands-on project time.
First, choose a surface you’d like to transform into a chalkboard. You can use wood, canvas, cardboard, ceramic, or even glass. Glass is not much of an option Around My Home, with a two-year old running around that we’ve affectionately named “Grabby Hands”.
I had planned on using a black, pre-primed artist’s canvas to create my first chalkboard. I still think that would turn out great.
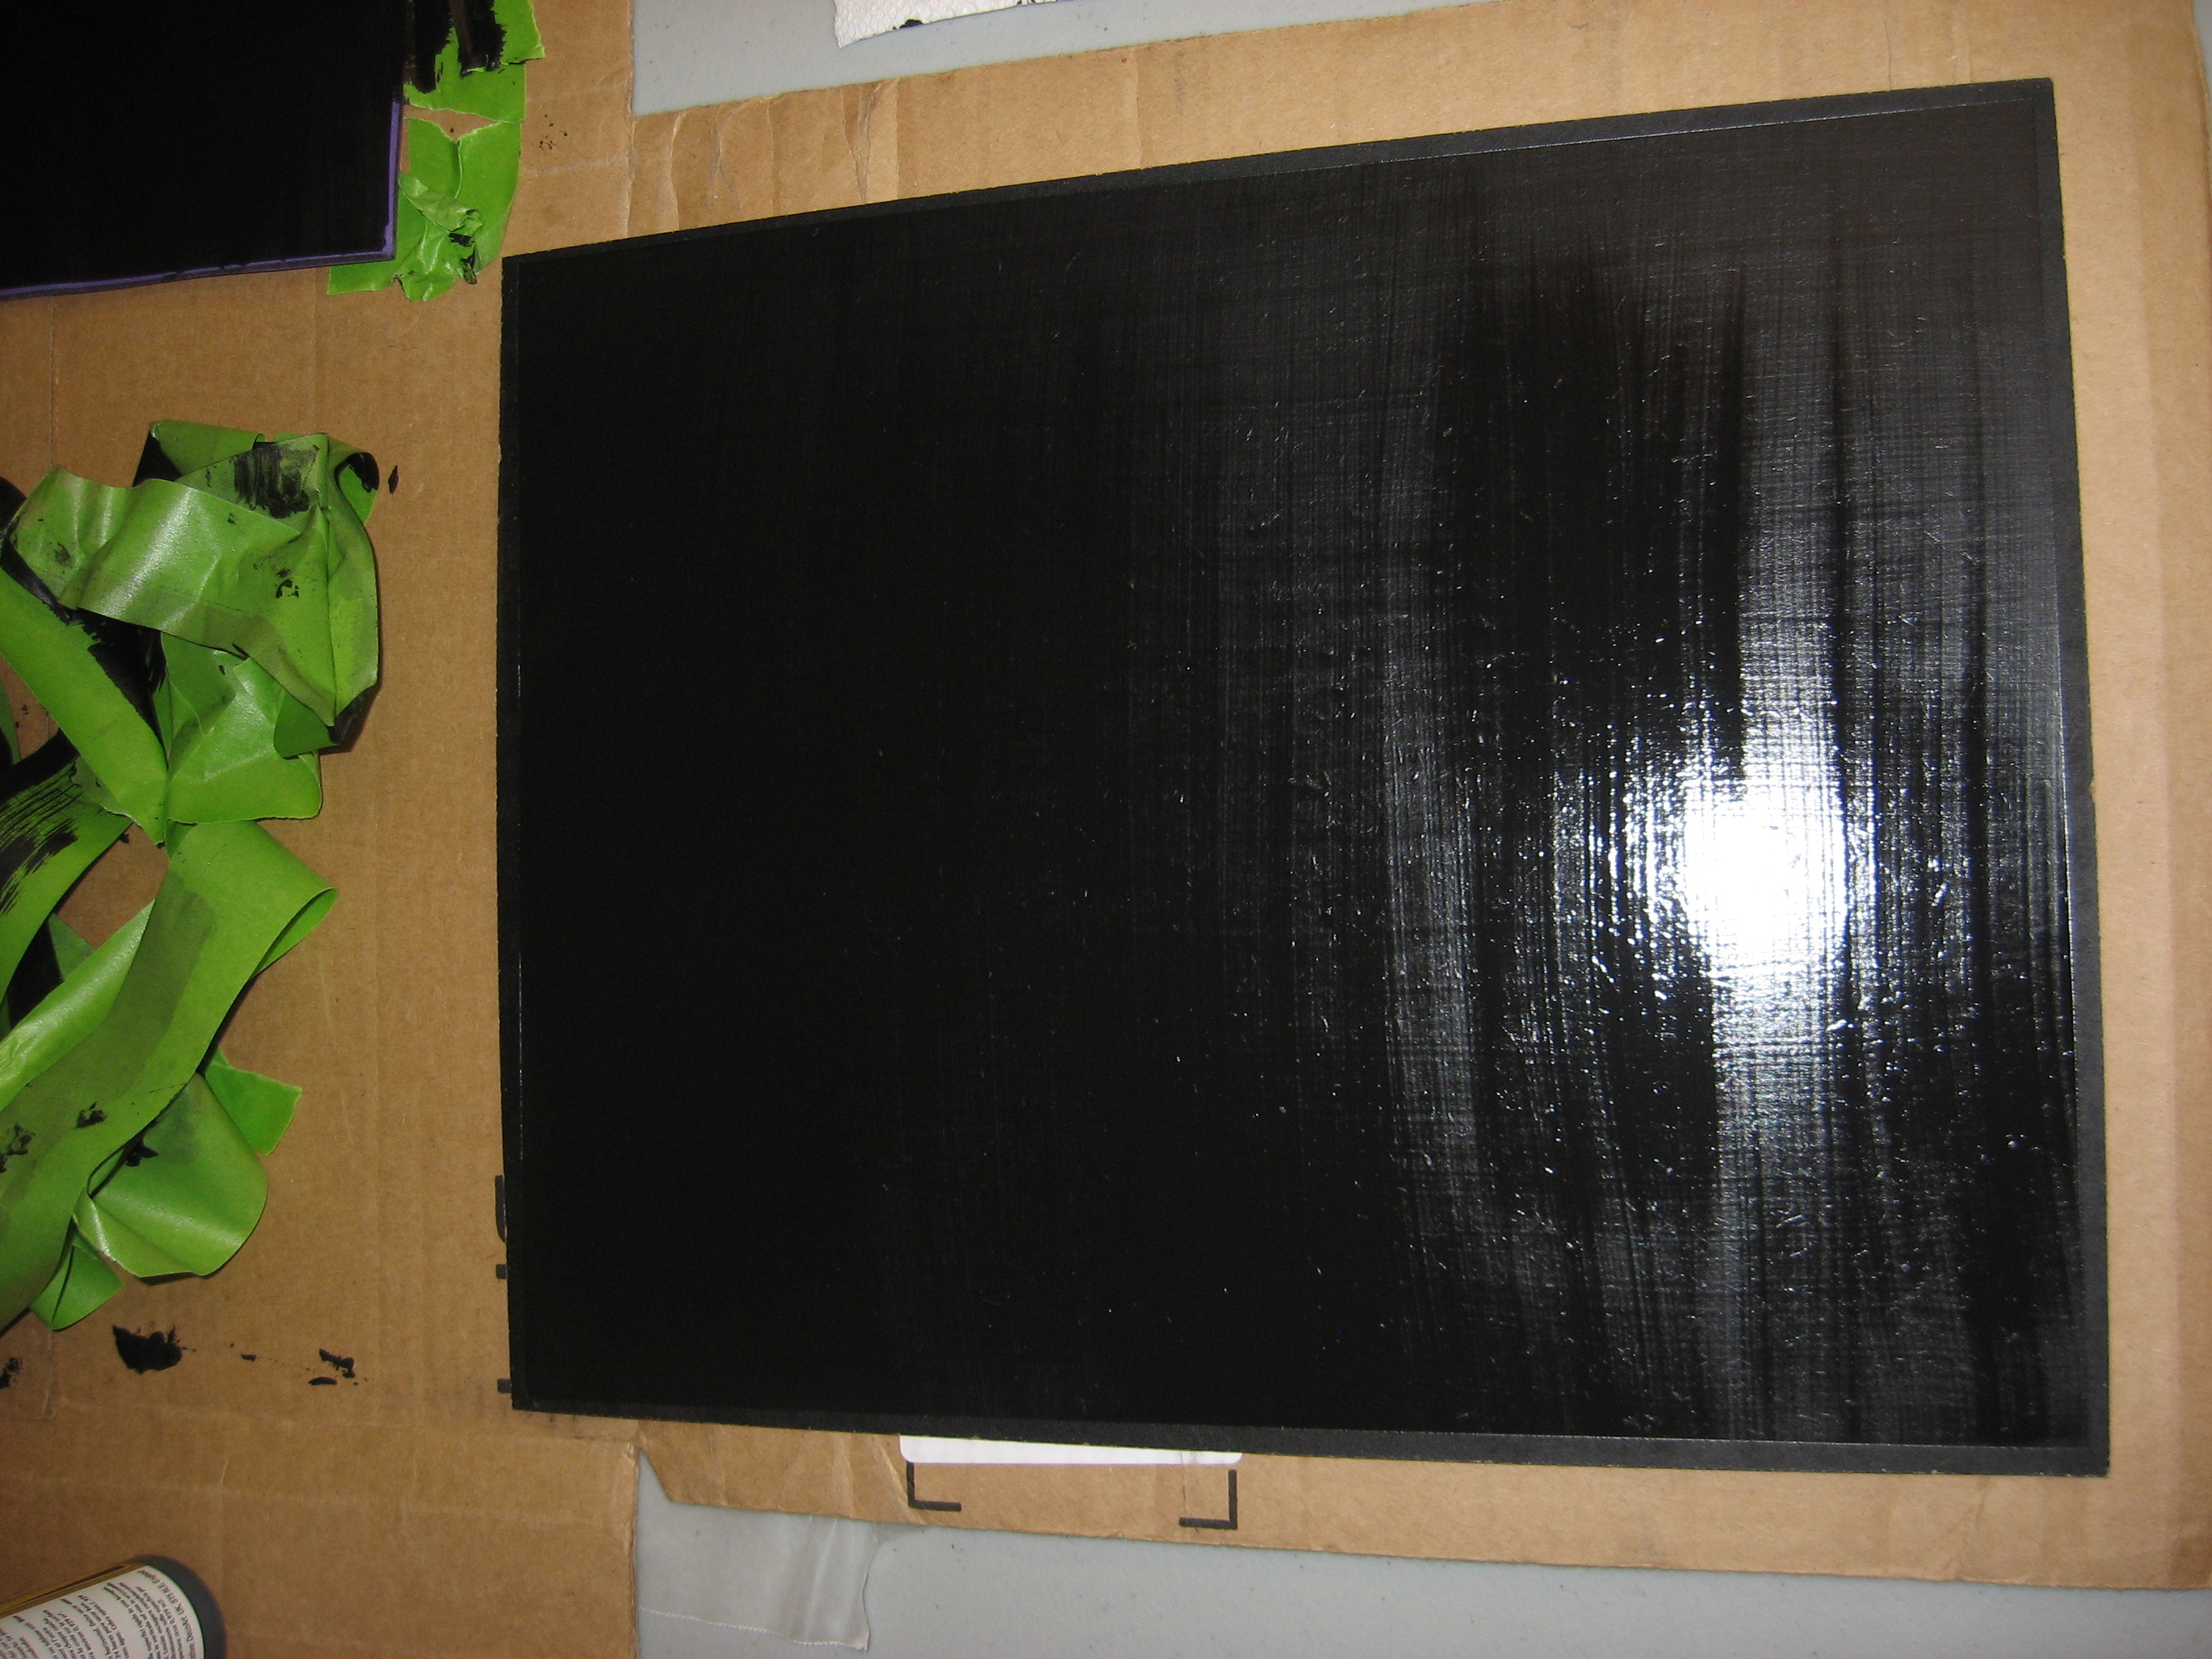
For this project, however, I discovered that the frame I had purchased contained a perfect piece of particleboard backing, so that’s what I used instead.
This brand of chalkboard paint comes in a 4 oz. container. I purchased it at Hobby Lobby with a 40% off coupon. I’ve also seen chalkboard paint in quart-size containers at home improvement stores. I just didn’t want to buy that much for such a small project.

Chalkboard paint is water-based, so I used one of my nicer paintbrushes to apply the paint, knowing that I’d enjoy soap and water cleanup.
I followed the directions on the paint label exactly:
1. Apply two even coats of paint to a clean, dry surface: one coat vertically and one coat horizontally, waiting an hour in-between coats.
I noticed brush strokes when the paint was wet, but they disappeared once the paint had dried.
To keep my work surface from moving around, and to create perfectly clean edges, I used Frog Tape to attach it to a piece of cardboard. I then removed the tape immediately after painting my second coat.
2. Following the second coat, let the paint cure for 24 hours.
With our hot, humid summer, I opted to let it cure for closer to 36 hours.
3. Once the paint finished curing, I “primed” the chalkboard by rubbing a piece of chalk lengthwise over the entire surface, and then wiping it off with a soft cloth.

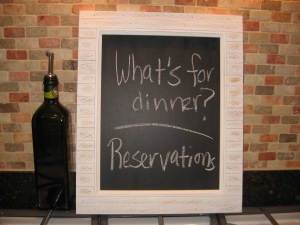
Now my super-fun chalkboard is ready to use and looks terrific!
Project Cost Breakdown:
–Frame: $.01 (yes, 1 cent!)
–Chalkboard paint: $1.79 after 40% coupon (can be used for future projects)
–Paintbrush: already had
–Particle board: included in cost of frame above
–Chalk: $1.47
Total cost for this project: $3.27 (plus tax)
I liked my first chalkboard so much that I quickly made a second one:

The mini cutting board pictured above was a local thrift store find. It has one of those blue and white ceramic plates embedded in it, which I forgot to photograph in my hastened excitement.
I had originally planned on painting over the ceramic, but once I had my brush in hand, I just couldn’t bring myself to slather thick black paint over someone else’s artwork.
So, I grabbed a manila folder, cut it to size, and used that to produce my chalkboard instead. Once cured and primed, I applied it to the top of the ceramic plate with re-positionable spray adhesive. Since this chalkboard is out of the way and solely for decoration, I’m not concerned about its durability.
I’ve found myself looking at everyday items Around My Home, wondering if they’d make good chalkboards: picture frames, flower pots, and even old salsa jars (the lids or the glass or both!)
It’s such a fun and rewarding project that I plan to make some personalized gifts for birthdays, housewarming, and Christmas.
What do you have around your home that’s waiting to be re-purposed with a little chalkboard paint?


3 Responses to “DIY Chalkboard for Back-to-School or Anytime!”