
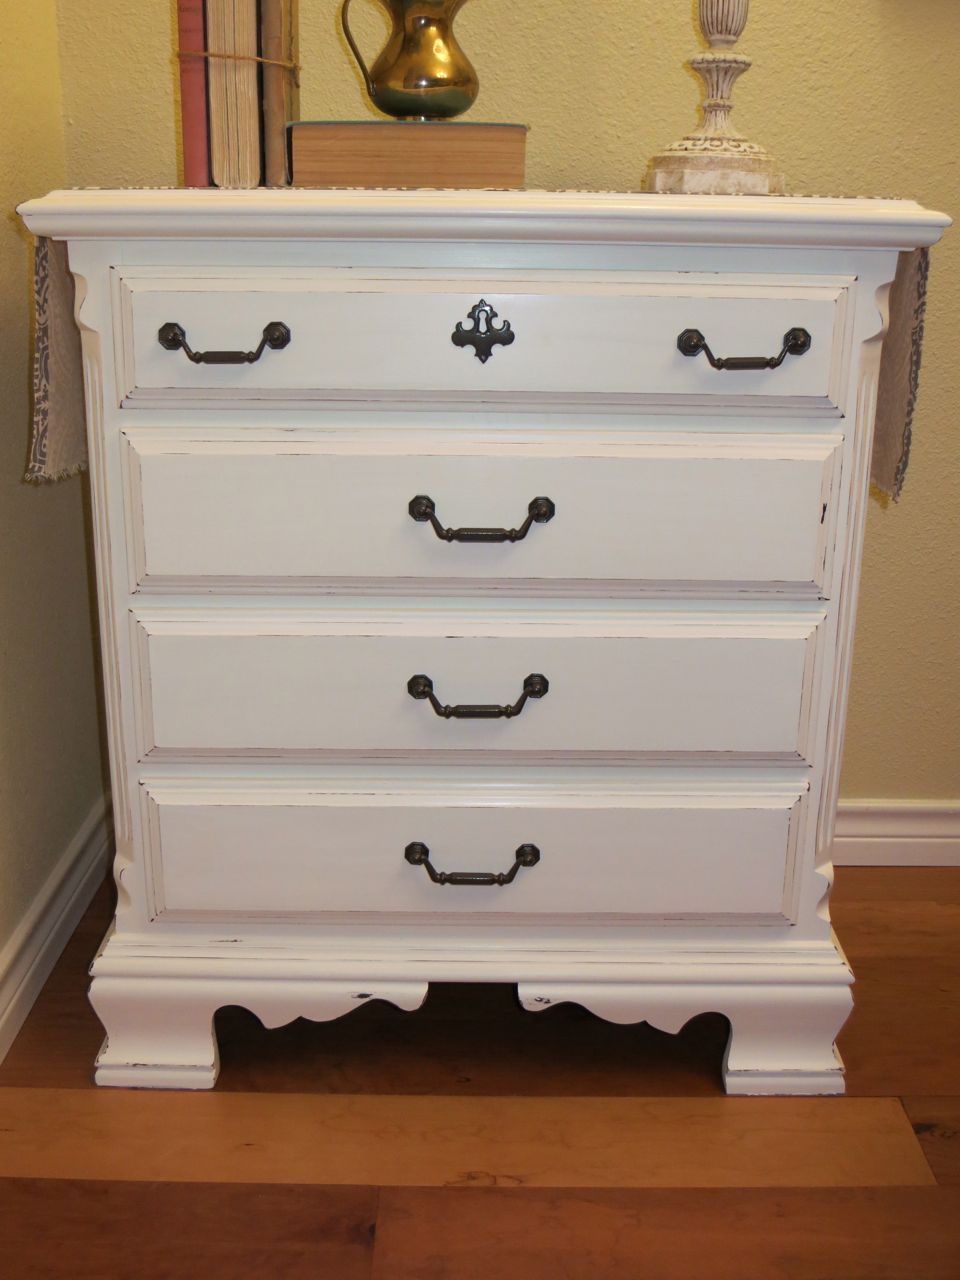
Here’s an after photo of one of my recently completed chalk paint tables:
And some before photos:


A few dings and scratches here and there.
We were gifted two over-sized nightstands last summer as part of a beautiful bedroom set.
They were made of mahogany wood and in great shape overall, except for a few small dings and scratches that had been acquired through the years.
Although I liked the overall shape, I thought that both the finish and the hardware made the nightstands look dated. I’m not a huge fan of the Chippendale style drawer pulls.
I wanted to try something different than spray paint this time, so I searched Pinterest for ideas on furniture refinishing. It seems that nearly every piece I saw that I really, really liked had been refinished with chalk paint.
Not chalkboard paint, but chalk paint.
The appeal of chalk paint is that there is no sanding or priming needed to prepare your surface for painting – you just start painting!
After the amount of sanding and priming that went into this vintage hexagonal table, this antique vanity bench, and my son’s vintage red chair, I was ready to try a different painting technique.
I was sold on the concept of chalk paint, so I went in search of where to buy it. I quickly discovered that brand-name chalk paint is super expensive!!! At $35-40 per quart, I did not want to “experiment” with it on my free furniture!
After researching homemade chalk paint, I found several on-line recipes and decided on one using calcium carbonate and latex paint. I chose calcium carbonate because it’s the safest to eat of all the ingredients used to make other chalk paint recipes. I mean, who wants to eat un-sanded grout for breakfast!
I tried several different formulas on sample wood and found that I like this recipe the best:
HOMEMADE CHALK PAINT RECIPE
–Dissolve and thoroughly mix 4 tablespoons calcium carbonate powder (you can purchase it at health food stores on on-line sites like Amazon) in 2 tablespoons of warm tap water.
–In a separate container (I use 32 oz yogurt containers), pour in one cup of latex paint. My go-to paint is Sherwin Williams, but I purchased Behr for this project because I happened to be at Home Depot and didn’t want to make a separate trip. It worked out well. I used Satin finish, but I think I may try flat next time, just to see if there is any difference in the application.
–Add the calcium carbonate mixture to the 1 cup of paint and mix well.

Start painting! That’s all there is to it! No sanding or priming needed, chalk paint provides great coverage and a velvety finish that can’t be matched with regular latex or oil-based paint.
The chalk paint also seems to have a “self-leveling” feature to it, so that most brush marks fade after painting. I’ve read that some people have used a paint conditioner such as Floetrol to lengthen work time, but I’ve never tried it. I may experiment with it when I paint our kitchen table, as it has a large, flat surface.
Here are some photos after 2 coats of my homemade chalk paint:

Mmmmm…..buttah…


I taped off the holes for the hardware so that the paint would not drip inside the drawers.

I knew from the beginning that I wanted to distress these pieces, but it was hard to break out the sandpaper after achieving such a beautiful, chalky finish.
Once I got started though, it was fun and there was no turning back. I used 150 grit sandpaper and focused on the corners and raised edges.
Chalk paint distresses beautifully, so it really did not require too much time or effort. I tried to do just enough sanding that it looked intentional. I sanded lightly in some areas, and applied more pressure in others.

Once I finished distressing, I wiped the piece down with a dry lint-free cloth and vacuumed up the paint residue.
Do not use a damp rag or water, as this will activate the chalk paint and ruin your piece and your work surface.
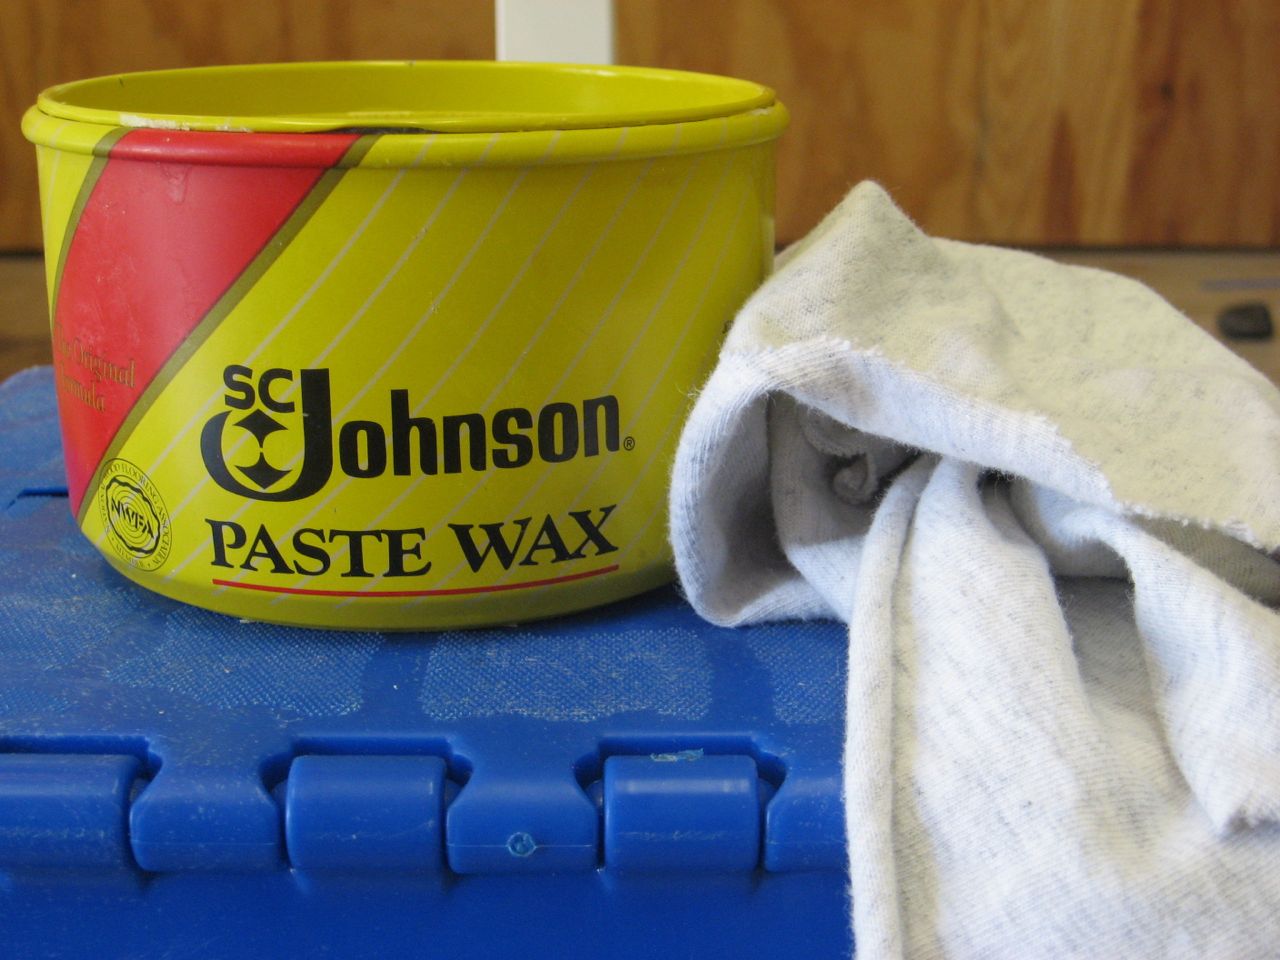
Then I applied wax. Chalk paint needs to be sealed in order to protect it. One option is wax and I like the sheen it provides.
I’ve only used SC Johnson and have been pleased with the results, so I haven’t tried anything else. It’s readily available at home improvement stores (usually with the cleaning products, not the paint products).
I just follow the directions: apply a thin layer of wax with the grain, let dry to a haze, and buff with a soft cloth. I use cut-up old t-shirts to apply the wax and buff it.
This stuff smells strong, but dissipates once buffed and dried on furniture. I only use it outside or in the garage.
Somehow along the way I had the idea to use the nightstands as a sort of “split buffet” in my dining room. I love the way it turned out.
Here’s the sneak peek pic I showed in my Pottery Barn Lamp Makeover post. This shot is before the hardware had been painted and installed.

I ordered some pulls from D. Lawless Hardware because they were inexpensive, I liked the way they looked, and most importantly, they were the right sizes (I needed two hard-to-find sizes).
The original finish on both sizes was a sort of shiny metallic gold finish:

It took me several days to finally decide what color to paint the hardware. I chose Rustoleum hammered metal paint in Burnished Amber.
I had been going back and forth between antique bronze and pewter, and this color seemed to be a great “in-between” option.

Some yummy after photos:


Thanks for stopping by today,


One Response to “DIY Furniture Transformation with Homemade Chalk Paint”