
I love throw pillows and the way they instantly change the look of a room. I just don’t love the price tag!

Ahhhh…looks so inviting to me. Hubby just wants to know where people will sit now with all these pillows.
I had tried making some envelope pillows with fabric glue after reading this post on one of my favorite DIY blogs.
Mine fell apart.
My mom suggested sewing some instead and I laughed. I had never even held a needle and thread in my hand before – ever. She then offered to give me a sewing tutorial.
Following my mom’s patient instruction, I conquered my fears and completed my first sewing project – DIY Pillows!

Remember my $40 wingback chair thrifty find at the Salvation Army? New upholstery and a DIY pillow give her a whole new look. Isn’t she lovely?
Here’s the step-by-step process I followed:
Select your pillow insert.
This step will determine how much fabric you will need. I bought a few new inserts and repurposed some others Around My Home.
The one pictured here is a nice 14 x 20 feather pillow that cost $7.99 at Interior Fabrics in Austin. They told me that they can’t keep these pillows in stock.

Select and cut your fabric to size.
You will need three pieces to make an envelope pillow. The front or main piece should be cut about an inch and a 1/2 longer and wider than your pillow. For this 14×20 pillow, I cut the fabric to 15 1/2 in x 21 1/2 in. If you cut larger pieces, your pillows will be baggy.
You will also need two flaps for the back of the pillow, which will be your envelope closure. Cut them to the same length as the main piece, but approximately 2/3 of the width.
I cut the flaps for this pillow 13 1/2 x 15 1/2. If you make them too long, it will be hard to insert the pillow. Make them too short and the envelope will not fit right.
Hint: When using striped fabric, you may want to make your fabric a bit wider so that you can line up the stripes, and then trim off the excess after pinning the pieces in place prior to sewing.
Iron fabric pieces

Pin and Sew
Placing right sides together, pin your fabric on the 2 outside edges and sew.
Then, sew a hem on each of the pieces you just attached to the main piece.
Pin the top and bottom edges and sew.

Turn your pillow cover inside out and trim any loose threads.
Insert your pillow
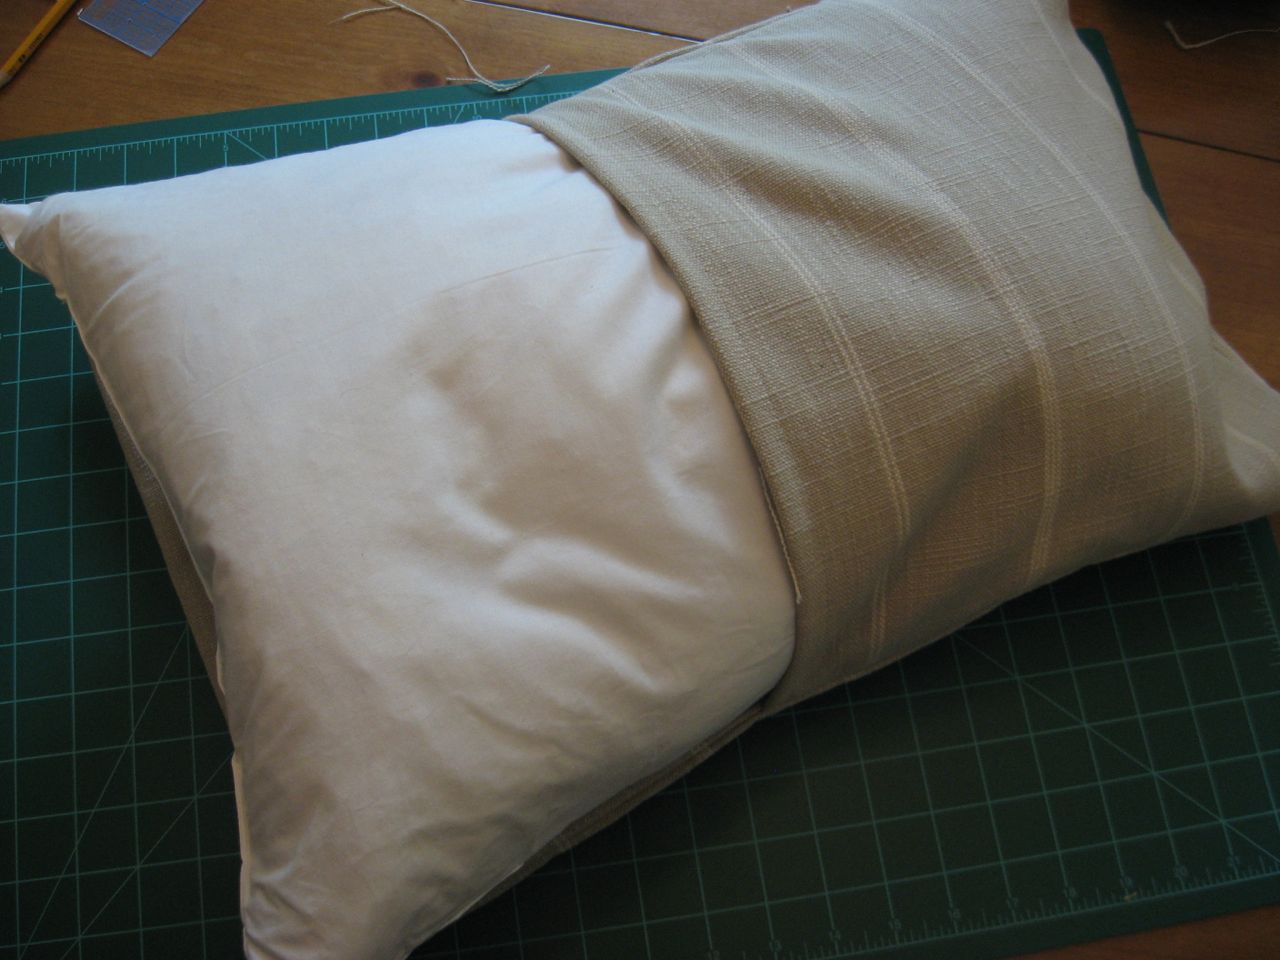
Voila! Time to Decorate!

Finished view of front

Finished view of back

You may recognize several pieces in this photo: the buffet table, oil painting, and brass bowls from My Top Favorite Thrifty Finds, and the coffee table books from my post on decorating with books.
I leave you with one last pillow pic. We made this one for the daughter of a friend.
I secretly wanted to keep this little pillow for myself, but my name doesn’t start with “R”.
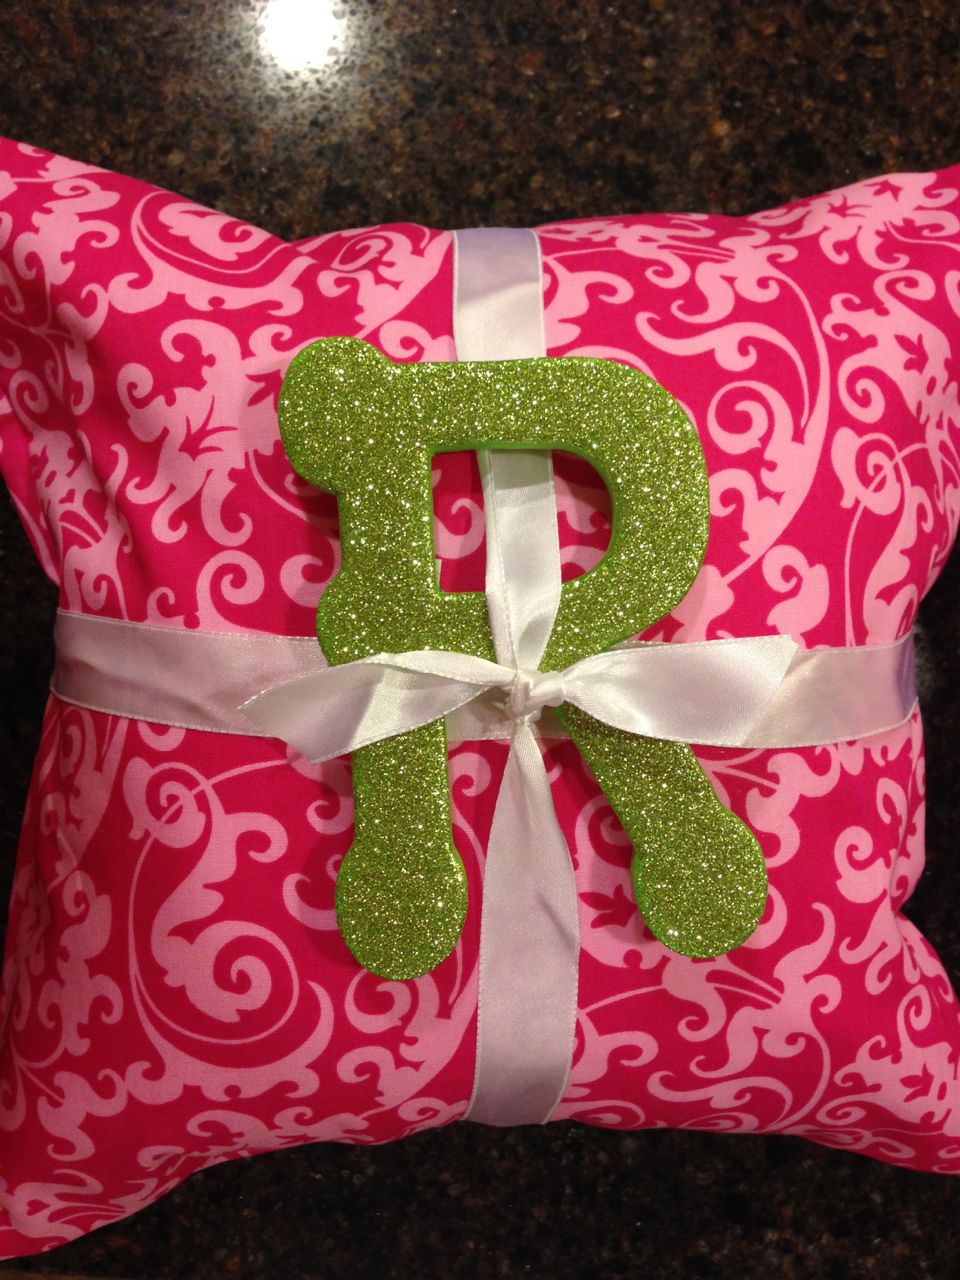
Happy decorating with DIY pillows!


2 Responses to “DIY Pillows – Sew Easy!”