
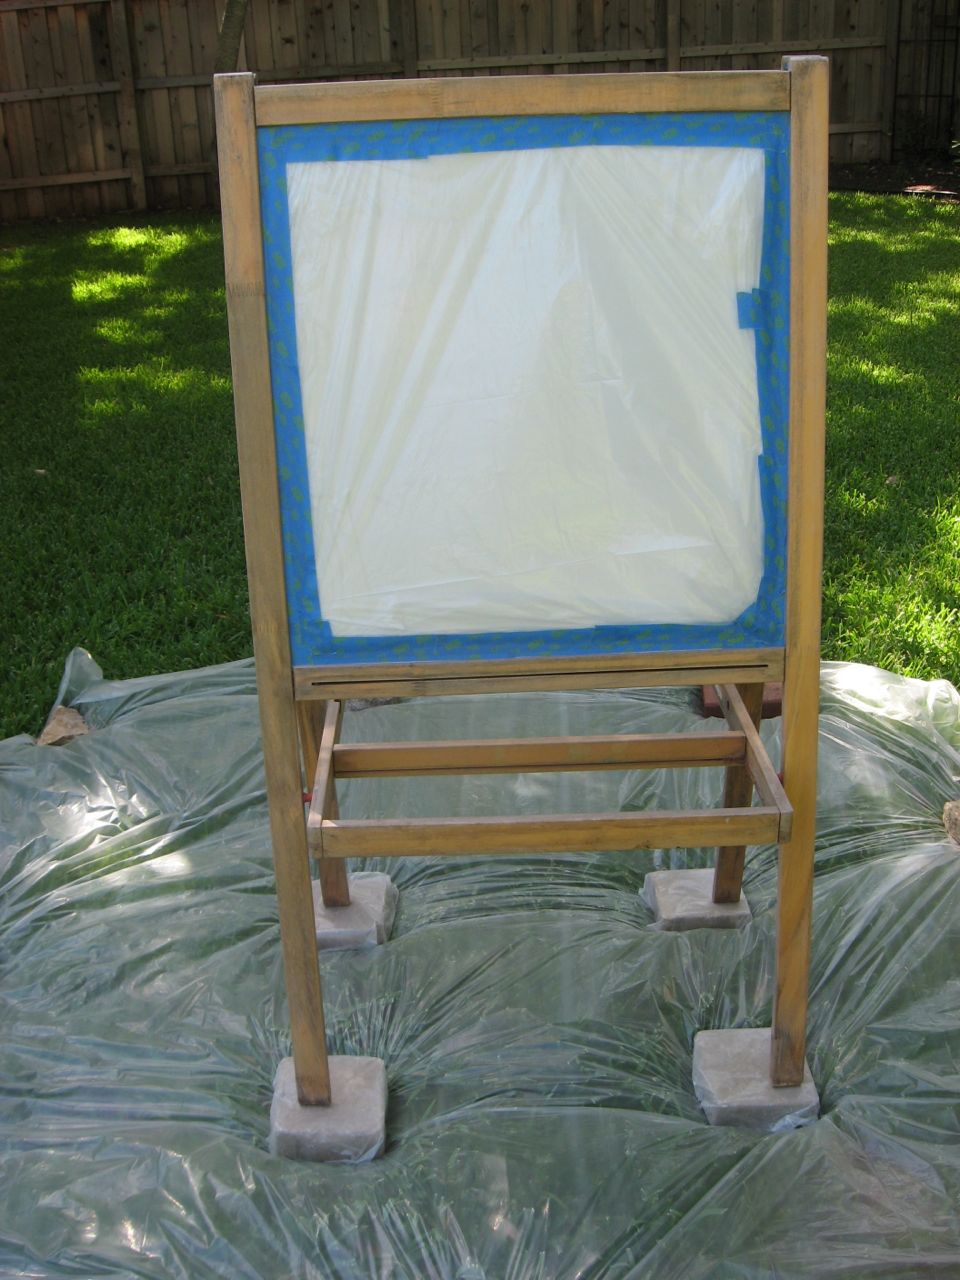
My son and I found this weathered and worn easel on the curb of a neighbor’s house. They had put it out for the trash pick-up. My sweet little guy has compassion for discarded furniture (wonder where he gets that from), and asked if we could rescue the piece. He envisioned transforming it into a chalkboard to practice writing his letters.
As you can see in the before pics, the easel had been sitting outside for a long, long time. The wood had mildew in some places and the whole thing was d-i-r-t-y.

I used Windex to clean it, filled in some of the cracks with caulk, and sanded away. My l’il guy helped every step of the way.

Windex works great on removing dirt and grime from wood, and the drying time is super short.

I then taped off the whiteboard surface. I knew I’d be transforming it into a chalkboard, and wanted to keep it free from any primer grit.
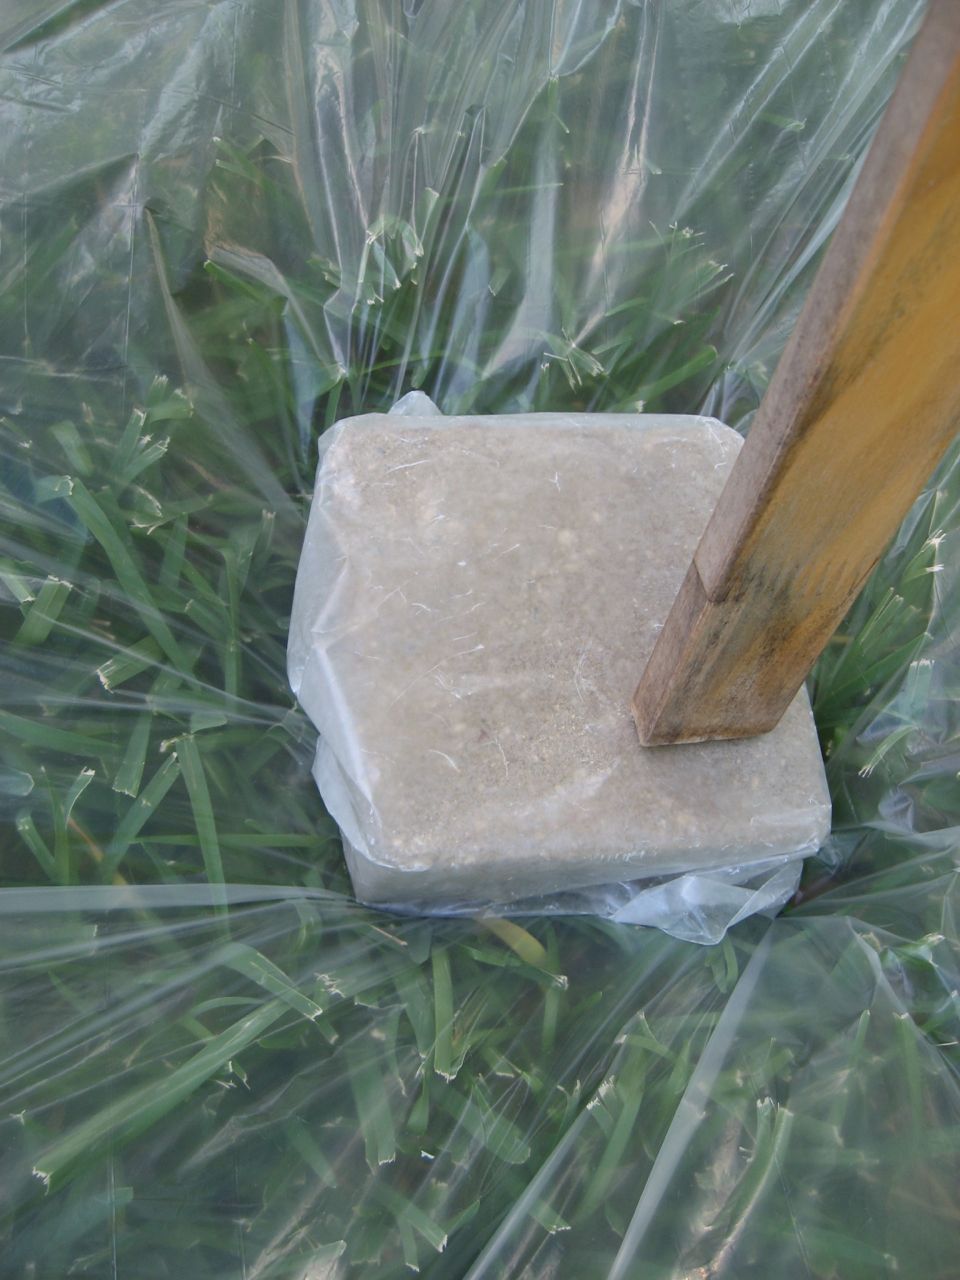
I typically use small, square bricks wrapped in wax paper as furniture risers. They’re sturdy, re-usable, and paint doesn’t stick to the wax paper.
Next step: primer! I used a stain-blocking formula to seal the wood well, as it had been subject to so much outdoor abuse.

I chose Dover White by Krylon in a Satin Finish for the paint color. Soooo pretty and buttery smooth.

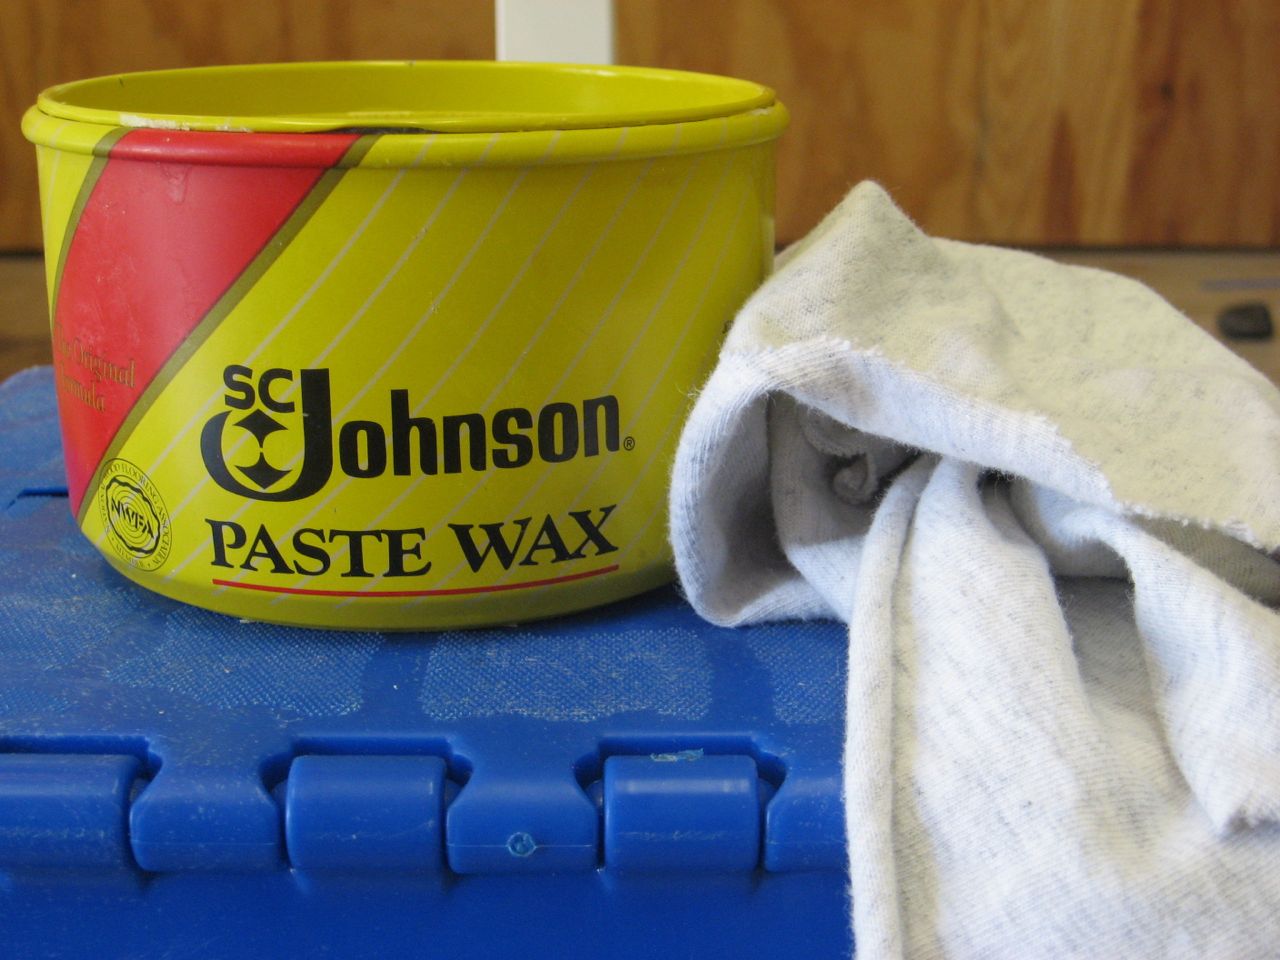
I followed it up with some furniture wax to seal the paint and protect the easel from dings and scratches. The SC Johnson wax is easy to use, creates a beautiful, satiny sheen, and is super cheap. It’s available at most home improvement stores.
A word of caution: the fumes are strong, so it’s best to apply the wax outside or in a well-ventilated area.
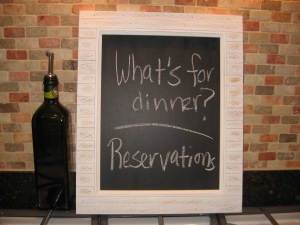
I taped off the whiteboard with FrogTape (my favorite), and used chalkboard paint to transform the surface. Chalkboard paint goes a long way, and is easy to work with. I’ve been using the same small bottle of it for more than a year, and have transformed lots of pieces into chalkboard surfaces. I always follow the instructions exactly, and it turns out perfectly every time.
For a full tutorial on creating chalkboard surfaces, click here.
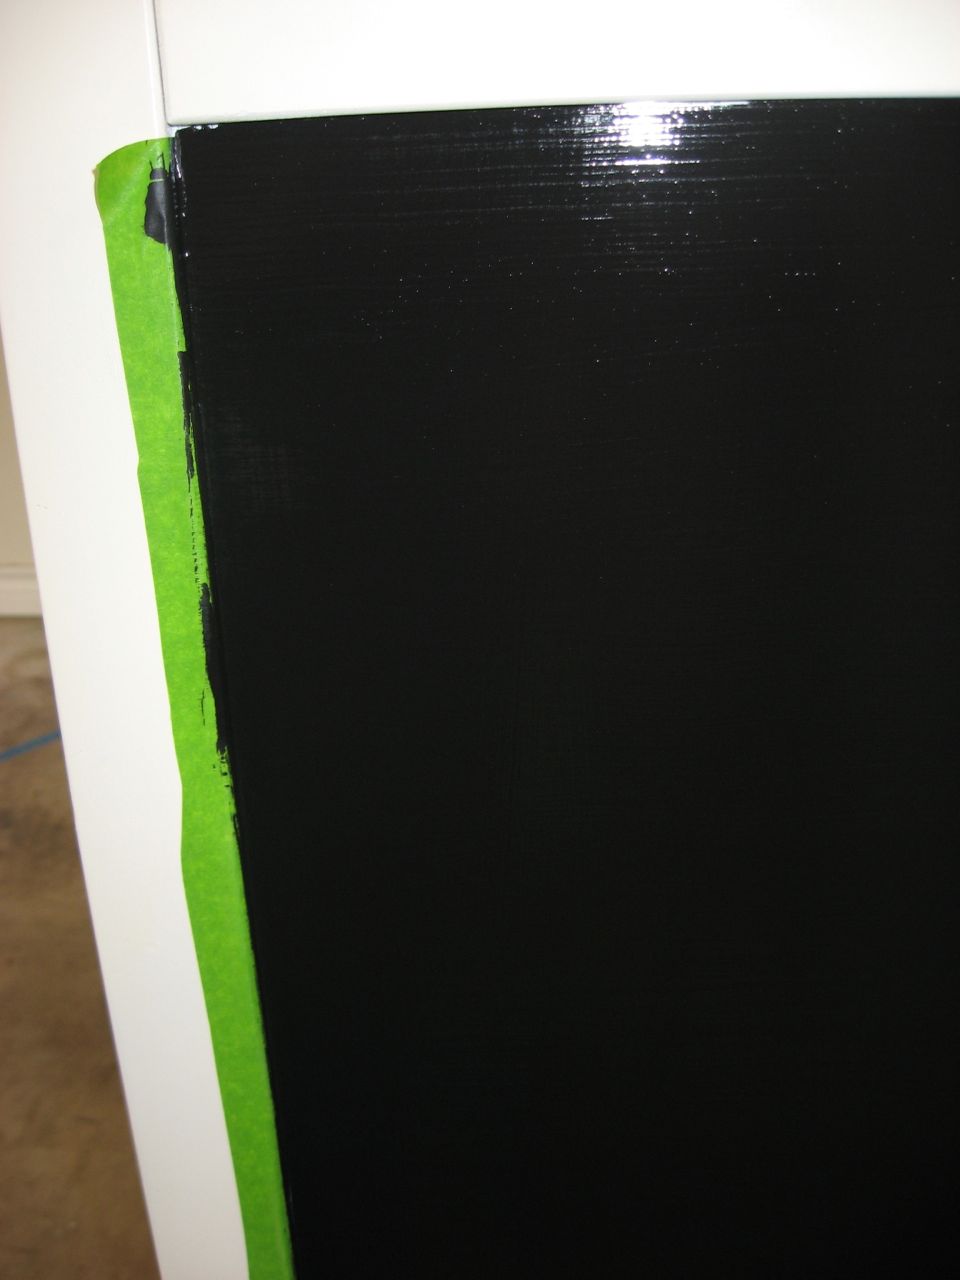
The finished product is clean and smooth.

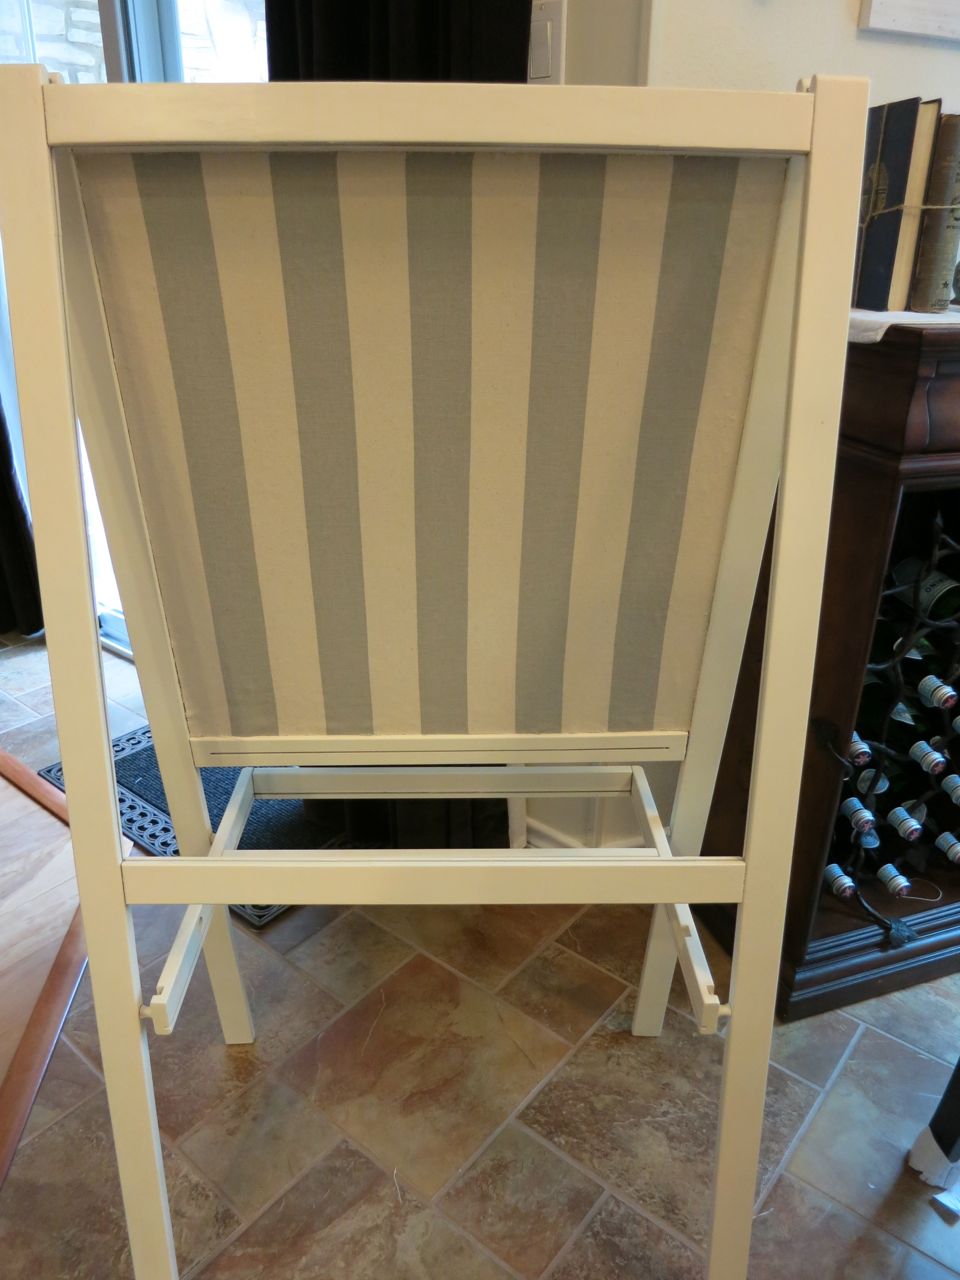
For the back of the board, I selected a remnant piece of fabric from my stash, cut it to retain a small amount of overlap, and attached it to the back of the chalkboard with some spray adhesive.

Lastly, I used a razor edge to trim the excess fabric for clean, smooth lines. Unfortunately, my razor was a little dull, so the fabric snagged and pulled in one corner. It doesn’t bug me enough to do anything about it.
We’re both happy with how it turned out, and since I already had all of the supplies, and the easel was free, there was no cost for materials. It was a fun little project for my son and I to complete together.
He enjoyed taking part in the transformation, and loves practicing his letters on his very own DIY chalkboard!


It looks brand spanking new. Good job by you and your son.
Thank you so much!
You simply amaze me on your patience, talent, and attention to detail!!! So cool!!!
Such a lovely comment! Thank you!