
I recently scored these Pottery Barn lamps for $10 on Craigslist and gave them a major makeover.
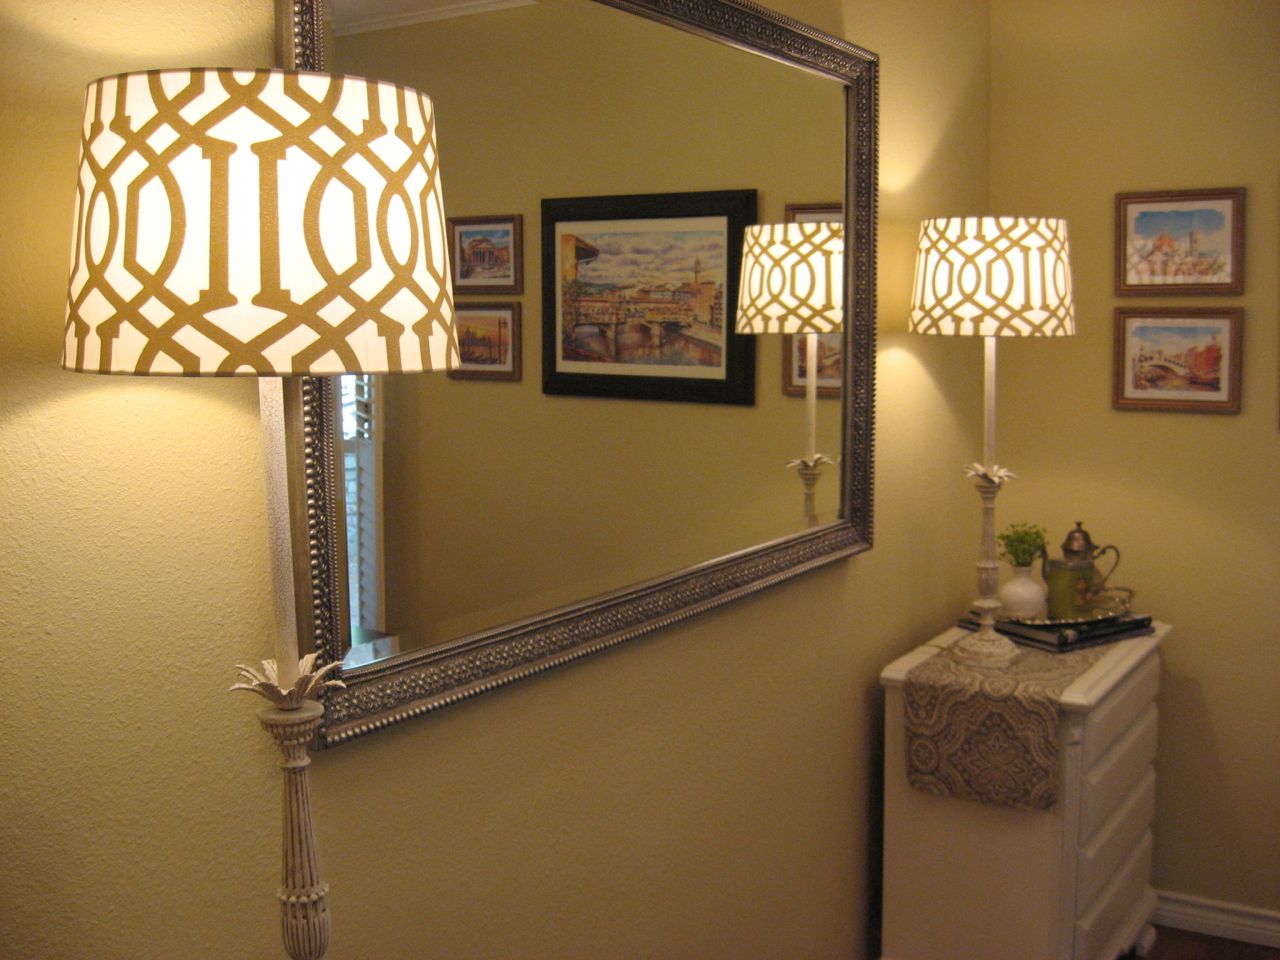
Here’s my favorite after shot:
Here’s the before photo from the original Craigslist ad:

When I got the lamps home and began my post-purchase inspection, I definitely wondered what I’d been thinking when I bought them.
The peeling, rusting finish in this pic should give you an idea of their poor condition:

I got busy scraping with my putty knife and then sanded with 150 grit sandpaper.
When I removed the lampshades, I was greeted by even more rust. So I sanded away.

After sanding and cleaning the lamps thoroughly, I taped them off with painters tape and enclosed the cord in a plastic grocery bag.
Shhhhh….I smuggled in the plastic grocery bag from a different city due to a bag ban ordinance in Austin.

I covered the top sockets with plastic wrap and painters tape.
Then I got to my favorite part: primer!
If you follow my blog, you know how much I absolutely love, love primer! It provides an immediate clean, fresh slate and also blocks rust.
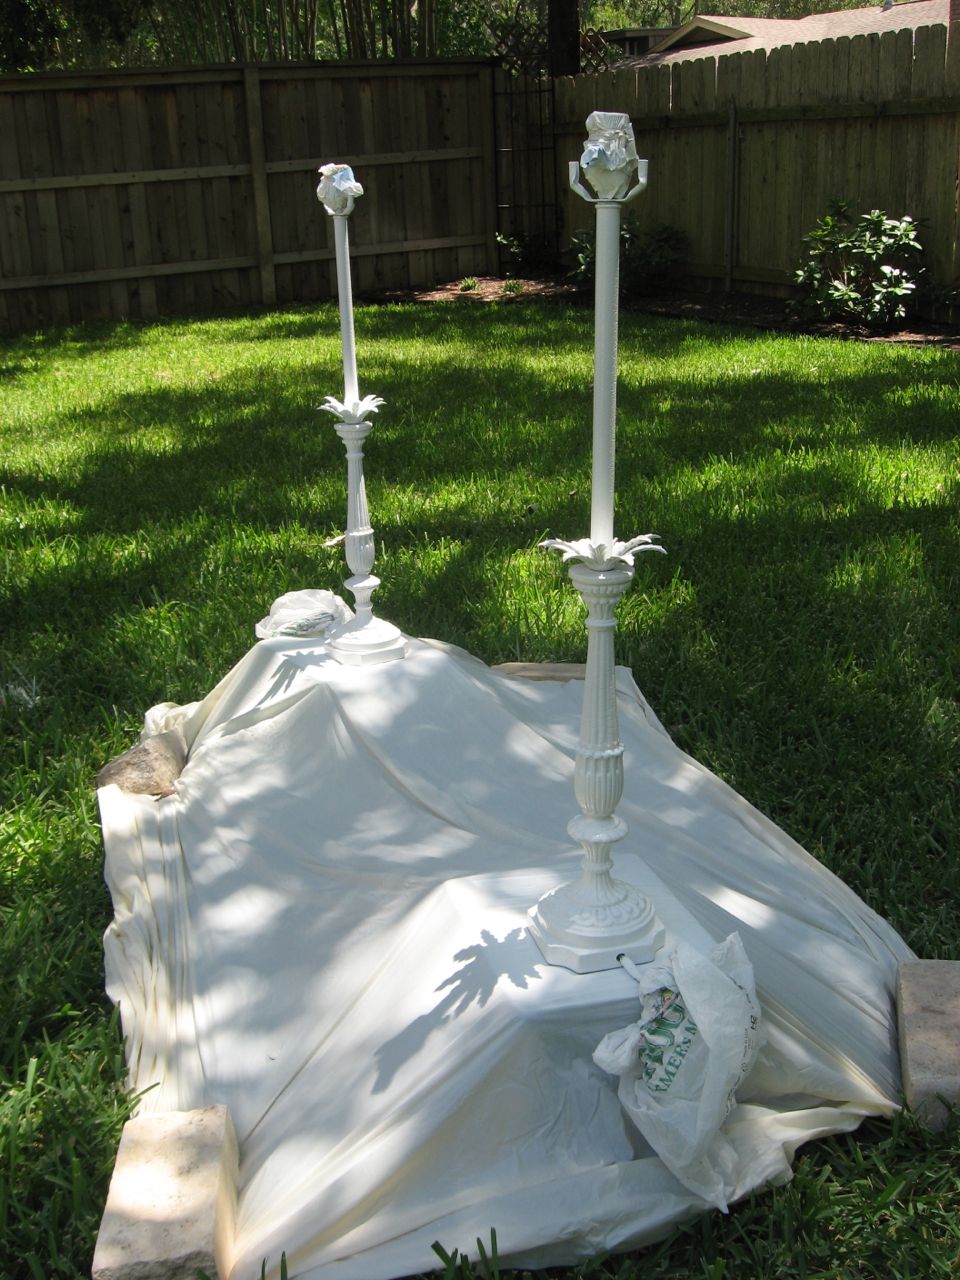
After priming, I spray painted the lamp bases in Krylon High Gloss White, which I had on hand.
Tip: I buy shower curtain liners at the Dollar Tree to use as drop cloths.
After letting the paint dry overnight, I went on to glaze the lamps. I have several glazes in my paint stash, and settled on Ralph Lauren’s “Tea Stain”.
To begin glazing, I poured some glaze onto a paper plate and used an inexpensive chip brush to apply it in all the nooks and crannies.
I followed the exact same glazing technique that I used here when I painted my vintage hexagon table and here when I painted my antique vanity bench.

After the final wipe-down:

Do you see how shiny the finished lamp base is?
I didn’t think it looked right with this kind of antiquing, so I grabbed some clear coat in a satin finish from my stash.

The satin finish clear coat really toned down the glossiness of the paint, dontcha’ think?

I even added new felt bottoms to the lamps.

Ahhhh…..so clean and fresh!
I found the perfect lampshades at Target – there were only two left in this color and they were on clearance!

The lamps reside on DIY table runners and two large nightstands that I just finished painting with chalk paint.
As soon as I finish installing the new hardware, I’ll post a full tutorial, including my homemade chalk paint recipe! Shazam! The post is now up! Click here to see the step-by-step process.
I’m using the tables as a sort of “split buffet” in my dining room.
Here’s a sneak peek:

‘Til then, how ’bout one more view of the before and after of my new lamps?
BEFORE
AFTER
I’ll keep the lights on for ya,


Excellent.