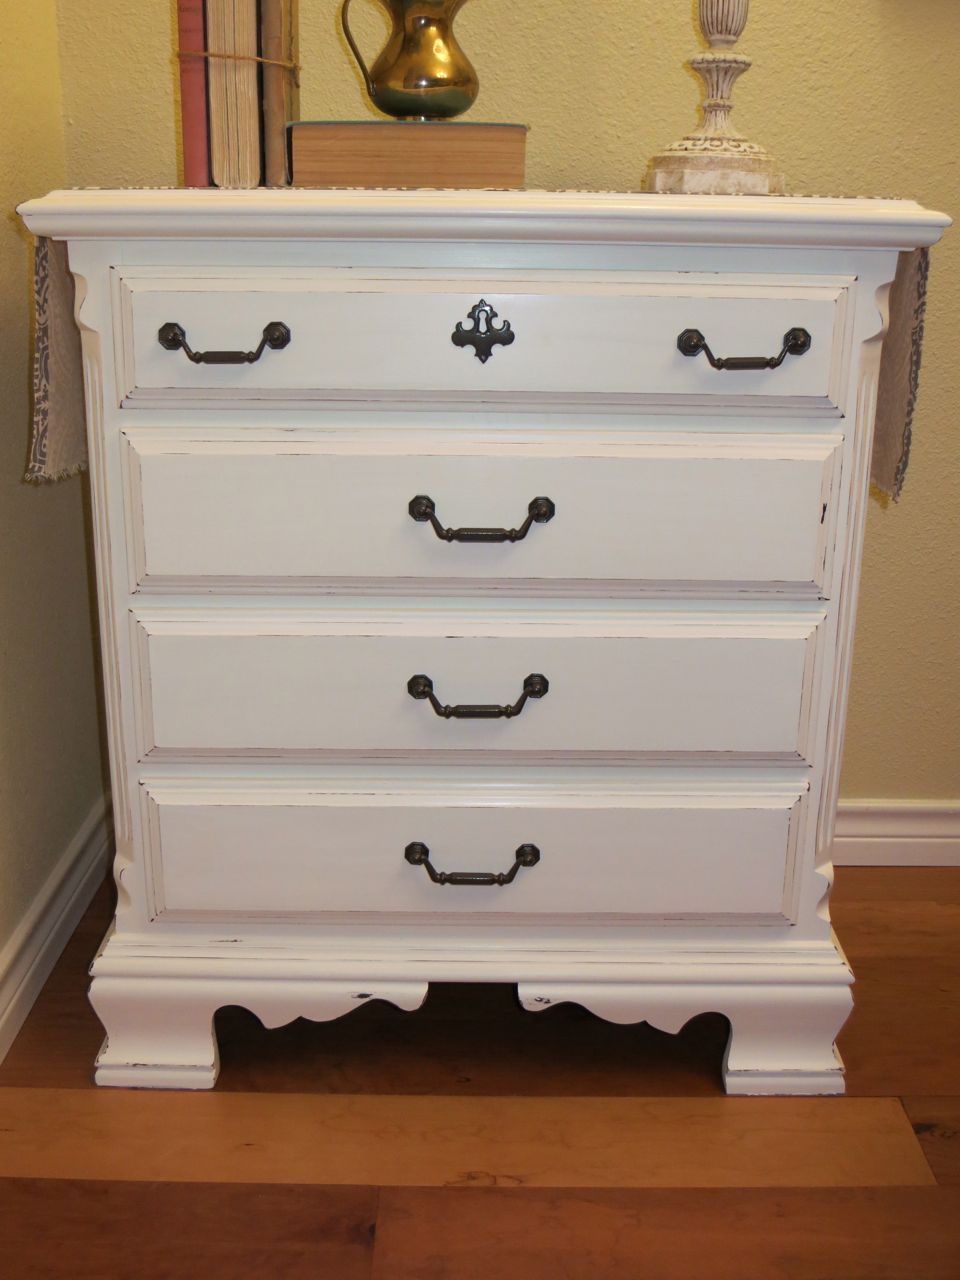
Here’s an after photo of one of my recently completed chalk paint tables:
And some before photos:


A few dings and scratches here and there.
We were gifted two over-sized nightstands last summer as part of a beautiful bedroom set.
They were made of mahogany wood and in great shape overall, except for a few small dings and scratches that had been acquired through the years.
Although I liked the overall shape, I thought that both the finish and the hardware made the nightstands look dated. I’m not a huge fan of the Chippendale style drawer pulls.
I wanted to try something different than spray paint this time, so I searched Pinterest for ideas on furniture refinishing. It seems that nearly every piece I saw that I really, really liked had been refinished with chalk paint.
Not chalkboard paint, but chalk paint.
The appeal of chalk paint is that there is no sanding or priming needed to prepare your surface for painting – you just start painting!
After the amount of sanding and priming that went into this vintage hexagonal table, this antique vanity bench, and my son’s vintage red chair, I was ready to try a different painting technique.
I was sold on the concept of chalk paint, so I went in search of where to buy it. I quickly discovered that brand-name chalk paint is super expensive!!! At $35-40 per quart, I did not want to “experiment” with it on my free furniture!
After researching homemade chalk paint, I found several on-line recipes and decided on one using calcium carbonate and latex paint. I chose calcium carbonate because it’s the safest to eat of all the ingredients used to make other chalk paint recipes. I mean, who wants to eat un-sanded grout for breakfast!
I tried several different formulas on sample wood and found that I like this recipe the best: