While we’re waiting for the paint to dry on my antique vanity bench project, I thought I’d share with you one of my favorite design tips: how to decorate with books!
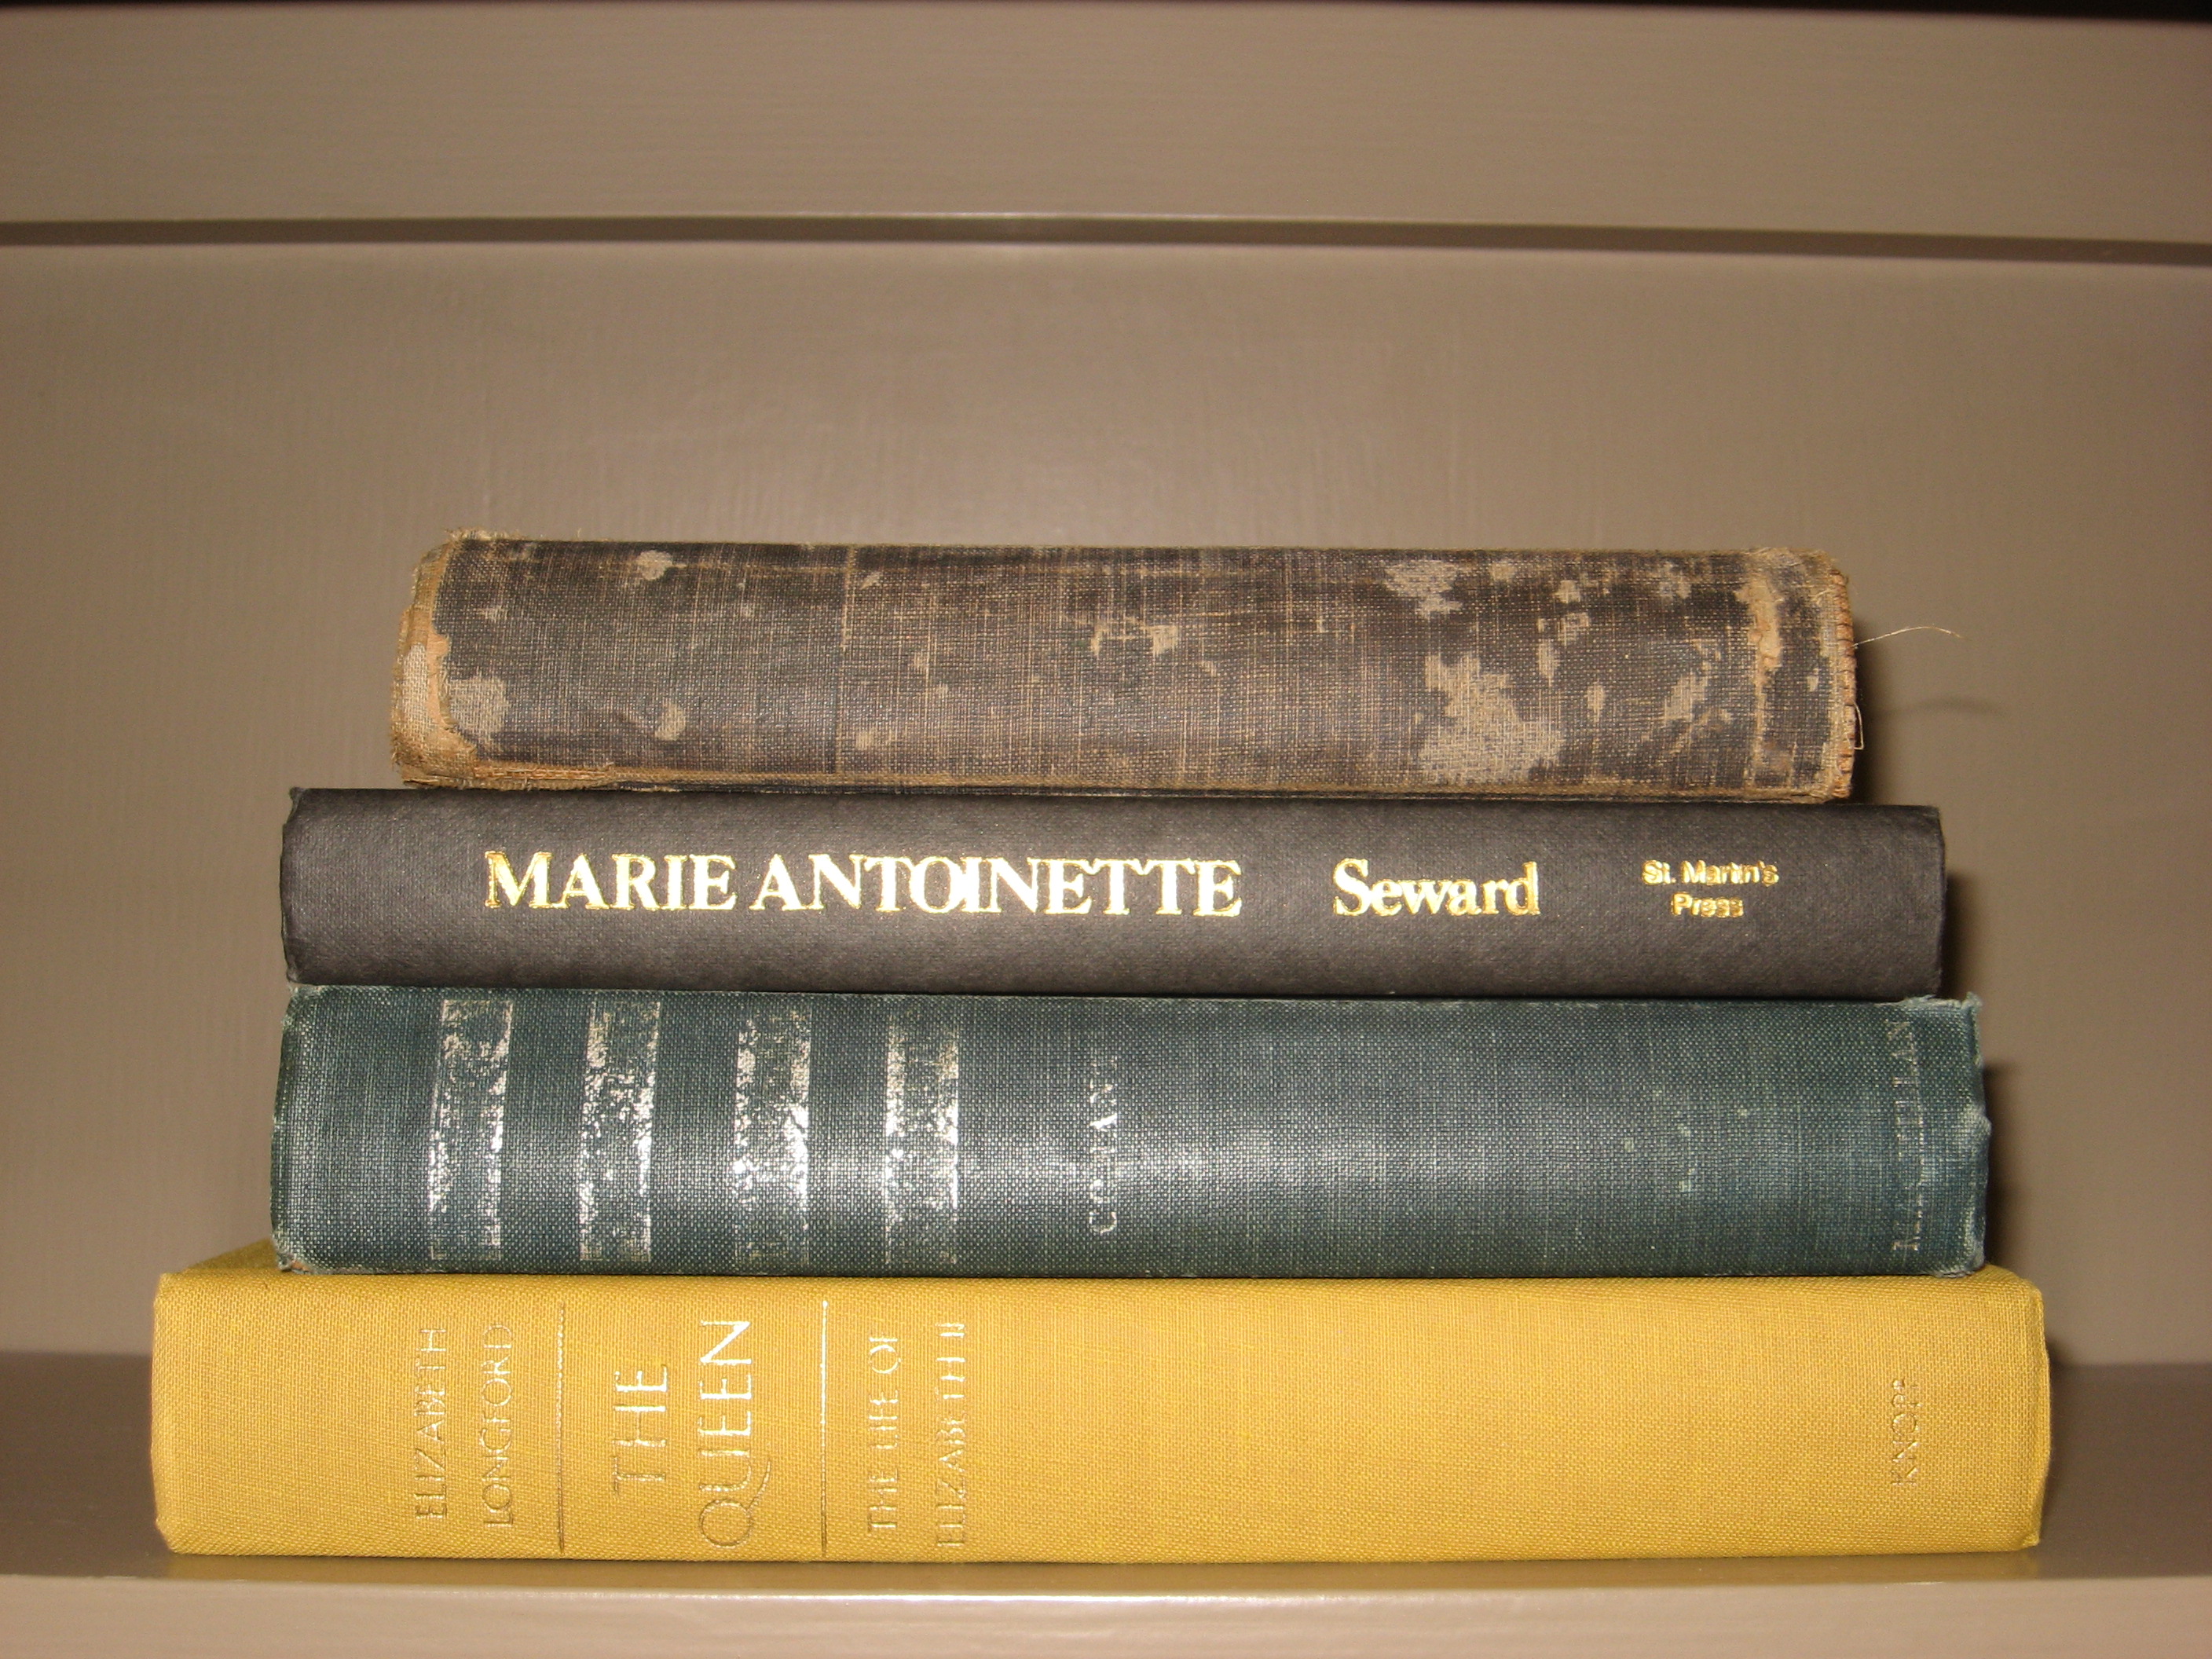
I purchased 3 of these books for $1 each. The top one in the stack is a French grammar book that I paid $5 for. It’s one of the most expensive books in my collection.
Old or new, books are a great way to add character, color, and interest to your home.
I opt for books that are conversation starters and are of interest to me. I like that that they display part of my personality without my saying a word. I also love that I can change them up without spending a fortune!
Here’s a sampling of photos showing how I’ve incorporated books into the design Around My Home:

I love these books! One is a vintage Nancy Drew mystery (I think I read every single one of them when I was younger) and the other is the Bobsy twins – each of these cost me $1. I personally love the weathered look.
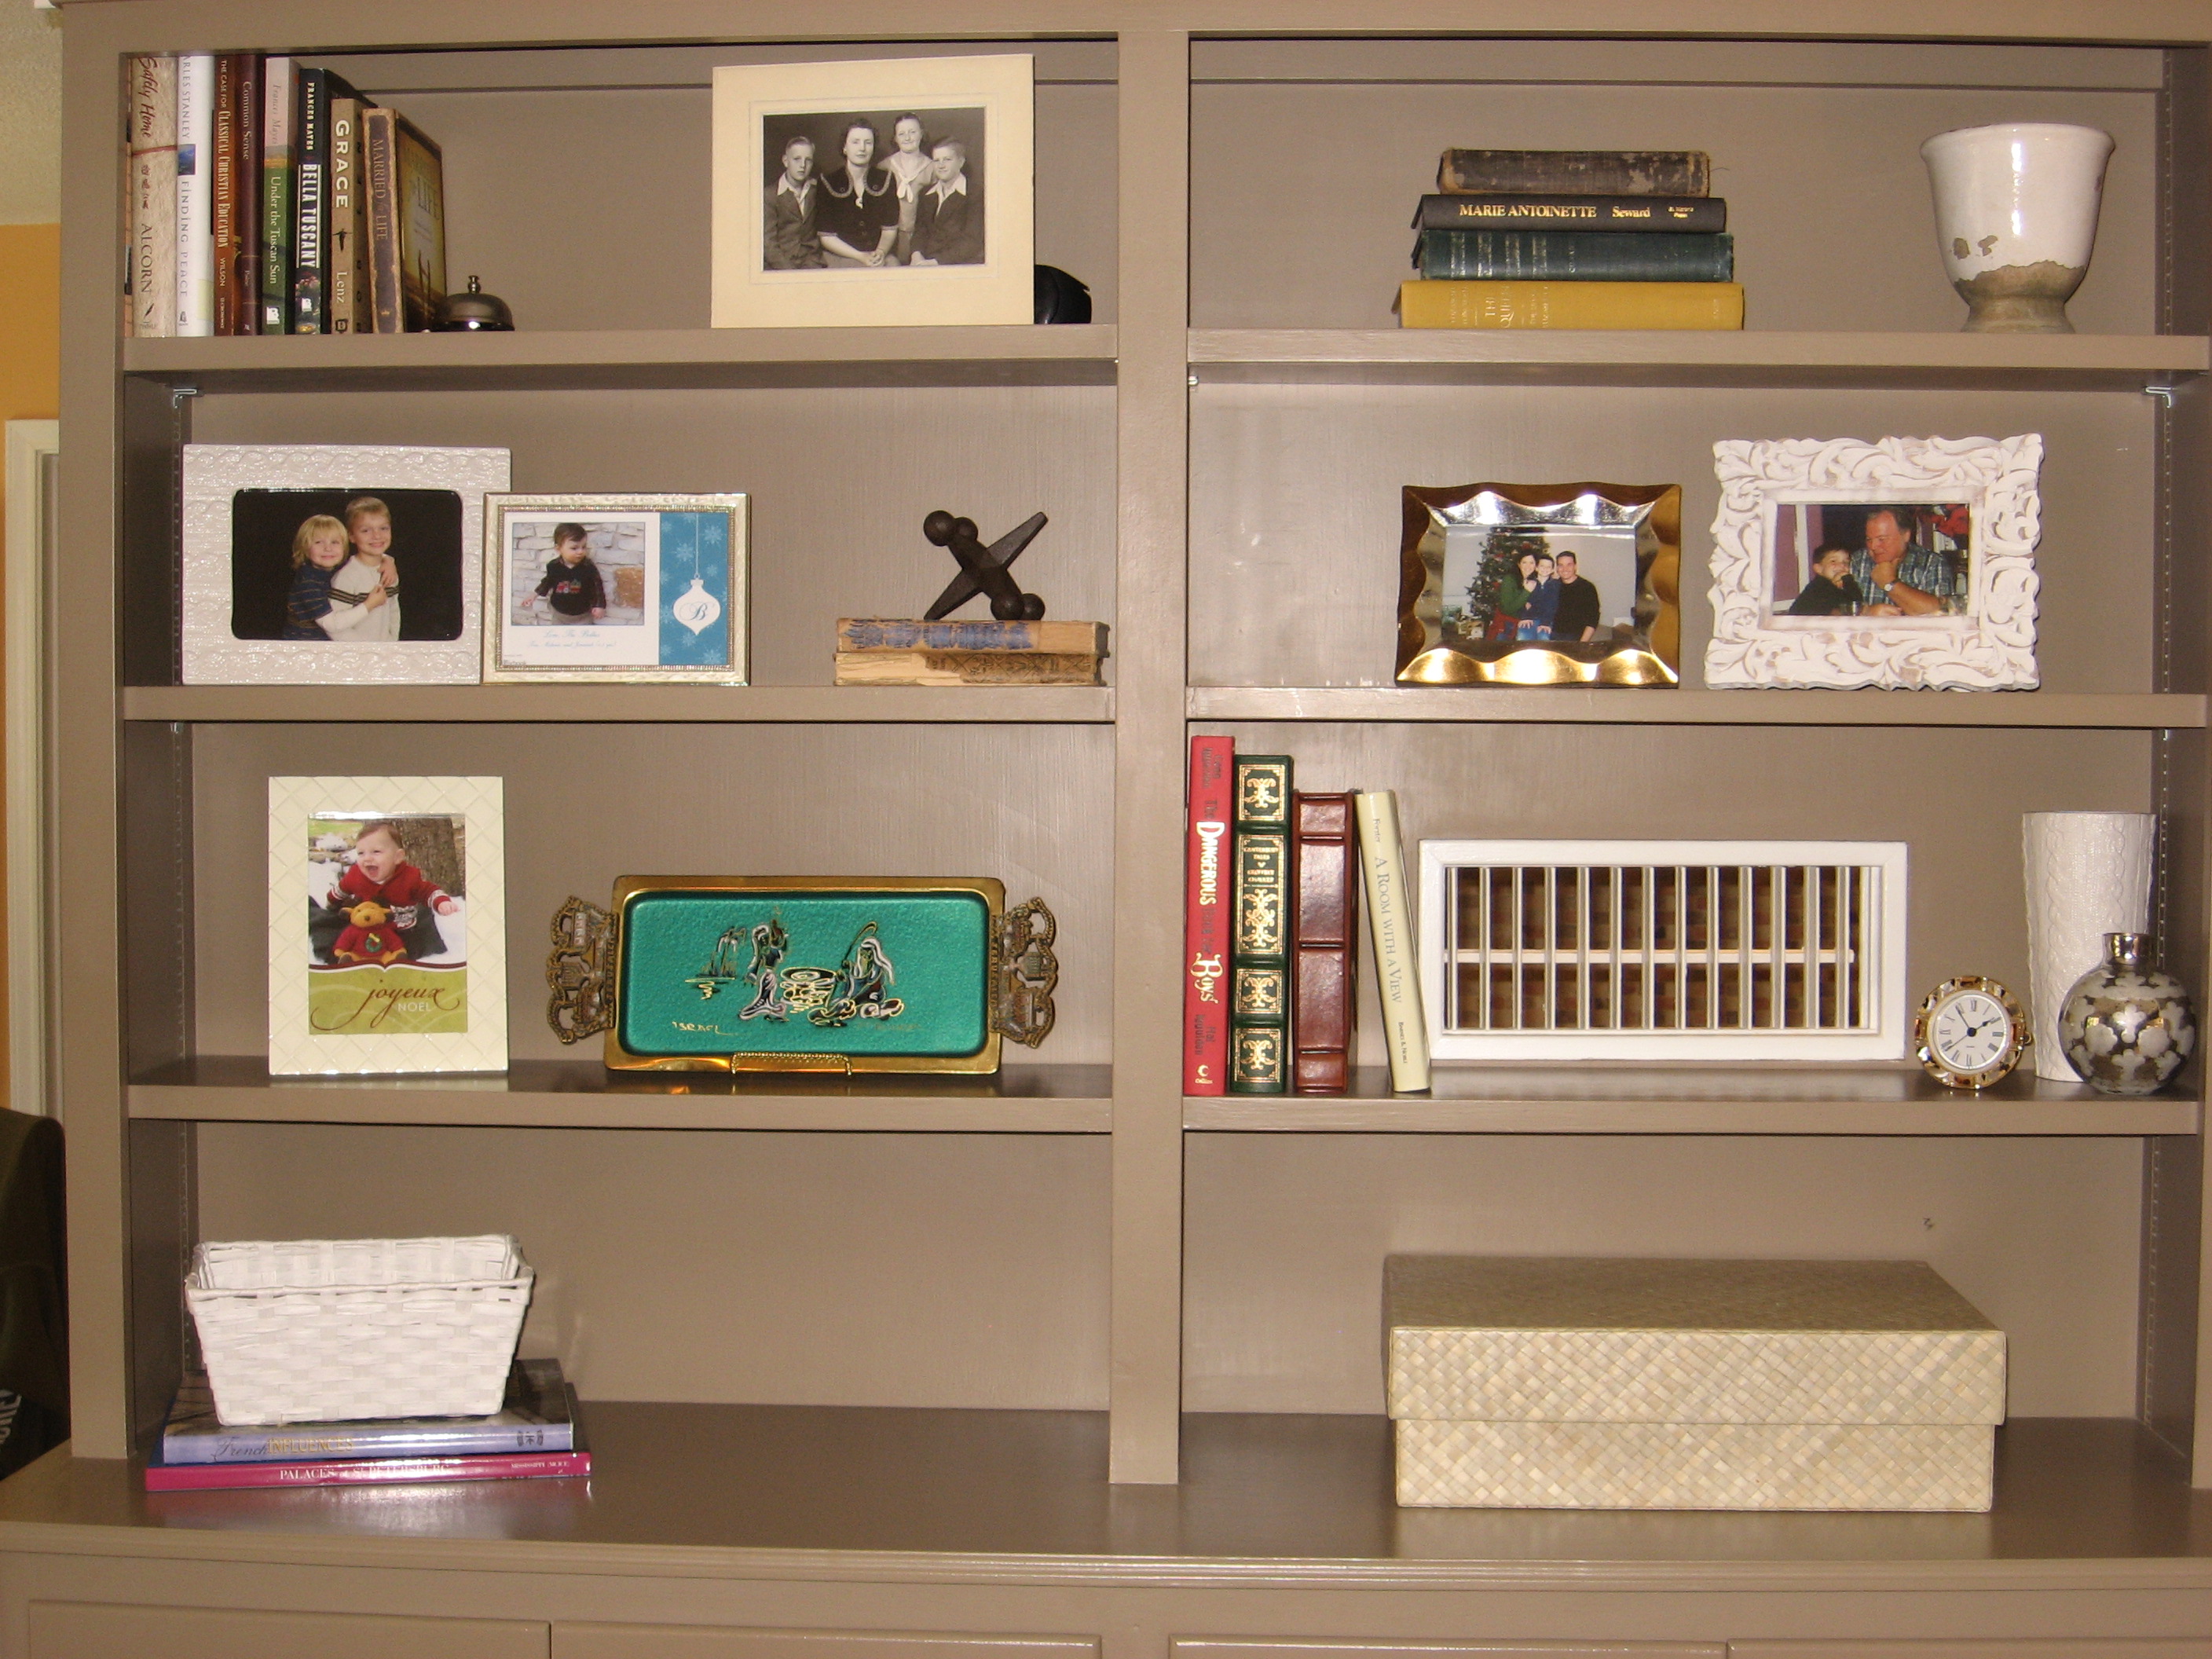
Books create balance, making the perfect backdrop for organizing pictures and other objects you wish to display. All of the books shown here were gifted or picked up for a bargain.

I picked up each of these beauties for under $4 each (3 at Goodwill and 1 at Barnes and Noble), some still encased in their original shrink wrap! The retail stickers on each of these was $39.95 and up!

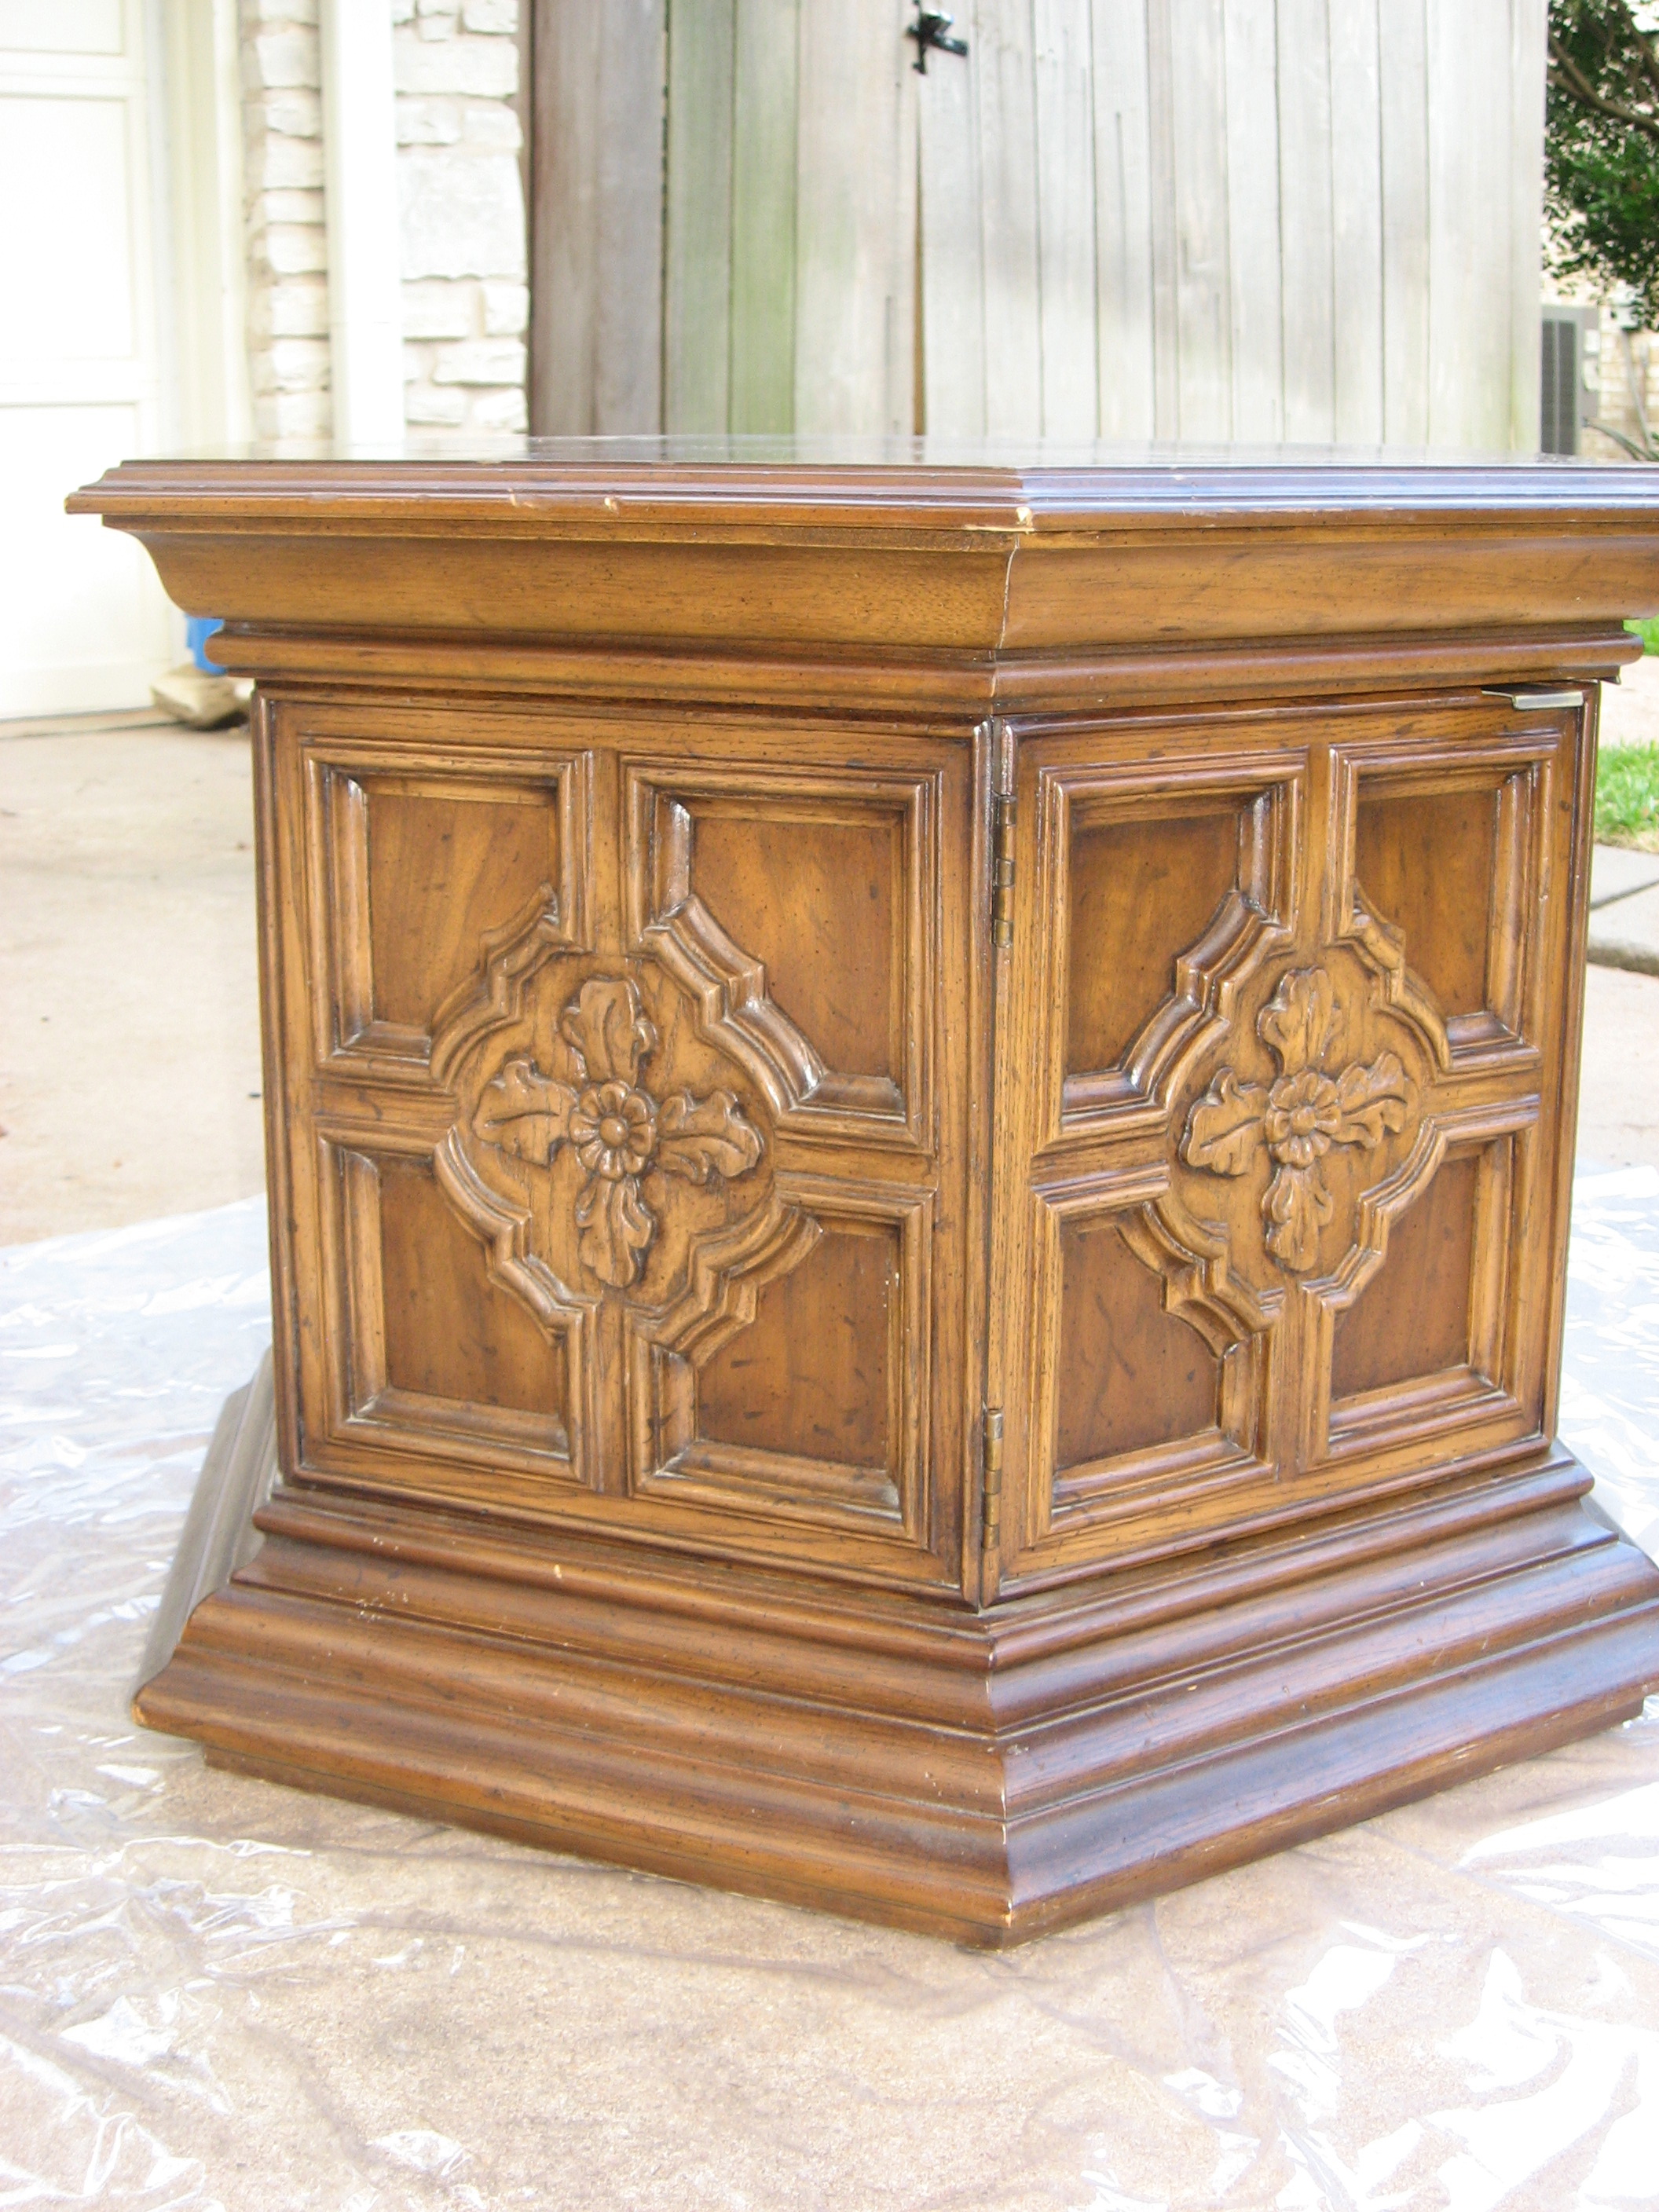
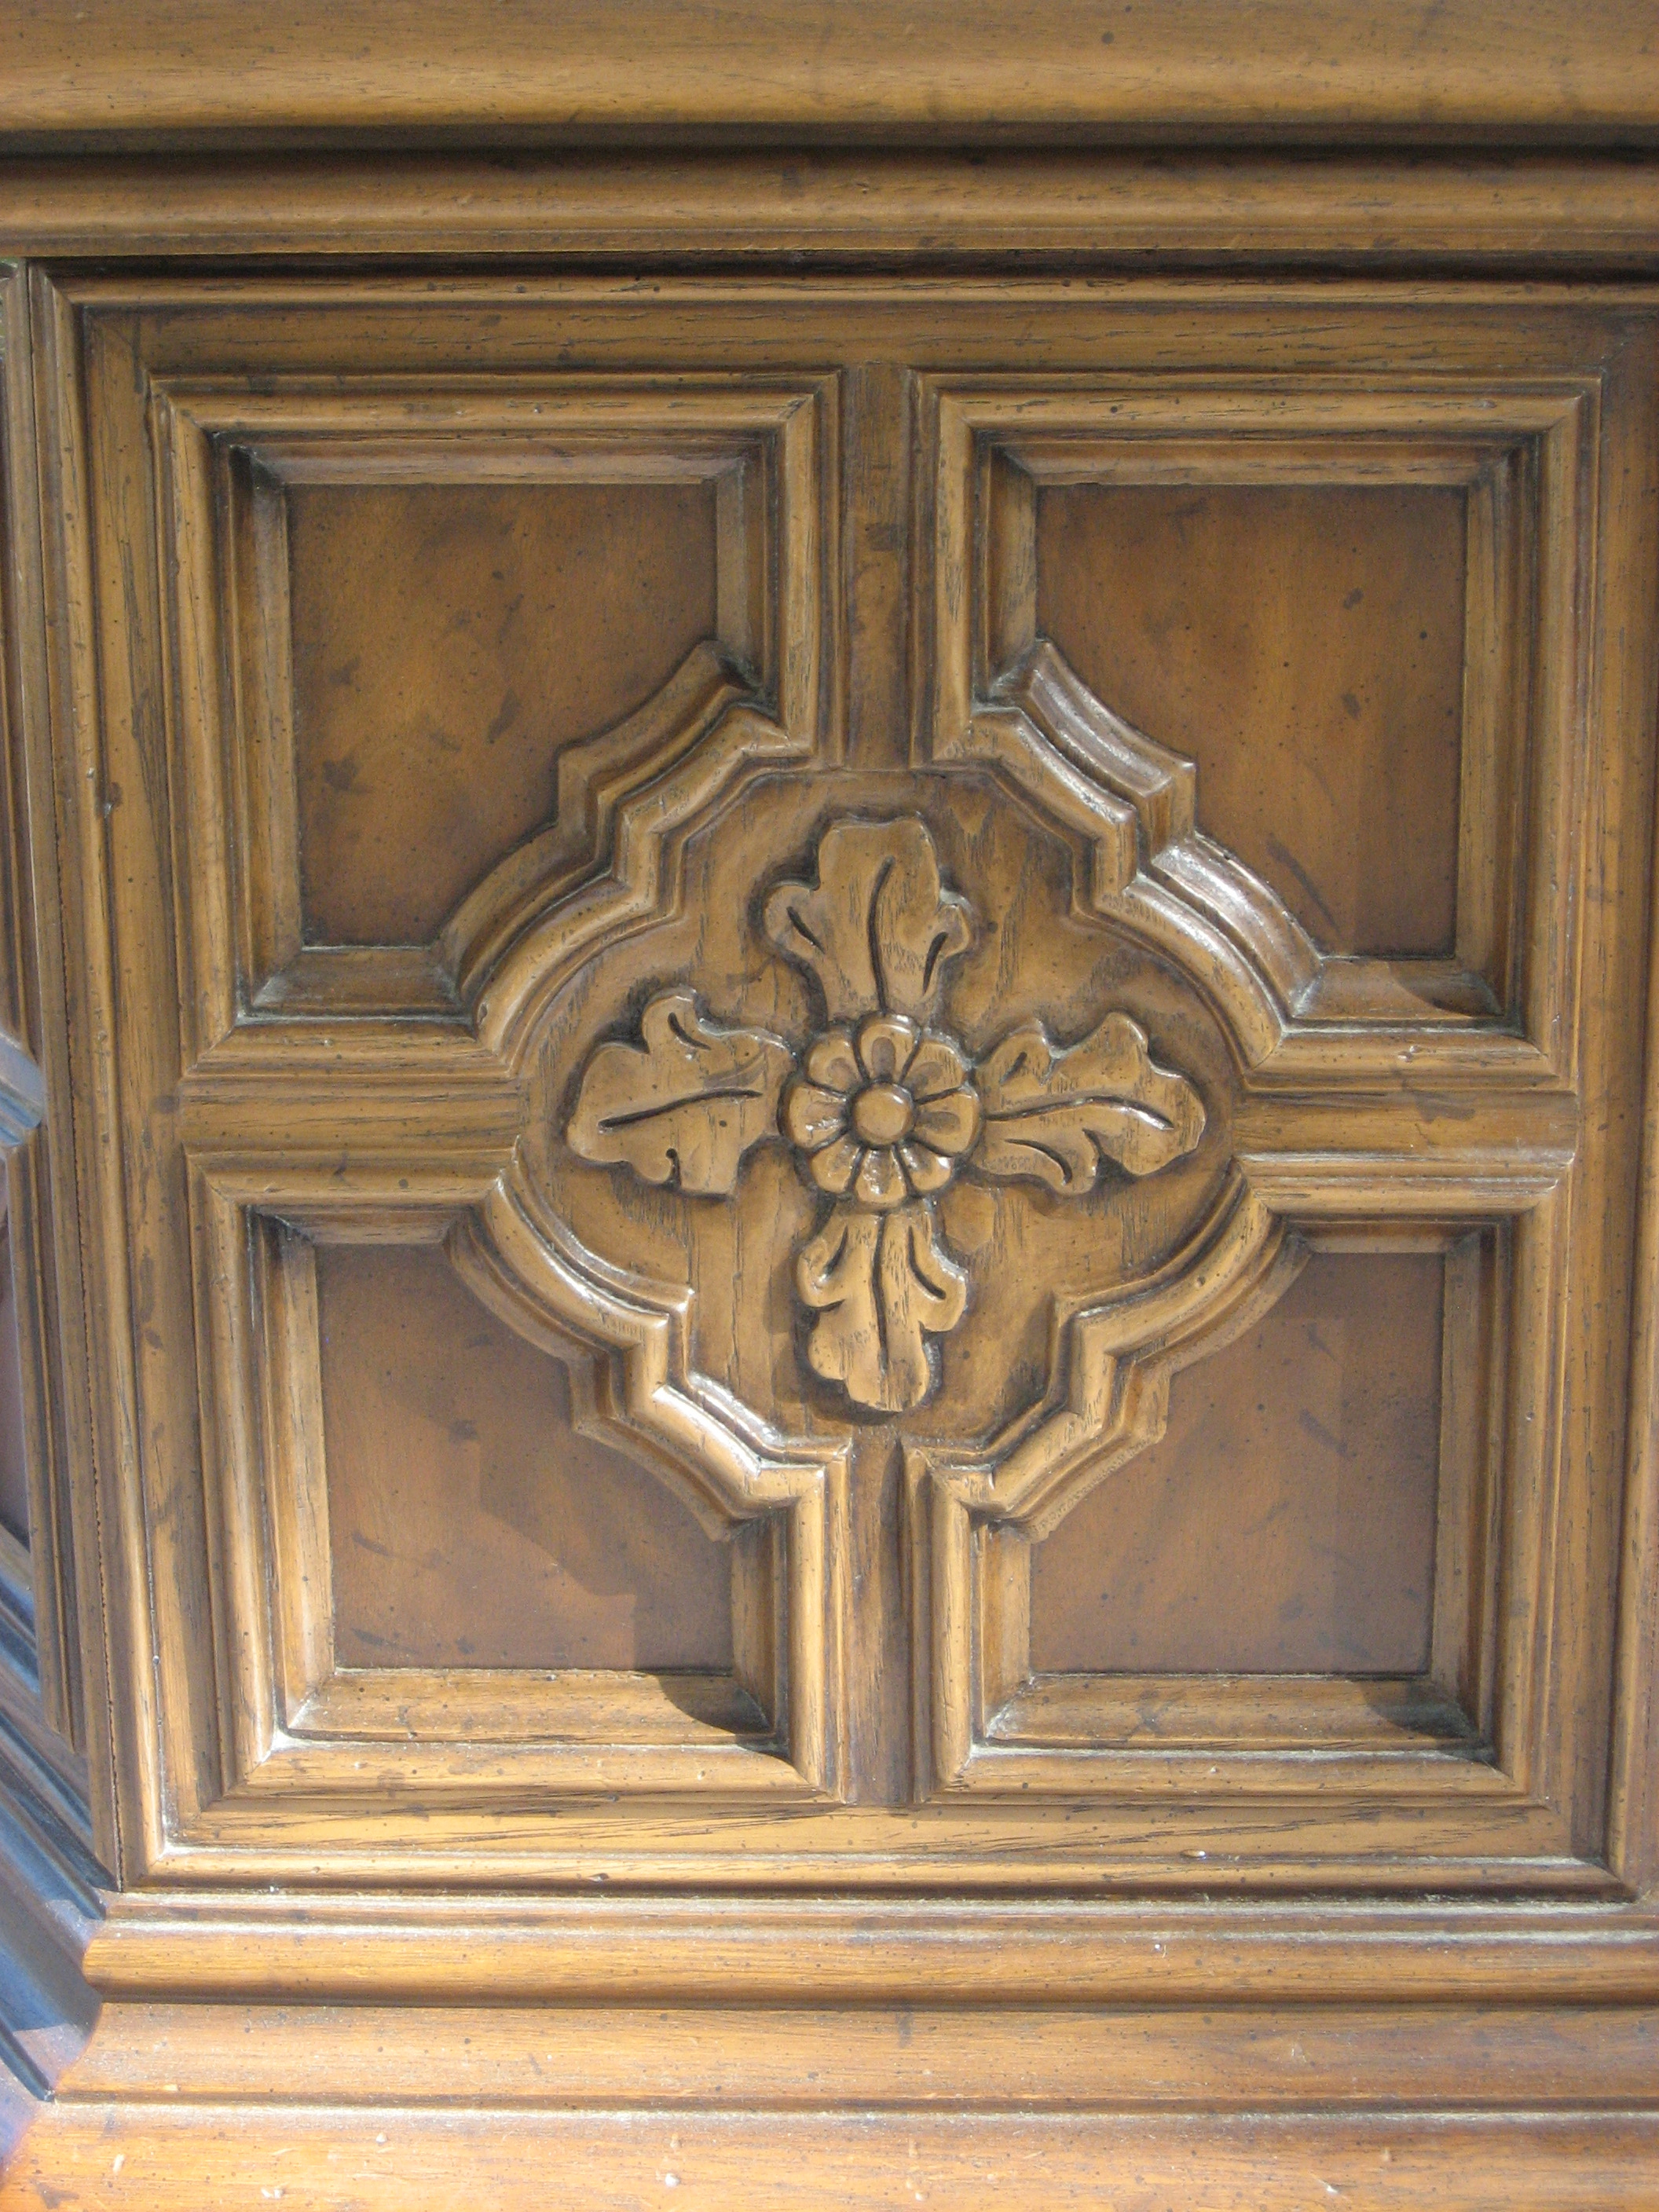
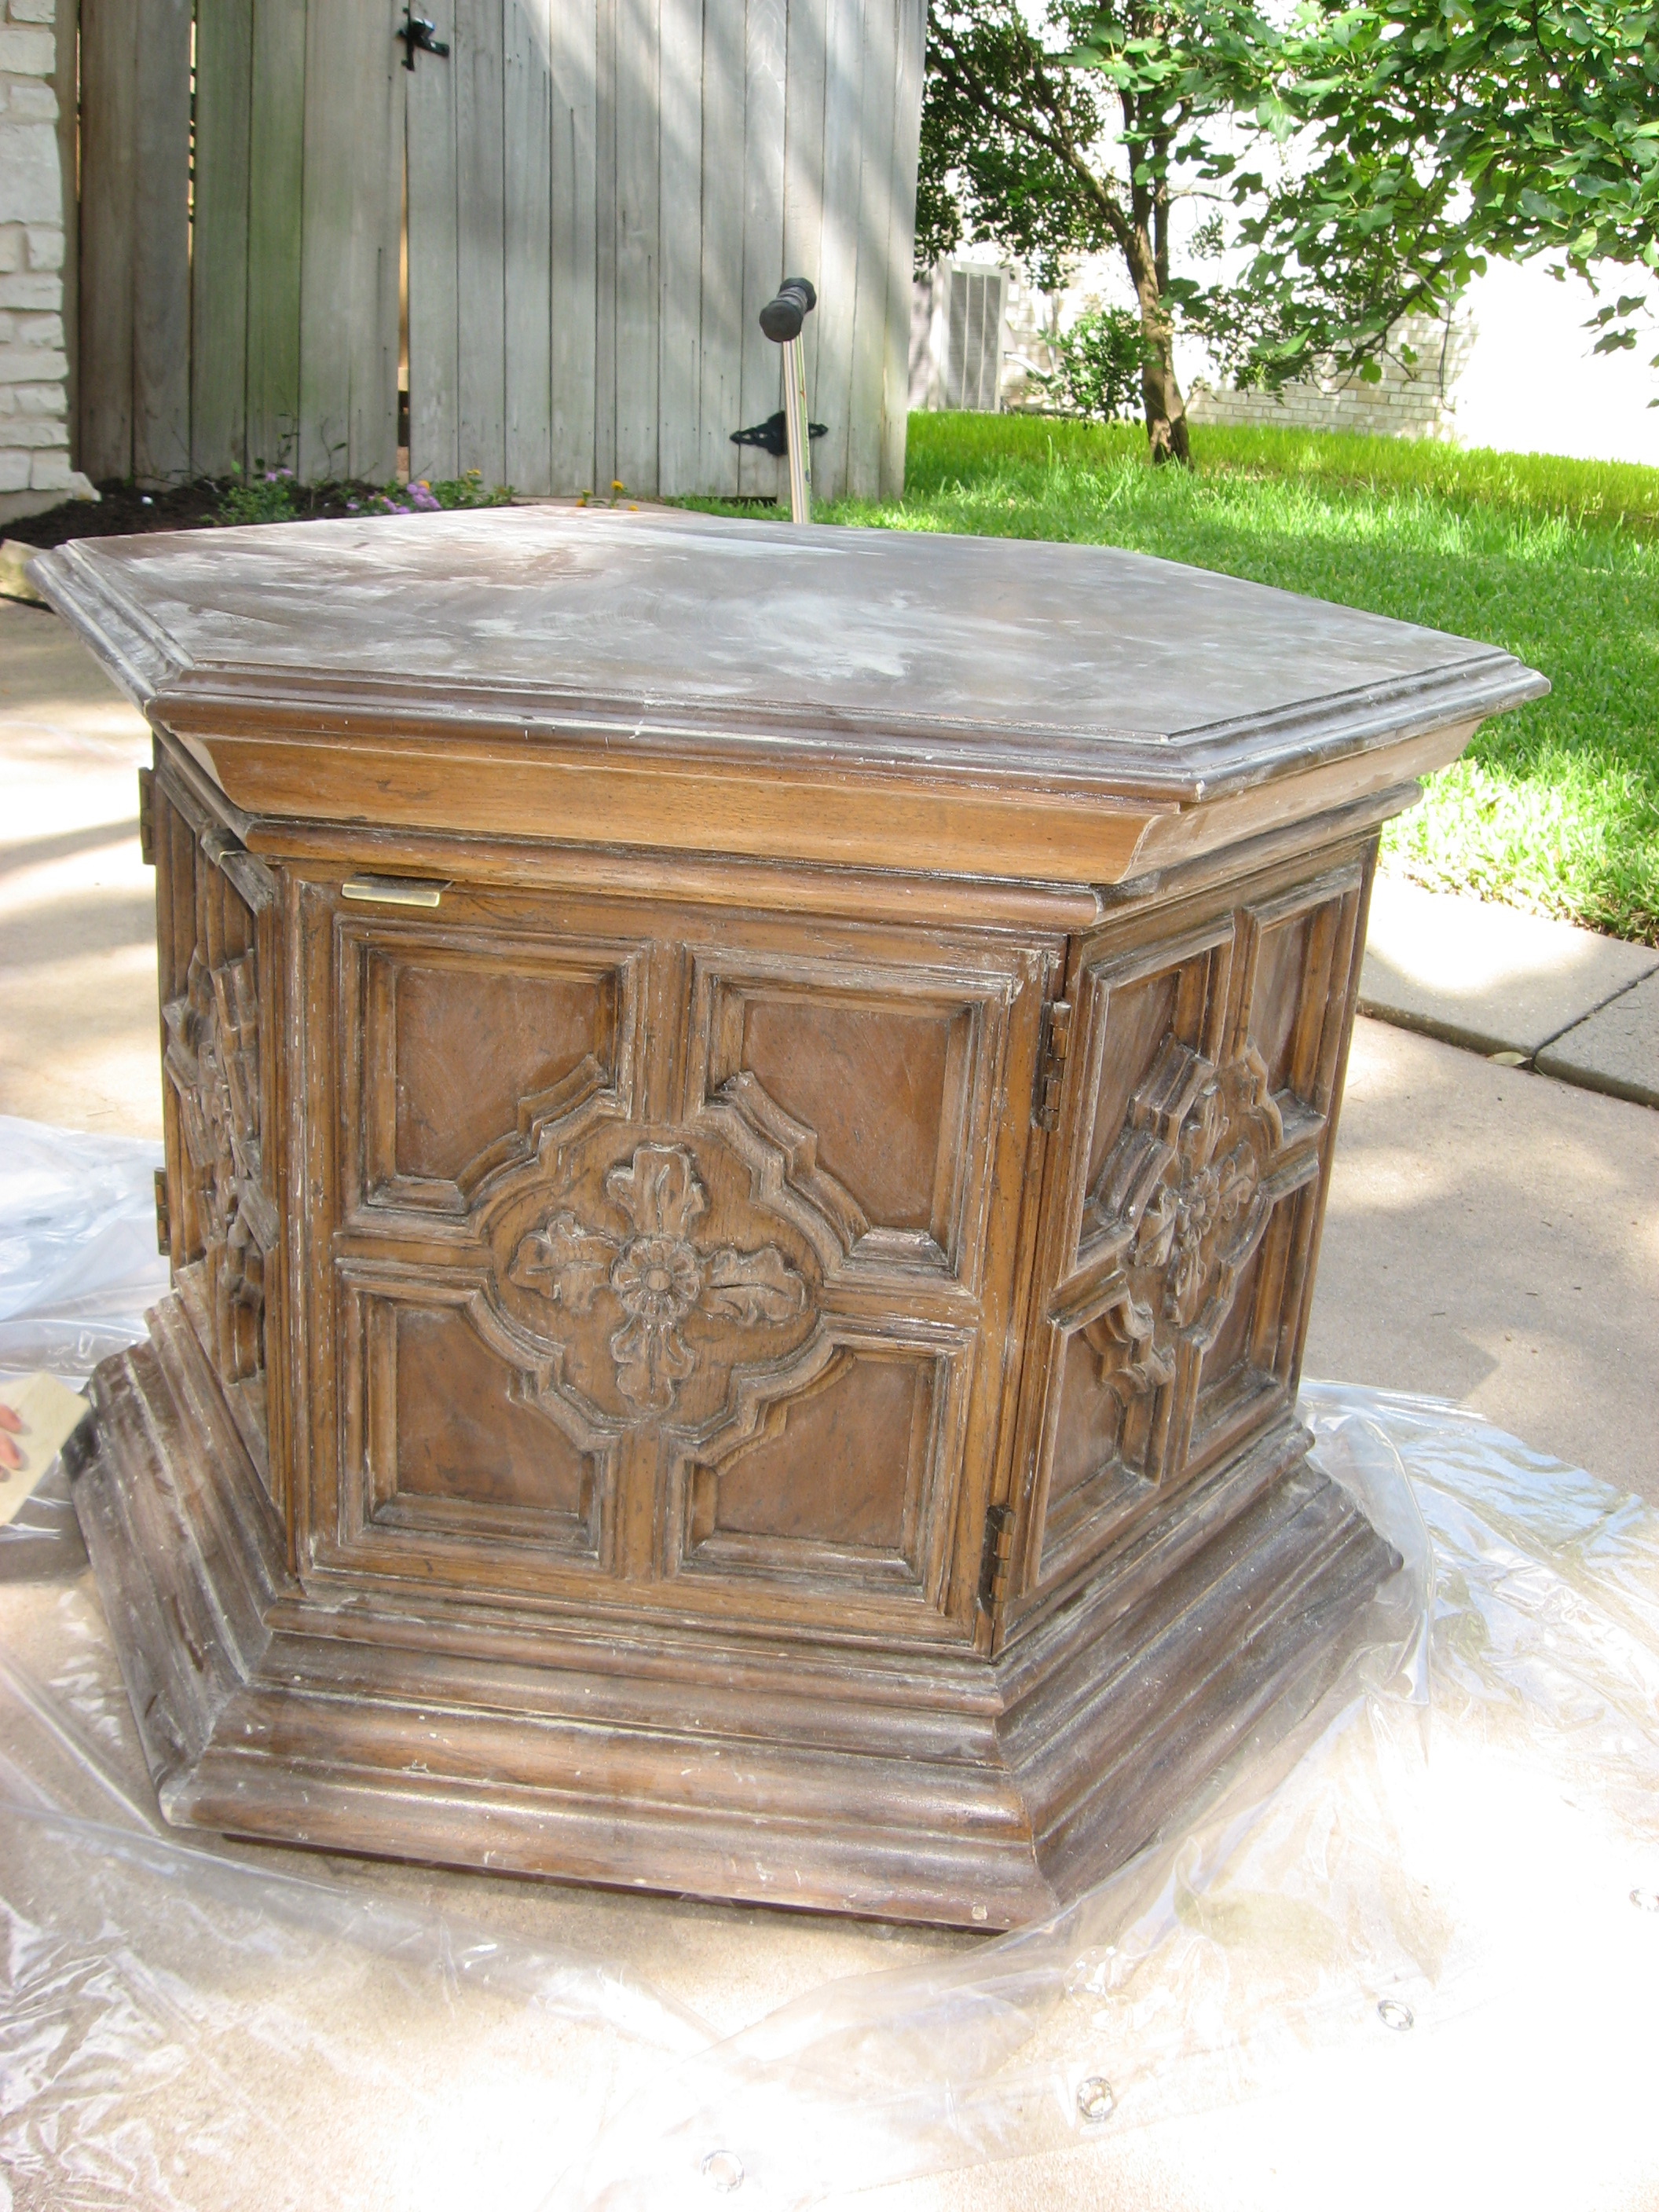
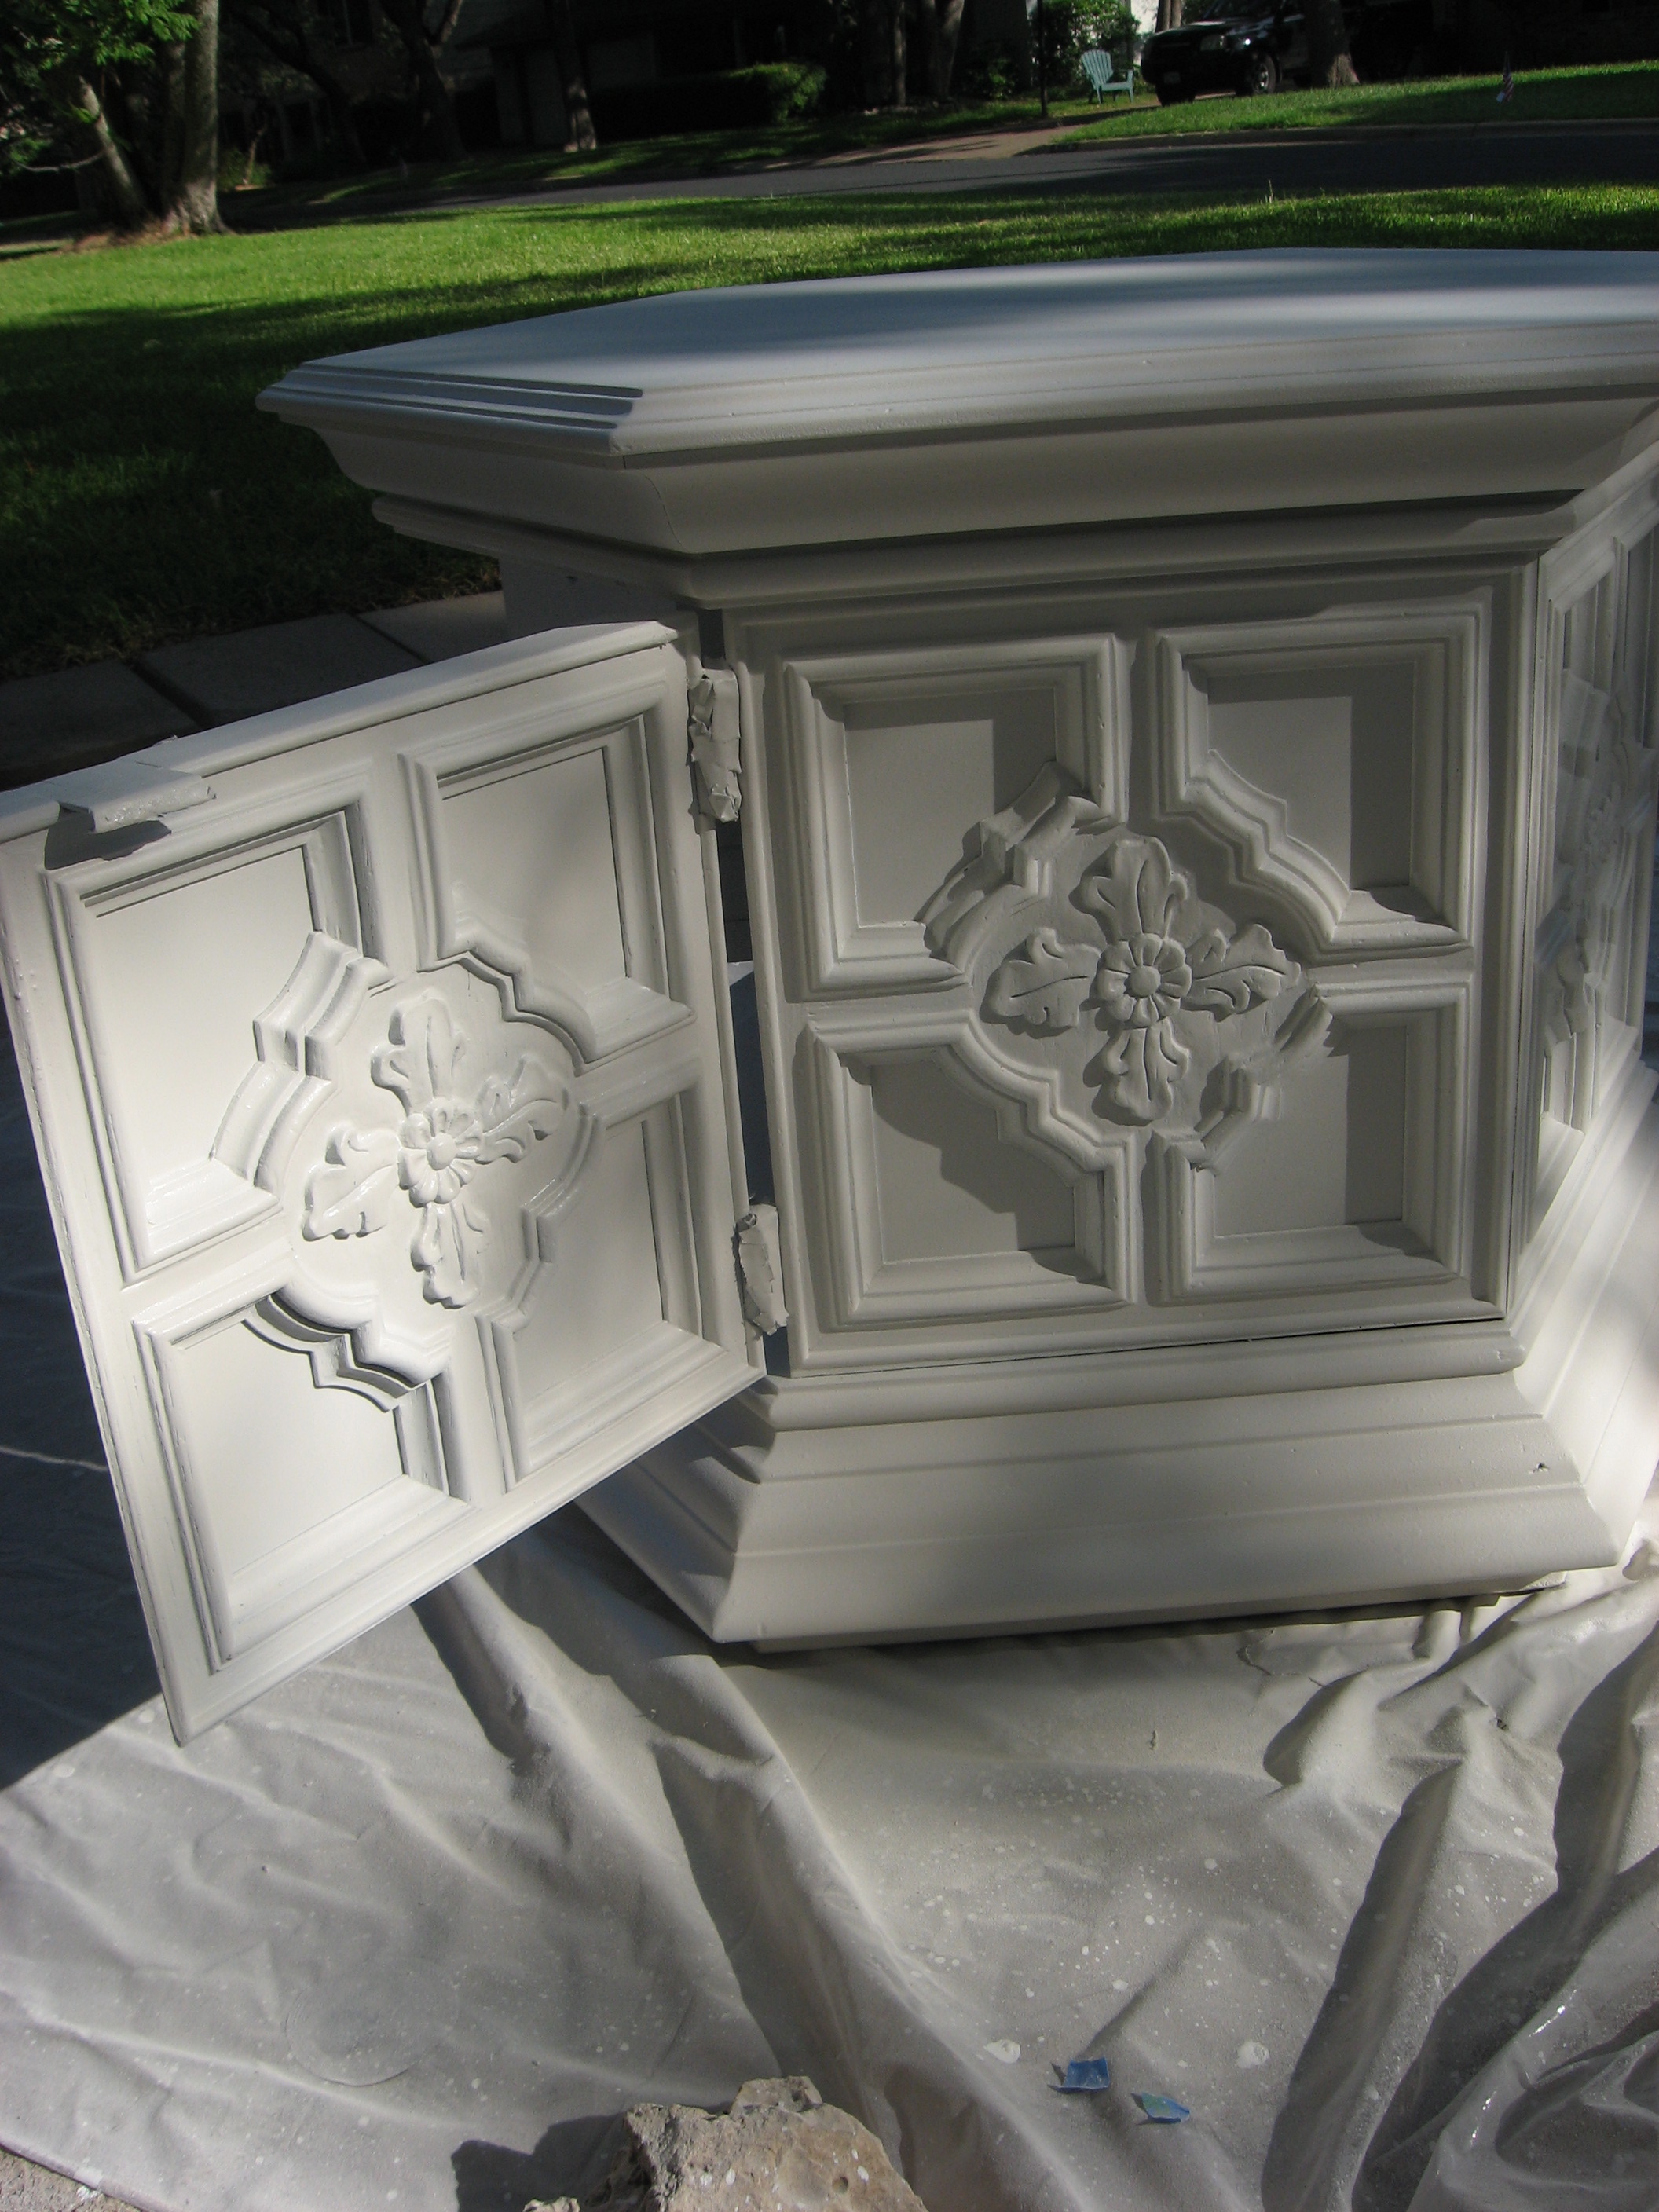
Here’s that same stack on it’s home in our family room. Recognize that end table? It’s my first furniture transformation!

This stack is my favorite right now: The big book on the bottom is a gorgeous book on art that was a gift from my mother-in-law. The Rose Book I purchased at Half Price Books for $3. The French culinary book was calling my name and I couldn’t leave without it. I shelled out $14.97 for it – it’s by far my most pricey book purchase to date. And I love it!
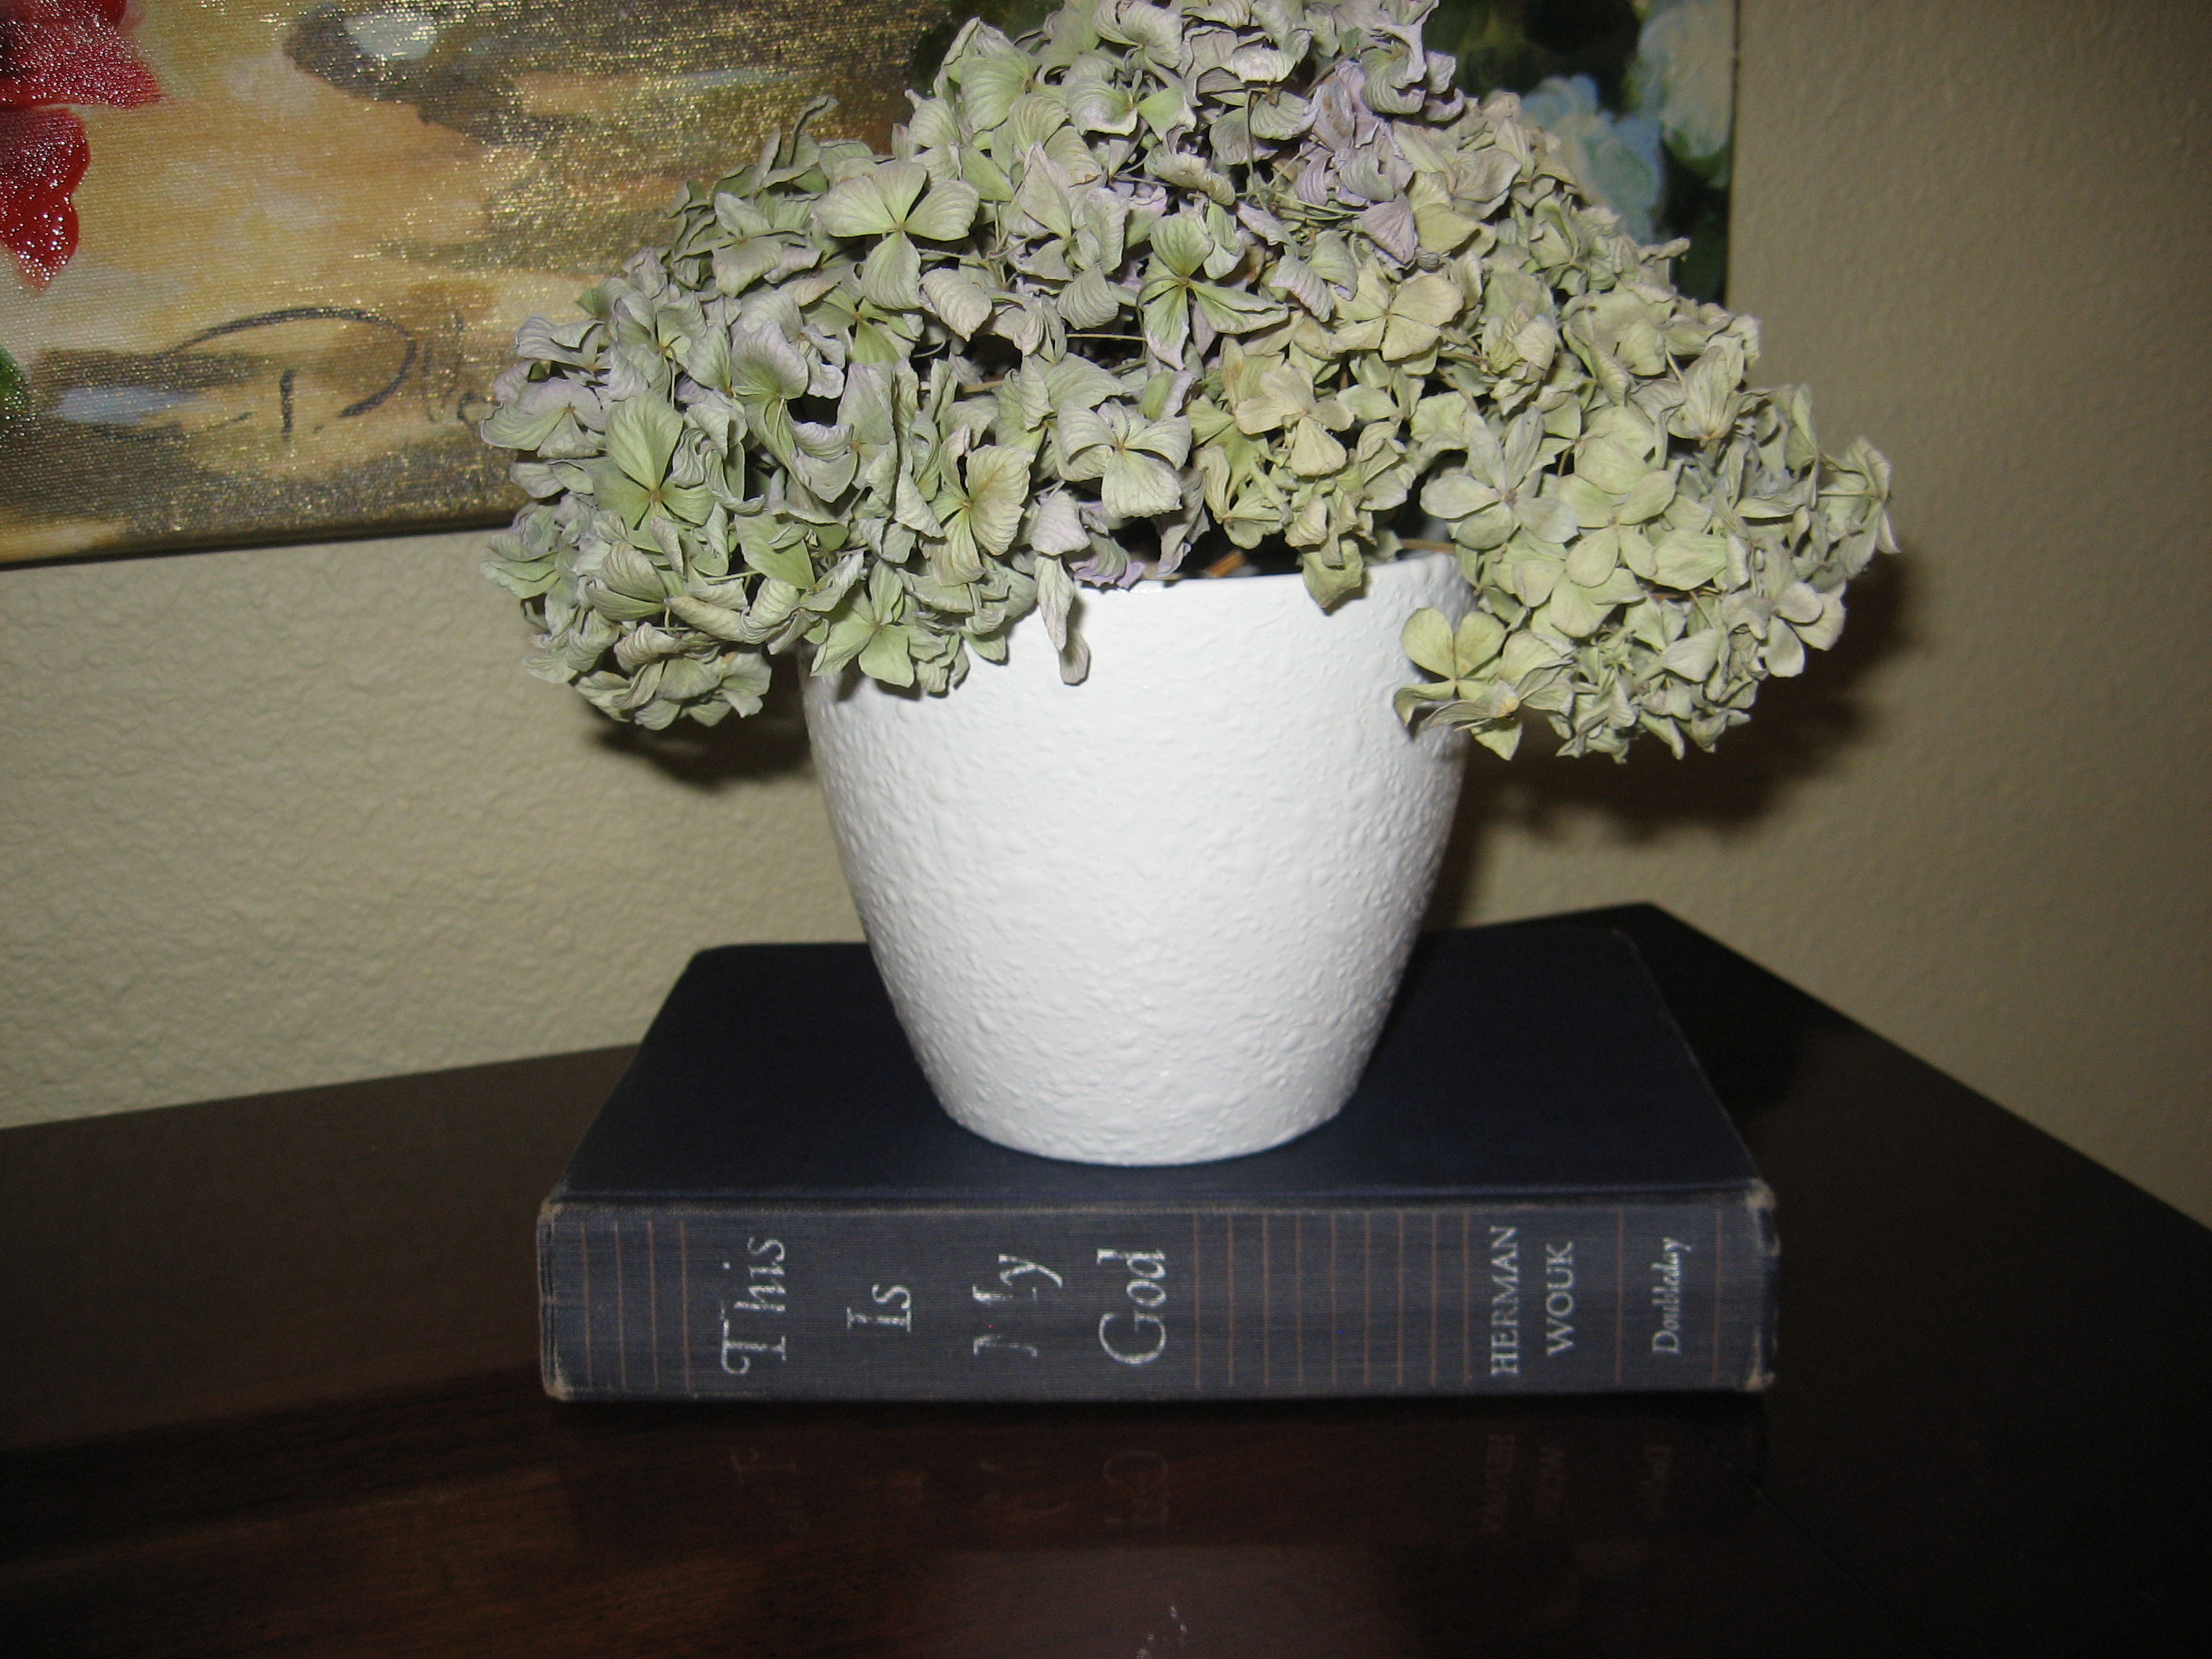
I purchased this book for $1. The hydrangeas are from my garden. I dried them and sealed them with acrylic clear coat. (I’ll be providing details on how to do this in a near-future post). I already had the flower pot, but I painted it white and sealed it with a glossy clear coat.
Where to find your books!:
–Garage and Estate sales – deepest discounts are usually offered on Sunday’s.
–Thrift stores such as Salvation Army and Goodwill.
–Bargain or clearance section at retail bookstores.
When you bring them home:
–I dust off the outside covers of the books and mist the pages with Lysol before bringing them in my home. Another tip is to place them in a ziploc bag in your freezer for 48 hours.
–Don’t be afraid to ditch the covers on your books. Some of my favorite books had ugly covers that I tossed to reveal something beautiful beneath it.
Happy Hunting,